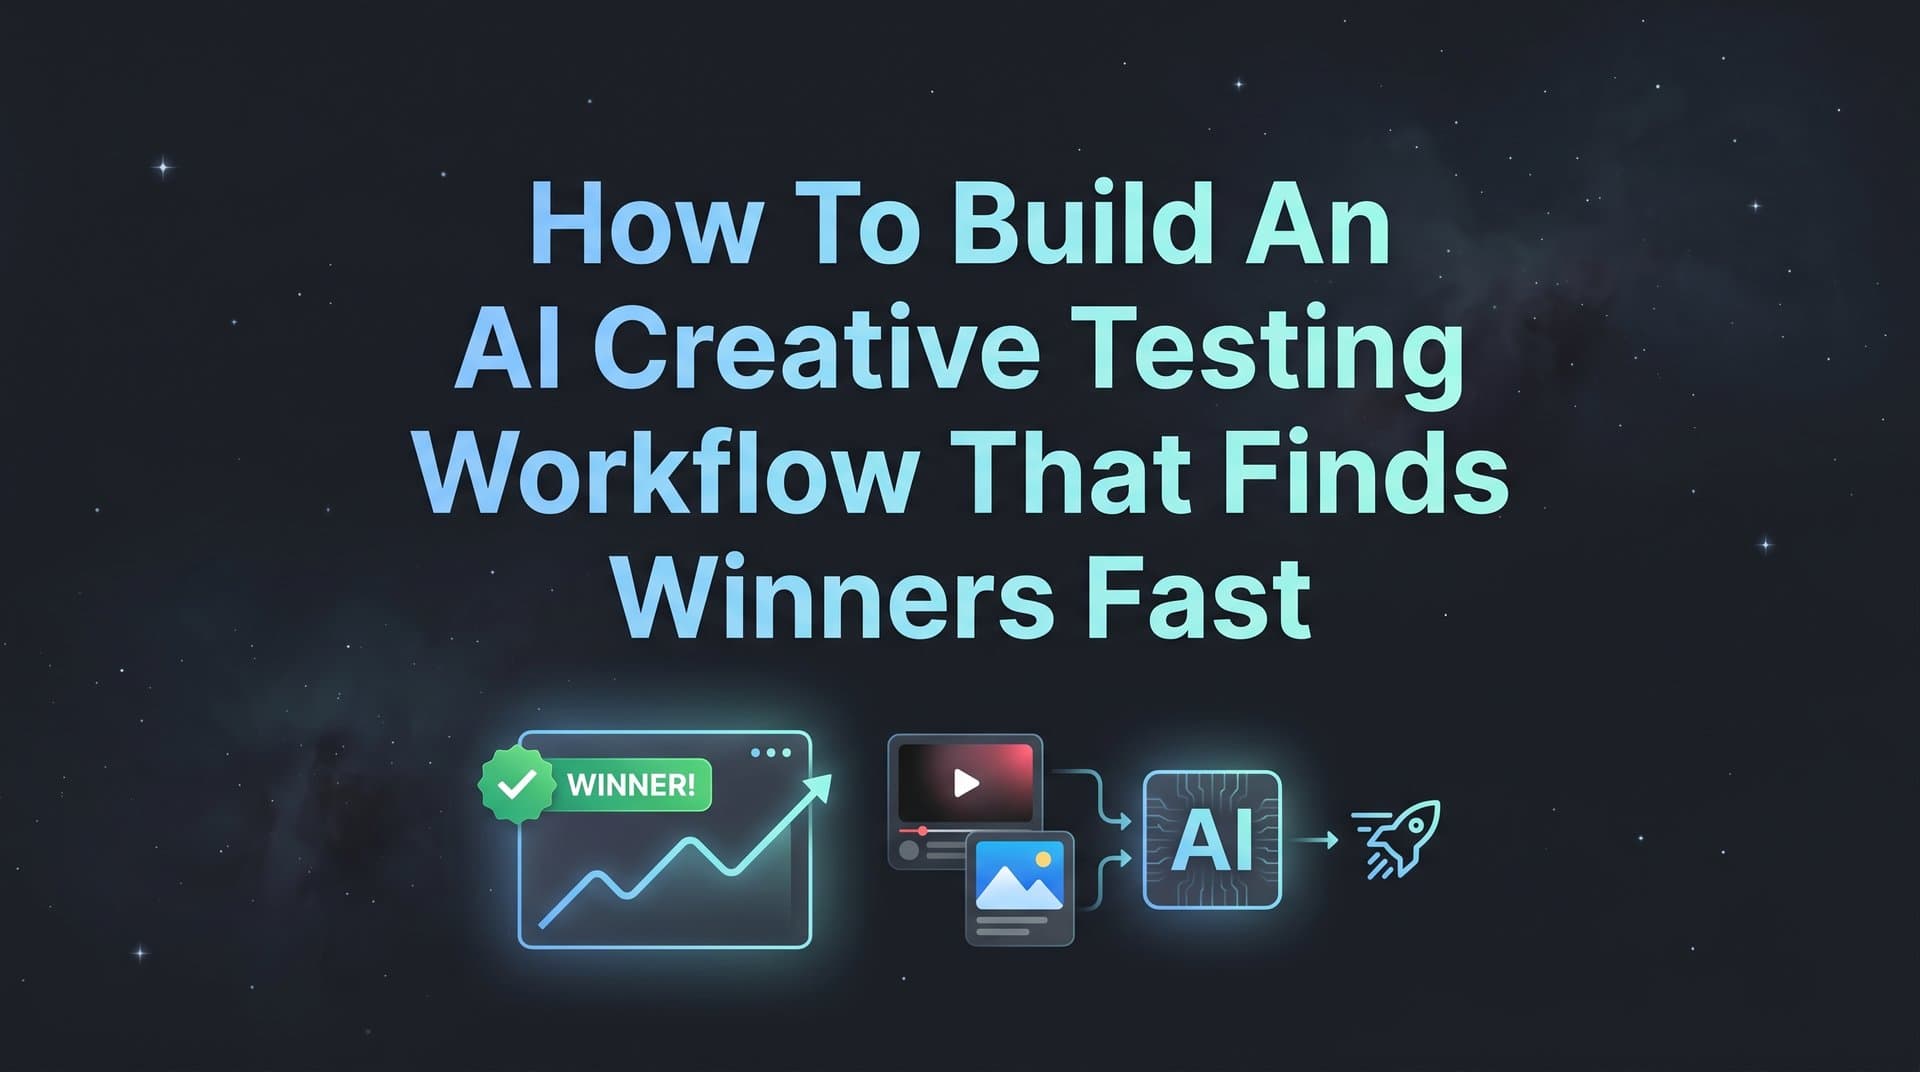
Most Meta advertisers test creatives the slow way: design a few ads, run them for two weeks, check the results, and repeat. By the time you find a winner, your budget has already taken the hit. An AI creative testing workflow flips this process entirely.
Instead of guessing which ad will perform, you generate dozens of variations, launch them simultaneously, and let performance data surface the winners automatically. The difference is not just speed. It is the quality of insight you get when you have enough creative volume to actually identify patterns.
This guide walks you through a practical, repeatable workflow that digital marketers and Meta Ads managers can implement immediately. Whether you are running campaigns for a single brand or managing multiple client accounts, the steps below will help you move from creative idea to confirmed winner in a fraction of the time.
Here is what you will cover: how to structure your creative inputs, generate high-volume ad variations, set up your testing framework inside Meta, read the signals that separate winners from losers, and build a system that compounds over time. Each step is designed to be actionable, not theoretical.
By the end, you will have a documented workflow you can hand off to a team member or run yourself on every new campaign. The tools and tactics here are built around what actually works in Meta advertising today, including AI-powered creative generation, bulk launching, and automated performance scoring.
If you have been relying on gut instinct or manual A/B tests to find your best ads, this workflow will change how you think about creative testing entirely. Let's get into it.
Step 1: Define Your Testing Goals and Success Metrics
Before you generate a single creative, you need to know exactly what you are trying to prove. This sounds obvious, but it is where most creative tests fall apart. Without a clearly defined goal, you end up with a pile of data and no way to make a decision.
Start by picking one primary KPI for the test. Just one. That might be ROAS, CPA, CTR, or conversion rate, depending on your campaign objective. Testing without a defined primary metric produces noise, not insight. Every other number you look at during the test should be context, not the deciding factor.
Next, pull your existing campaign data and establish benchmark numbers before any new creative work begins. You need a baseline to beat. If your current best-performing ad is delivering a $28 CPA, that is your target. Every variation in the test is competing against that number, not against each other in a vacuum.
Decide your minimum spend threshold per creative variation before you launch. This is the amount each ad needs to spend before you call it a winner or a loser. The exact number depends on your average order value and conversion rate, but the point is to set it in advance and stick to it. Premature decisions based on insufficient data are one of the most expensive mistakes in creative testing for Facebook ads.
Document your audience segments upfront and lock them in before testing begins. Creative testing only works when the audience variable stays constant. If you are changing both the creative and the audience at the same time, you cannot attribute performance differences to either one. Keep your audiences fixed and let the creatives compete on equal footing.
One common pitfall worth flagging here: optimizing for CTR when your actual goal is purchases. A high click-through rate feels like a win, but if those clicks are not converting, your ad is attracting the wrong people. Always tie your primary KPI back to the business outcome you actually care about.
Success indicator: You have a written one-page brief with your primary KPI, target benchmark, minimum spend per variation, and audience parameters locked in before any creative work begins. This document becomes the foundation for every decision you make in the steps that follow.
Step 2: Generate a High-Volume Creative Set with AI
With your goals defined, it is time to build your creative set. The traditional approach, briefing a designer, waiting for concepts, reviewing rounds of revisions, means you might launch a test with four or five creatives if you are lucky. That is not enough volume to find meaningful winners.
AI creative generation changes this entirely. Using a tool like AdStellar, you can produce image ads, video ads, and UGC-style variations from a single product URL, removing the designer bottleneck and getting to a testable creative set in a fraction of the time. No designers, no video editors, no waiting.
Organize your creative generation around three distinct angles. Problem-focused creatives speak to the pain your product solves. Benefit-focused creatives highlight the transformation or outcome. Social proof-focused creatives lean on credibility signals like reviews, results, or user-generated content. Each angle speaks to a different buyer mindset, and you genuinely do not know which one will resonate most with your audience until you test.
Aim for at least 10 to 15 distinct creatives per campaign. Testing fewer than this limits your ability to find statistically meaningful winners. When you have enough variation, patterns emerge. When you have four ads, you just have four ads.
Use chat-based editing to refine specific elements without starting from scratch. If a headline is not quite right or the call-to-action placement feels off, you can adjust individual components while keeping the rest of the creative intact. This is far more efficient than regenerating from zero.
One of the more underused tactics in creative research is checking the Meta Ad Library to see what formats and angles competitors are already running. AdStellar lets you clone competitor ads directly from the library and then generate your own differentiated versions. You are not copying; you are understanding what is already resonating in your category and building something better.
Vary your ad formats intentionally. Include at least one static image, one short-form video, and one UGC-style creative in every test batch. Format differences often drive bigger performance gaps than messaging differences. A UGC-style creative might dramatically outperform a polished product image with the exact same headline, and you will never know unless you test across formats. Exploring top AI-driven ad creative generation tools can help you scale this process efficiently.
Common pitfall: Generating 15 creatives that all use the same visual style and hook. Variety in format and angle is what makes a creative test meaningful. If all your ads look like they came from the same template, you are not really testing anything.
Success indicator: You have a creative set with at least 10 variations spanning multiple formats, angles, and visual styles, all ready to upload. Each creative is clearly labeled by format and angle so you can track patterns when results come in.
Step 3: Structure Your Campaign for Clean, Readable Tests
How you structure your campaign determines whether your test results are actually usable. A messy structure produces ambiguous data. A clean structure produces clear decisions.
The first rule: use a dedicated testing campaign, separate from your scaling campaigns. Mixing test and scale budgets in the same campaign muddies your data and starves new creatives of spend. Your scaling campaigns are optimized for efficiency. Your testing campaign is optimized for learning. These are different objectives and they need different structures.
Set up one ad set per audience segment you want to test against. This keeps audience variables controlled while your creative variables change. If you have three audience segments you want to test, you have three ad sets, each running the same creative set. Results can then be compared across audiences without the data getting tangled.
This is where AI campaign builder tools become genuinely useful. Rather than manually selecting headlines, audiences, and copy combinations, you can use a tool that analyzes your historical campaign data, ranks every element by past performance, and builds complete campaign structures automatically. AdStellar's AI Campaign Builder does exactly this, with full transparency on why each decision was made so you understand the strategy, not just the output.
Assign equal budgets across ad sets during the testing phase. Unequal budgets create unfair comparisons and can suppress valid winners before they get enough impressions to show their potential. Every ad set in a test should start with the same daily budget. A well-defined Facebook ad testing framework makes this budget discipline much easier to maintain consistently.
Enable all placements during the initial test phase unless you have strong historical data showing a specific placement dramatically underperforms for your offer. Restricting placements too early limits Meta's ability to find efficient delivery and can skew your results.
Document your campaign structure in a simple spreadsheet: campaign name, ad set, audience, creative ID, and date launched. This reference document becomes essential when you are analyzing results and trying to remember which creative ran against which audience.
Common pitfall: Using campaign budget optimization during a creative test. CBO can funnel all spend to one creative before others get a fair chance, which defeats the purpose of testing. Use ad set-level budgets during the testing phase to keep spend distribution even.
Success indicator: Your test campaign is live with equal budgets per ad set, one audience per ad set, and every creative variation assigned correctly. Your tracking spreadsheet is filled in before you move to the next step.
Step 4: Launch Hundreds of Variations in Minutes with Bulk Ad Creation
Here is where the AI creative testing workflow starts to feel genuinely different from anything you have done manually. Bulk ad launching lets you mix multiple creatives, headlines, audiences, and copy combinations at both the ad set and ad level simultaneously, generating every possible combination automatically rather than building each ad by hand.
What used to take a full day of repetitive setup now takes minutes. With AdStellar's bulk launch feature, you select your creative set, add your headline variants and body copy options, and the platform generates every combination and pushes them all to Meta in clicks. The time savings compound quickly when you are running multiple campaigns or managing multiple accounts. Teams struggling with a Facebook ad testing process that is too time consuming will find this step alone transformative.
Pair each creative with at least two headline variants and two body copy variants. This gives you creative testing data and copy testing data from the same campaign, doubling the learning you get from a single test. When a winner emerges, you will know whether it was the visual, the headline, or the combination that drove performance.
Before you hit launch, review every combination. AI-generated combinations are fast, but a final human review catches any mismatches between creative and copy that could hurt performance or send a confusing message. A product image paired with the wrong offer headline is a common mistake that a quick review prevents.
Set your campaign start date at least 24 hours in advance. This gives Meta's system time to process and review all variations before they go live. Launching immediately can sometimes result in delivery delays or review holds that stagger your start times and make early data comparisons unreliable.
Confirm that your tracking is active before you close the browser. Check that your Meta pixel or Conversions API is firing correctly, and verify that any third-party attribution tools are connected. Launching a test without confirmed tracking is one of the most frustrating mistakes to discover after the fact.
Common pitfall: Launching too many variations with too little total budget. Each variation needs enough spend to generate meaningful data. If your budget cannot support the number of variations you have created, reduce your variation count or increase your budget before launching.
Success indicator: Your campaign is live with all creative and copy combinations running, and your tracking is confirmed active. You have a record of the launch date and time so you know when to check back for early signals.
Step 5: Read the Early Signals and Cut Losers Quickly
The temptation to check results the morning after launch is real, but resist it. Meta's delivery system needs time to exit the learning phase before the data becomes reliable. Check performance after 48 to 72 hours, not after 24 hours. Early data is often misleading and can push you toward cuts you will regret.
When you do check in, use AI insights and leaderboard rankings to sort every creative by your primary KPI. If your goal is purchases, sort by ROAS or CPA first. CTR is a secondary signal, not a decision metric, unless traffic is explicitly your campaign objective. Leaderboard views make it easy to see at a glance which creatives are pulling ahead and which are falling behind.
Look for creatives that are spending but generating zero conversions after reaching your minimum spend threshold. These are your clear cuts. There is no version of the story where a creative that has spent past your threshold with no conversions suddenly turns around. Pause them and reallocate that budget.
Pay special attention to creatives with strong CTR but poor conversion rates. This pattern usually points to a landing page alignment problem rather than a creative problem. The ad is doing its job of generating interest, but something downstream is breaking the conversion. Flag these for a separate landing page test rather than simply pausing the creative.
Pause underperformers decisively. Leaving losers running is not a neutral action. It is actively wasting budget that should be flowing to your top performers. The faster you cut what is not working, the faster your budget concentrates on what is. Understanding automated creative selection for ads can help you build rules that make this pruning process even faster.
That said, do not cut a creative that has not yet reached your minimum spend threshold, even if early numbers look weak. Premature cuts are one of the most common and costly mistakes in creative testing. The threshold you set in Step 1 exists for exactly this reason. Trust the process you designed.
Success indicator: After 72 hours, you have paused clear losers, identified your top two or three performers, and reallocated budget toward the creatives that are hitting or approaching your target KPI. Your tracking spreadsheet is updated with current performance data for each variation.
Step 6: Scale Winners and Feed Them Into Your Permanent Library
Finding a winner is only half the job. What you do with that winner determines whether this test was a one-time event or the beginning of a compounding system.
Move confirmed winners from your test campaign into your scaling campaign with a higher budget. The key word is incremental. Do not increase budget by more than double in a single step. Large budget jumps can reset Meta's learning phase, which forces the algorithm to re-optimize from scratch and often causes a temporary performance dip right when you are trying to scale. Gradual increases preserve the optimization momentum you have built.
Save every confirmed winner to a structured creative library with its full performance data attached. ROAS, CPA, CTR, and the audience it performed against should all be documented alongside the creative itself. AdStellar's Winners Hub is built exactly for this purpose, giving you one place where your best-performing creatives, headlines, and audiences live with real performance data attached, ready to pull into your next campaign instantly. Building a robust Meta ads winning creative library is what separates teams that compound their results from those that start from scratch every time.
Now do the analysis that most teams skip. Look at what your winners have in common. Is it the visual style? The hook type? The format? The offer framing? The patterns you identify here become your creative brief for the next testing round. If your top three performers all used a problem-focused hook with a UGC-style format, that is not a coincidence. That is a signal.
Use winning creatives as inputs for your next AI generation cycle. Clone the structure of a winner and generate new variations on the same angle to extend its life. A winning concept rarely has a single execution. AI generation lets you explore the full range of that concept quickly and cheaply.
Share your winner data with your AI campaign builder so it can factor proven elements into future campaign builds automatically. This is how the system gets smarter over time. Each cycle adds to your library of proven elements, and each future campaign benefits from everything the system has learned. Teams managing multiple accounts will find that a streamlined agency workflow for Meta advertising makes this knowledge transfer far more consistent.
Common pitfall: Treating every test as a one-off event. The compounding value of this workflow comes from building a library of proven elements that inform every future campaign. A single test is useful. A library built from fifty tests is a genuine competitive advantage.
Success indicator: Your Winners Hub contains at least five documented creatives with full performance data, and your next testing brief is built from patterns identified in those winners. The cycle has officially started.
Putting It All Together: Your Repeatable Testing Checklist
Here is the workflow distilled into a quick-reference checklist you can use before every new campaign:
1. Write your one-page testing brief: primary KPI, benchmark, minimum spend threshold, and locked audience segments.
2. Generate 10 to 15 creatives spanning at least three angles and three formats using AI creative tools.
3. Build your test campaign with equal budgets per ad set, one audience per ad set, and ad set-level budget control.
4. Use bulk launching to create every creative and copy combination and push them live simultaneously.
5. Check results at 72 hours, cut clear losers, and reallocate budget to top performers.
6. Move winners to your scaling campaign incrementally, document them in your creative library, and analyze patterns for the next brief.
The workflow is cyclical by design. Winners from Step 6 feed directly back into Step 2 as creative inputs for the next round. Each cycle builds on the last. Your benchmarks get sharper, your creative briefs get more targeted, and your time investment shrinks because your library and performance data are already established.
The goal is not to find one perfect ad. The goal is to build a system that continuously surfaces winners, and that system gets faster and smarter with every cycle you run.
AdStellar handles Steps 2 through 6 in one platform: AI creative generation across image, video, and UGC formats, bulk launching, AI-powered insights with leaderboard rankings, and a Winners Hub that keeps your best performers organized and ready to reuse. No designers, no video editors, no manual ad building.
If you are ready to run your first AI creative testing workflow, Start Free Trial With AdStellar and launch your first creative test within a week. The platform is built for exactly this workflow, and the first cycle will show you what you have been leaving on the table.