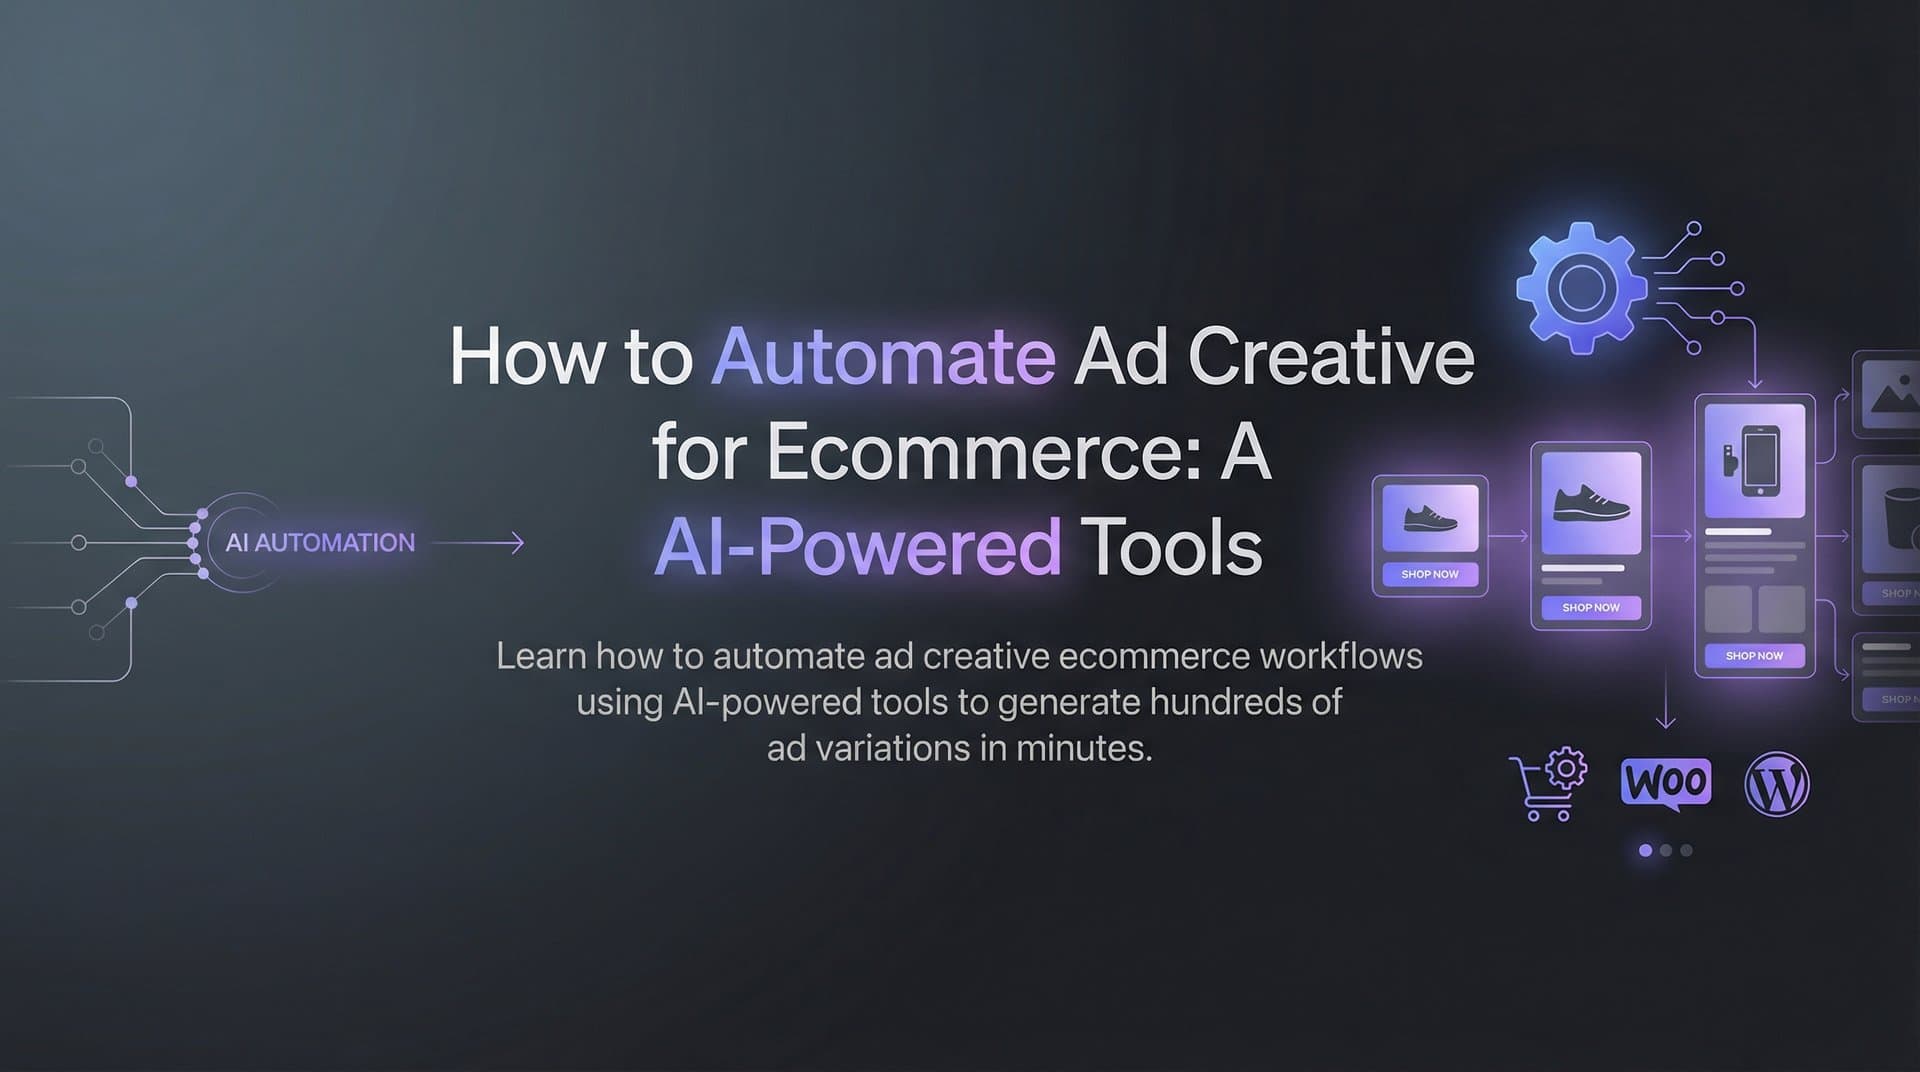
Creating fresh ad creatives for your ecommerce store used to mean hiring designers, coordinating photoshoots, and waiting days or weeks for deliverables. For most online sellers, this bottleneck directly impacts revenue. When you cannot test new creatives fast enough, you burn through audiences, watch ad fatigue tank your ROAS, and lose ground to competitors who move faster.
The solution is automation. By using AI-powered tools to generate, test, and optimize ad creatives, ecommerce brands can produce hundreds of variations in the time it used to take to create one.
This guide walks you through the exact process to automate your ad creative workflow, from initial setup to scaling your winners. Whether you sell on Shopify, WooCommerce, or another platform, these steps will help you build a creative engine that runs continuously without draining your time or budget.
Step 1: Audit Your Current Creative Workflow and Identify Bottlenecks
Before automating anything, you need to understand exactly where your time and money disappear in your current creative process. Most ecommerce brands discover that the problem is not just one bottleneck but several small inefficiencies that compound into massive delays.
Start by mapping your existing workflow from initial concept to live ad. Write down every single step: briefing the designer, waiting for the first draft, requesting revisions, getting approval from stakeholders, resizing for different placements, uploading to Meta, and launching. Track how much time each stage actually takes, not how long you think it should take.
The biggest time sinks typically fall into three categories. Design requests pile up because you are working with freelancers juggling multiple clients or an in-house designer handling ten other projects. Revision cycles stretch out because feedback happens asynchronously over email or Slack. Asset sourcing becomes a research project when you need the perfect product photo or lifestyle image that does not exist yet.
Now calculate your true cost per creative. Include designer fees whether hourly or per-project, stock image licenses, internal hours spent on briefing and revisions, and the opportunity cost of campaigns you did not launch because you lacked creatives. Most ecommerce brands are shocked when they realize each finished ad costs $200 to $500 when you account for everything.
Finally, document which creative types actually perform. Pull your Meta Ads Manager data and identify patterns. Do static product images outperform lifestyle shots? Do video ads crush everything else? Does UGC-style content with real people drive better conversion rates? This analysis ensures your automation efforts focus on high-impact formats rather than just making it easier to produce ads that do not work. Understanding Facebook ads productivity challenges helps you pinpoint exactly where automation delivers the biggest gains.
Success indicator: You should have a clear number for how long and how much each creative currently costs, plus a ranked list of which formats deserve your attention.
Step 2: Choose an AI Ad Creative Platform That Fits Ecommerce Needs
Not all AI creative tools are built for ecommerce. Many generic platforms force you to start from scratch with text prompts, which defeats the purpose of automation. You need a platform designed specifically for product advertising that understands how online stores operate.
Evaluate platforms based on the output types they support. At minimum, you need static image ads for feed placements, video ads for Reels and Stories, and ideally UGC-style content that mimics authentic creator posts. The platform should handle all three formats without requiring you to jump between different tools.
Look for product URL input capability. This feature is non-negotiable for ecommerce automation. The AI should pull your product images, descriptions, pricing, and other details directly from your product page URL. This eliminates manual data entry and ensures the creative accurately represents what you are selling. Some platforms can even analyze competitor product pages to generate creatives based on their offerings.
Prioritize tools with direct Meta integration. The whole point of automation is eliminating manual steps, so uploading creatives one by one to Ads Manager defeats the purpose. Your platform should launch campaigns directly to Meta with optimized audiences, headlines, and ad copy without you ever leaving the interface. Reviewing the best AI-driven ad creative generation tools helps you compare features across leading platforms.
Consider platforms like AdStellar that combine creative generation with campaign management in one workflow. Instead of using one tool to make ads, another to organize them, and Meta Ads Manager to launch them, you handle everything in a single platform. AdStellar generates image ads, video ads, and UGC avatar content from a product URL, lets you refine outputs with chat-based editing, and launches complete campaigns with bulk variation testing built in.
Check for learning capabilities. The best platforms analyze your historical campaign data to improve future outputs. They should identify which creatives, headlines, and audiences performed best, then use those insights to build smarter campaigns automatically. This creates a feedback loop where the AI gets better with every campaign you run.
Success indicator: You have chosen a platform that handles your required creative formats, accepts product URLs as input, integrates directly with Meta, and learns from performance data.
Step 3: Set Up Your Product Feed and Brand Assets
Once you have chosen your platform, the setup phase determines how smoothly automation runs. Think of this step as building the foundation. The more organized your inputs, the faster you can generate creatives later without constant manual adjustments.
Connect your product catalog or prepare to input product URLs. If your platform supports direct integration with Shopify, WooCommerce, or other ecommerce platforms, connect it now. This allows the AI to pull product data automatically whenever you need new creatives. If direct integration is not available, create a spreadsheet with product URLs organized by category, collection, or campaign priority. This becomes your quick reference when generating ads.
Upload your brand guidelines to ensure creative consistency. Include your logo files in multiple formats, brand color codes in hex values, approved fonts, and tone of voice preferences. Many AI platforms let you set these as defaults so every generated creative automatically incorporates your brand identity. This prevents the generic look that screams "AI-generated" and maintains the professional appearance your customers expect.
Create a swipe file of competitor ads worth cloning. Use Meta Ad Library to research what your competitors are running. Look for ads that have been live for months, which signals they are profitable and worth testing. Save screenshots or URLs of these ads in a dedicated folder. Platforms like AdStellar let you clone competitor ads directly from the Meta Ad Library, so having this research ready accelerates your creative generation sessions.
Organize everything by product category or campaign type. If you sell multiple product lines, create folders for each: summer collection, best sellers, new arrivals, clearance items. This organization pays off when you need to generate 50 creatives for a flash sale and you can pull all relevant products instantly instead of searching through your entire catalog. Mastering designing ads at scale requires this level of systematic preparation.
Success indicator: Your platform has access to product data, your brand assets are uploaded and set as defaults, and you have a swipe file of proven competitor ads ready to clone.
Step 4: Generate Your First Batch of AI Ad Creatives
Now comes the exciting part: actually creating ads at scale. The key to your first batch is starting with products that give you the most valuable learning, not necessarily your entire catalog at once.
Start with your best-selling products. These items already have proven demand, so any performance data you gather will be meaningful. If you start with slow-moving inventory, you cannot tell whether poor results come from weak creatives or lack of product-market fit. Your top sellers give you clean data to evaluate the AI's creative quality.
Generate multiple formats for each product. Create static images for feed placements where users scroll quickly and need immediate visual impact. Generate video ads for Reels and Stories where motion captures attention in a crowded environment. Produce UGC-style avatar content that looks like authentic creator posts rather than polished brand advertising. The best AI UGC generators create content that feels native to social feeds while maintaining brand consistency. Each format serves a different placement and audience mindset, so you need all three to maximize reach.
Use chat-based editing to refine outputs without starting over. Maybe the AI generated a great image but the headline is too generic. Instead of regenerating from scratch, use conversational editing to adjust specific elements. Ask the platform to make the headline more benefit-focused, change the background color to match your brand, or swap the product angle. This iterative approach is faster than traditional design revisions.
Create at least 10 to 15 variations per product. This might sound excessive, but meaningful testing requires volume. You need multiple creative angles, different value propositions, various visual styles, and diverse copy approaches. Some will highlight price, others emphasize quality, some show the product in use, others focus on close-up details. This variety ensures you discover what resonates rather than guessing.
Do not overthink perfection on your first batch. The goal is learning, not launching your magnum opus. Generate the creatives, review them for obvious brand misalignment or factual errors, and move forward. You will refine your approach based on performance data, so spending hours tweaking variations before you have any results wastes time.
Success indicator: You have 10 to 15 creative variations across multiple formats for your top three to five products, ready to launch.
Step 5: Launch Campaigns with Bulk Variation Testing
You have your creatives. Now you need to test them efficiently, which means launching dozens or hundreds of combinations without manually creating each one. This is where bulk launching transforms your workflow from tedious to automatic.
Combine multiple creatives with different headlines, audiences, and copy at the ad set level. Instead of creating one ad set with one creative, one headline, and one audience, you are mixing and matching. Take five creatives, pair them with three headlines, test them against four audiences, and add two variations of ad copy. That simple combination creates 120 unique ads. Bulk launching generates every permutation automatically.
Use your platform's bulk creation features to build these combinations in minutes. The right bulk ad launcher lets you select multiple creatives, headlines, audiences, and copy variations, then generates every combination and launches them to Meta in clicks. What used to take hours of manual ad set duplication now happens while you grab coffee.
Set up proper naming conventions before you launch. You need to track which specific elements drive performance, so establish a consistent structure. Use formats like "Product_Creative-Type_Audience_Headline-Variant" so you can quickly identify that "Sneakers_Video_Fitness-Enthusiasts_Comfort-Focus" is the video creative about sneakers targeting fitness enthusiasts with a comfort-focused headline. Clear naming makes analysis possible later.
Start with modest budgets spread across variations. The goal is gathering data, not spending your entire monthly budget on day one. Allocate enough to each variation to exit the learning phase and generate statistically meaningful results, but keep individual budgets low until you identify winners. Many ecommerce brands start with $10 to $20 per ad set daily, which adds up across dozens of variations but remains controllable.
Launch everything simultaneously rather than in waves. Staggered launches make comparison difficult because market conditions change. Running all variations at once ensures they compete under the same circumstances: same day of week, same seasonality, same competitive landscape. This gives you clean data about which creative elements actually work.
Success indicator: You have launched at least 50 to 100 ad variations testing different combinations of creatives, headlines, audiences, and copy, all with consistent naming and modest budgets.
Step 6: Analyze Performance and Surface Your Winners
After your campaigns run for a few days, you will have data. The question is how to make sense of it without drowning in spreadsheets. This is where AI-powered analytics separate automation from just faster manual work.
Use leaderboard rankings to see which specific elements perform best. Instead of looking at campaign-level results, you need creative-level, headline-level, and audience-level breakdowns. Platforms like AdStellar rank every creative, headline, copy variation, audience, and landing page by metrics like ROAS, CPA, and CTR. You can instantly see that Creative A drives 3x better ROAS than Creative B, or that Headline 2 generates 40% lower CPA than Headline 1.
Set target goals so the AI can score everything against your specific benchmarks. Your acceptable CPA might be $25, your target ROAS might be 4x, and your minimum CTR might be 2%. When you configure these goals, the platform scores every element accordingly. Learning how to analyze ad performance systematically turns dashboard chaos into clear action steps.
Move proven performers to a winners hub for easy reuse. Once you identify creatives, headlines, or audiences that consistently outperform, save them in a dedicated collection. This becomes your starting point for future campaigns. Instead of generating everything from scratch, you begin with known winners and create variations around them. Your winners hub grows over time, becoming a library of proven assets.
Identify patterns in winning creatives to inform your next generation batch. Maybe all your top performers feature product close-ups rather than lifestyle shots. Perhaps benefit-focused headlines crush feature-focused ones. Video ads might dominate static images for certain product categories. These patterns guide your next creative generation session. You are not guessing what might work; you are doubling down on what already did.
Do not kill underperformers too quickly, but do not let them drain budgets either. Give variations at least three to five days to exit the learning phase and generate meaningful data. Some creatives start slow but improve as the algorithm optimizes delivery. However, once you have clear losers after a week, pause them and reallocate budget to winners.
Success indicator: You have identified your top five creatives, top three headlines, and top two audiences with specific performance metrics, and you have saved them for future use.
Step 7: Build a Continuous Creative Loop That Scales
Automation is not a one-time project. The real power comes from building a repeatable system that runs continuously, improving with each cycle. This final step transforms your workflow from manual campaign launches to an automated creative engine.
Schedule weekly or bi-weekly creative generation sessions using insights from previous campaigns. Block time every Monday or every other Friday dedicated to generating new creatives. During these sessions, pull your performance data, identify patterns, and create the next batch of ads based on what you learned. This rhythm keeps fresh creatives flowing into your campaigns without requiring daily attention.
Clone and iterate on winners rather than starting fresh each time. If a specific creative drove exceptional ROAS, generate variations: change the background color, swap the headline, adjust the product angle, or modify the call-to-action. You are building on proven success rather than hoping a completely new approach works. This iterative method compounds your learning over time. Implementing automated campaign testing ensures you continuously discover new winning combinations without manual effort.
Let AI analyze historical data to build smarter campaigns automatically. Platforms like AdStellar use your past performance to inform future campaign builds. The AI identifies which creative styles, audience segments, and messaging approaches worked best, then applies those insights when building your next campaign. Every cycle makes the AI smarter because it has more data to learn from.
Expand to new products and audiences once your core workflow runs smoothly. Start with one product category until you have the process dialed in. Once you are confidently generating creatives, testing variations, identifying winners, and scaling them, expand to another category. Then another. Eventually, you are running this automated loop across your entire catalog without the workflow becoming overwhelming.
Track your efficiency improvements over time. Compare how many creatives you can produce now versus when you started. Measure how quickly you move from concept to live ad. Calculate your cost per creative with automation versus your old manual process. These metrics prove the value of your system and help you optimize further.
Success indicator: You have a recurring calendar schedule for creative generation, a documented process for cloning winners, and you are expanding automation to additional product categories.
Putting It All Together
Automating ad creative for ecommerce transforms how you compete. Instead of waiting on designers or settling for stale creatives, you can generate fresh variations daily, test them at scale, and double down on winners within the same platform.
The key is building a repeatable system. Audit your workflow to understand current bottlenecks and costs. Choose an AI platform designed for ecommerce with product URL input and direct Meta integration. Set up your product feed and brand assets once so future generation happens faster. Generate your first batch focusing on best sellers and multiple formats. Launch campaigns with bulk variation testing to create hundreds of combinations in minutes. Analyze performance with leaderboards and goal-based scoring to identify winners. Build a continuous loop where insights from each campaign inform the next generation batch.
Start with one product category, prove the process works, then expand. Your competitors are still waiting on revision rounds while you are already testing your next hundred creatives. The brands winning in paid advertising right now are not necessarily those with bigger budgets, but those who can test faster, learn quicker, and scale what works before the competition catches up.
Ready to transform your advertising strategy? Start Free Trial With AdStellar and be among the first to launch and scale your ad campaigns 10x faster with our intelligent platform that automatically builds and tests winning ads based on real performance data.