Video ads consistently outperform static images on Meta platforms. Most marketers know this. The problem has never been awareness of that fact. The problem has been production. Hiring a videographer, briefing an editor, waiting through revision cycles, and finally receiving a finished asset days or weeks later is a process that simply does not scale when you are managing multiple products or running campaigns for a roster of clients.
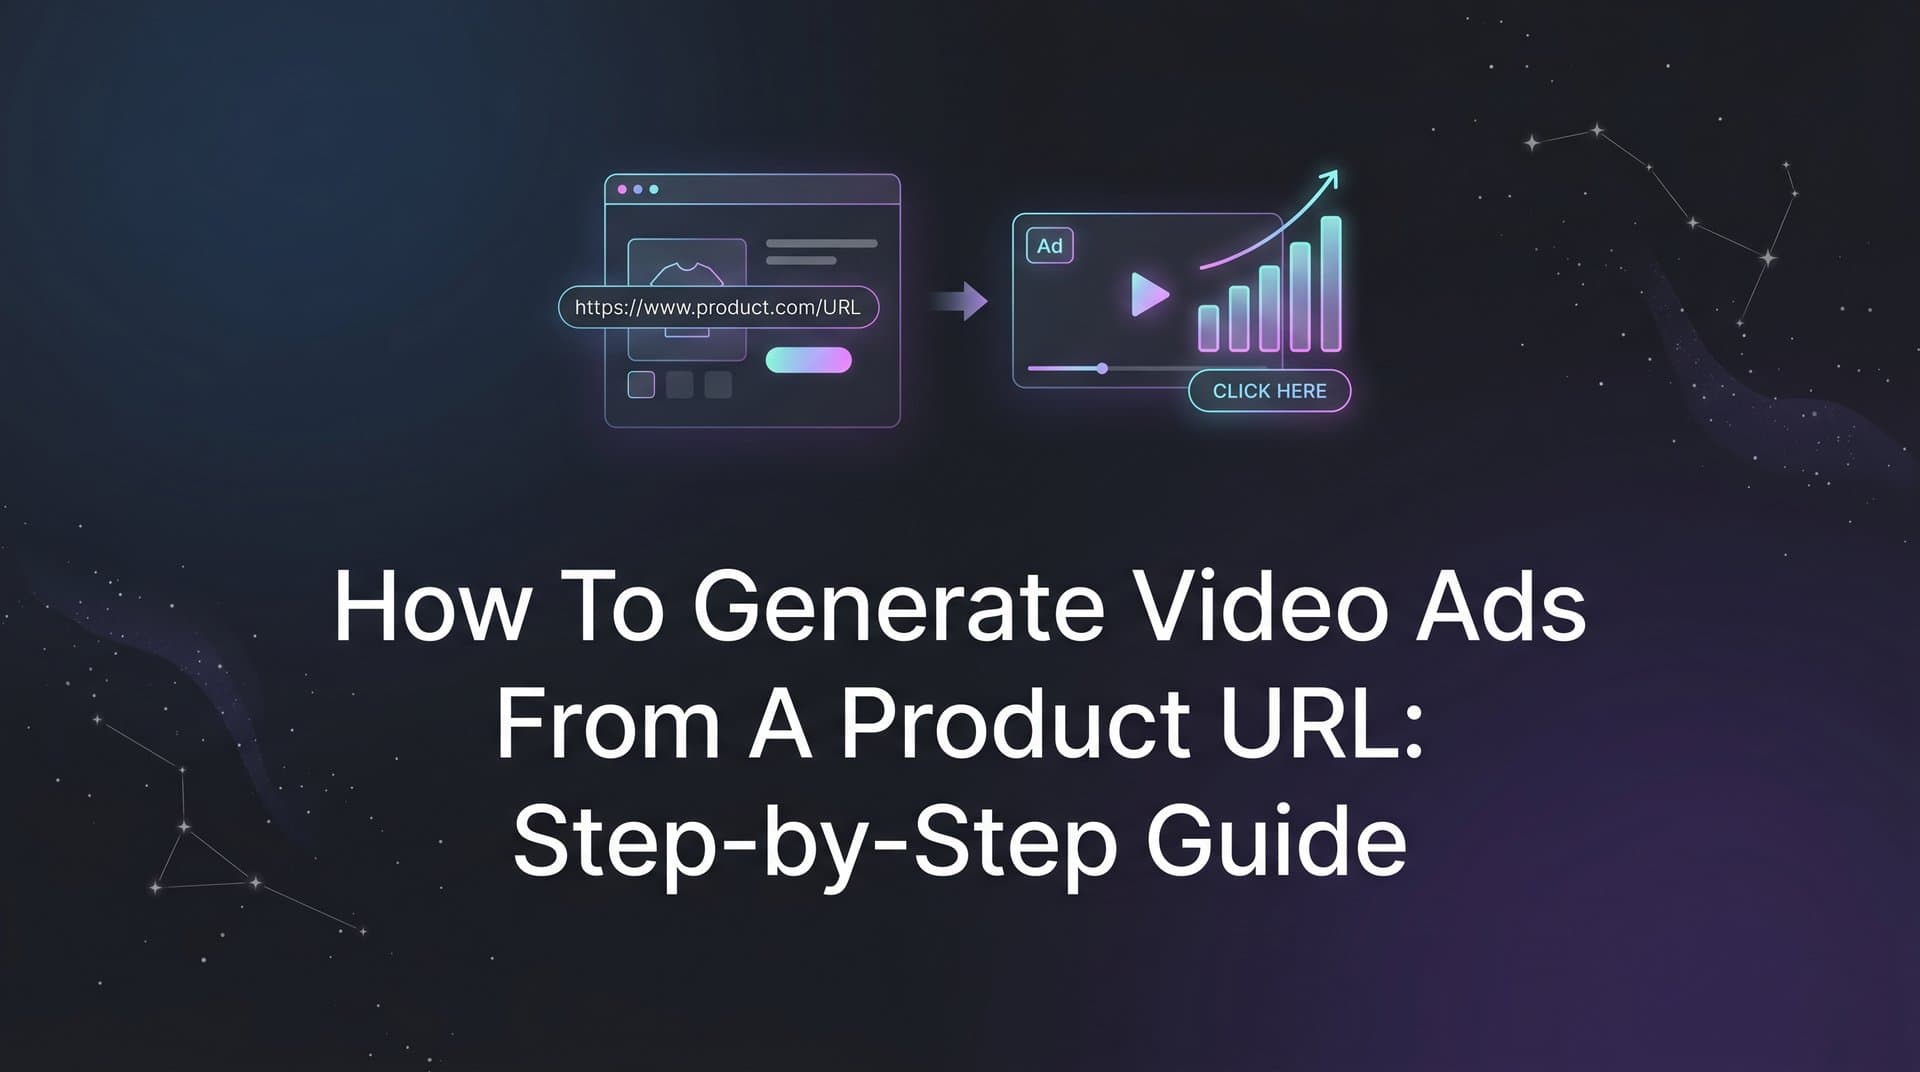
That bottleneck is now a solved problem. Paste a product URL, and AdStellar's AI Creative Hub generates a polished, ready-to-launch video ad in minutes. No production team. No design software. No waiting.
This guide walks you through every step of that process, from preparing your product page to tracking performance and scaling your winners. Whether you are running campaigns for a single product or managing dozens of SKUs, this workflow is repeatable and scales without adding headcount or production costs.
By the end of these steps, you will have a complete video ad built from your existing product page, refined to match your brand, and ready for Meta campaign deployment. Let's get into it.
Step 1: Prepare Your Product URL for the Best AI Output
The quality of your AI-generated video ad is directly tied to the quality of your product page. Before you paste anything into AdStellar, spend five minutes auditing the page you plan to use. This small upfront investment pays off in stronger first-draft creatives and fewer manual corrections later.
Here is what the AI looks for when it scrapes your product URL:
Product images: High-resolution images that load correctly and show the product clearly. Blurry, missing, or placeholder images will result in weak visual assets in your video.
Product title and headline: A clear, descriptive product name that communicates what the item is and who it is for. Vague titles produce vague hooks.
Benefit-focused copy: Descriptive body copy or bullet-point benefits give the AI material to turn into on-screen text overlays and script lines. If your page is thin on copy, add a short list of key benefits before running the generation. These often become the most effective text overlays in the finished video.
Price or offer visibility: A visible price, discount, or promotional offer gives the AI urgency signals it can incorporate into the CTA and script.
Before you move to the next step, run through this quick checklist:
1. The page loads correctly and all images render without errors.
2. The URL is publicly accessible. It is not behind a login, a paywall, or a staging environment.
3. The page is not a redirect that points elsewhere. Use the final destination URL, not a shortened or redirected link.
4. A meta description is present. This gives the AI an additional source of structured product information.
The most common pitfall at this stage is using a staging URL or a password-protected preview page. The AI will either pull incomplete data or fail to scrape the page entirely. Always use the live, public-facing product URL. Understanding how automated Facebook creative production works helps you prepare stronger source material from the start.
Once your page passes this audit, you are ready to generate.
Step 2: Open the AI Creative Hub and Start a New Video Ad
Log into your AdStellar account and navigate to the AI Creative Hub from the main dashboard. This is your central workspace for generating, editing, and organizing ad creatives.
Select Create New Ad and choose Video Ad as your creative format. This tells the platform to pull video-specific templates, aspect ratio options, and script generation capabilities rather than defaulting to static image formats.
Paste your product URL into the input field and let the AI scan the page. The scraping process typically takes a few seconds. During this time, AdStellar is extracting your product images, identifying your product name, pulling benefit statements from your copy, and surfacing potential hooks based on the language on your page.
Once the scan is complete, a preview panel populates with the extracted data. Review these fields carefully:
Product name: Confirm this matches your actual product title. If the AI pulled a generic page title or a site-wide header instead of the product name, correct it manually before proceeding.
Key benefits: These are pulled from your product description or bullet points. Verify they are accurate and in the right priority order. Move your strongest benefit to the top since it is likely to become your opening hook.
Extracted images: Check that the images shown are the product images you want in the video, not navigation icons, footer graphics, or unrelated site imagery.
Suggested headlines: The AI surfaces initial headline options based on your page content. These are starting points, not final copy. You will refine these in a later step.
Your success indicator at this stage is simple: the preview panel should populate with your product visuals and at least one suggested headline before you move forward. If the panel is empty or showing incorrect data, go back to your product URL and check the page audit checklist from Step 1. Marketers running Facebook ads for ecommerce businesses will find this extraction step especially valuable for surfacing product benefits quickly.
Do not skip the verification step. A few seconds spent confirming the extracted data now saves you from editing a video built on the wrong information.
Step 3: Choose Your Video Style, Format, and Ad Objective
This is where your campaign strategy shapes the creative. AdStellar gives you several video styles to choose from, and the right choice depends on what you are trying to accomplish with this specific ad.
Here are the main style options and when to use each:
Product showcase: Clean, visually driven format that highlights the product itself. Works well for e-commerce products with strong visual appeal, new product launches, and catalog-style campaigns.
UGC-style avatar: A spokesperson-style format that mimics user-generated content without requiring real actors. The AI generates a digital avatar presenter that delivers your script in a conversational tone. This format performs particularly well for direct-to-consumer brands where authenticity and relatability drive conversions. No actors, no filming, no casting calls required.
Feature highlight: Structured format that walks through specific product features or benefits in sequence. Effective for software, tech products, or anything with multiple distinct use cases that benefit from a logical walkthrough.
After selecting your style, choose your aspect ratio based on where you plan to run the ad. Getting the video size for Facebook ads right at this stage prevents rendering issues across placements:
1. 9:16 vertical for Reels and Stories, which are the dominant mobile placements on both Facebook and Instagram.
2. 1:1 square for Feed placements, which performs well across both desktop and mobile.
3. 16:9 landscape for in-stream video placements.
Next, set your ad objective. This input matters more than it might seem. When you tell AdStellar whether you are optimizing for conversions, traffic, or awareness, the AI adjusts the weight it gives to certain creative elements. A conversions objective will push the AI toward stronger CTAs, urgency language, and direct response framing. An awareness objective will lean toward brand storytelling and reach-oriented messaging.
Before moving on, generate at least two style variations. This takes very little additional time at this stage and gives you ready-made options for split testing later. The most common mistake here is generating a single version and committing to it before you have any performance data. Two variations running simultaneously will surface a winner far faster than running one ad in isolation.
Step 4: Customize the AI-Generated Script, Hooks, and On-Screen Text
The AI has done the heavy lifting. Now you refine it. This step is where good video ads become great ones, and it requires less technical skill than you might expect.
Start with the opening hook. The first three seconds of your video determine whether a viewer keeps watching or scrolls past. Read the AI-generated hook out loud. Ask yourself: does this immediately communicate a clear benefit or create enough curiosity to earn the next few seconds of attention? If the answer is no, use the chat-based editing interface to revise it.
The chat editor works exactly like messaging a colleague. Type a natural language instruction and the AI applies it. Some examples that work well in practice:
1. "Make the hook more urgent and lead with the problem it solves."
2. "Shorten the CTA to five words or fewer."
3. "Rewrite the second line to focus on the time-saving benefit instead of the feature."
4. "Make the tone more conversational and less formal."
You do not need to rewrite the entire script from scratch. Targeted instructions produce targeted revisions, which is faster and more precise than rebuilding. This is one of the core advantages of using AI to launch ads — the iteration cycle is measured in seconds, not days.
Next, review the on-screen text overlays. These are critical for silent viewing. A large portion of Meta users watch videos without sound, particularly in Feed placements. Your visual story and on-screen text need to carry the message independently of the audio. Check that:
Key benefits appear as text on screen at the moment they are mentioned in the script, reinforcing the message visually.
Font style and placement align with your brand guidelines. AdStellar lets you adjust both without rebuilding the creative.
Text timing gives viewers enough time to read each overlay before it transitions. A common issue with AI-generated video is text that appears and disappears too quickly on shorter clips.
Finally, verify your CTA. Specific, action-oriented CTAs consistently outperform generic ones. "Shop Now," "Get 20% Off Today," and "Try It Free" are more effective than "Learn More" or "Click Here" for direct response campaigns. The CTA should appear in the final three seconds of the video, and your hook should clearly state the core product benefit within the first line of the script.
When both of those conditions are true, your script is ready for preview.
Step 5: Preview, Refine, and Approve Your Video Ad
Before you approve anything, play the full video preview inside AdStellar. Watch it twice: once with sound on, and once with sound completely off. The silent viewing test is non-negotiable. If the visual story does not make sense without audio, the ad will underperform in Feed placements where autoplay often defaults to muted.
During your preview, check for the following:
Brand consistency: Logo placement, color palette, and font choices should align with your existing brand assets. If something looks off, use the chat editor to make corrections. You can swap background clips, adjust color treatments, or reposition elements without rebuilding the creative from scratch.
Mobile rendering: The majority of Meta placements are viewed on mobile devices. Zoom in on the preview to see how the ad looks at mobile size. Text that reads clearly on a desktop preview can become difficult to read on a phone screen. Pay particular attention to font size and any overlays placed near the edges of the frame.
Music and pacing: If the video includes a music track, confirm it complements the energy of the creative rather than competing with it. The chat editor allows you to swap tracks without restarting the generation process.
If you generated multiple style variations in Step 3, preview all of them before approving. You may find that one version has a stronger hook or better visual pacing, which makes the split testing decision easier before you even launch. Reviewing proven ecommerce Facebook video ad strategies at this stage can help you benchmark your creative against what consistently drives sales.
Once you are satisfied with a version, approve it and save it to the Winners Hub immediately. This keeps your approved creatives organized and accessible for future campaigns without hunting through your creative library. Even if this specific ad has not run yet, saving it now establishes the habit of keeping your best assets in one structured location with full context attached.
Step 6: Launch Your Video Ad Directly to a Meta Campaign
Your video ad is approved and ready. Now you move it from the creative stage into an active campaign without leaving the AdStellar platform.
From the AI Creative Hub, select Launch to Campaign. This pushes your approved video ad directly into the AI Campaign Builder, where the next phase of the process begins.
The AI Campaign Builder analyzes your historical performance data to make recommendations specific to this creative. It ranks past audiences by performance, evaluates which placements have delivered the strongest results for similar creative formats, and suggests budget allocation based on your campaign objective. Every recommendation comes with an explanation in the AI rationale panel so you understand the reasoning behind each decision, not just the output.
This transparency matters. When you know why the AI is recommending a particular audience or bid strategy, you can make an informed decision about whether to follow the recommendation or override it based on context the AI does not have access to, such as a seasonal promotion or a new audience segment you want to test.
If you generated multiple video variations in earlier steps, this is where the Bulk Ad Launch feature becomes a significant time saver. Rather than setting up each variation as a separate campaign manually, Bulk Ad Launch lets you mix multiple creatives, headlines, audiences, and copy at both the ad set and ad level. AdStellar generates every combination and launches them to Meta in a few clicks. What would take hours of manual setup is completed in minutes. This is the same principle behind launching Facebook ads at scale without expanding your team.
Before finalizing your campaign, connect Cometly attribution tracking at the campaign level. Meta's native reporting has well-documented attribution limitations. Cometly provides a more complete picture of true ROAS and CPA by tracking conversions across the full customer journey, giving you data you can actually make scaling decisions from.
Your success indicator at launch: at least two to three video ad variations running simultaneously. This gives the AI enough data to identify a winner at a meaningful pace. A single ad running in isolation takes significantly longer to surface actionable performance insights.
Step 7: Track Performance and Scale Your Winning Video Ads
Launching is not the finish line. It is the starting point for the part of the process that actually compounds over time.
Once your video ads are live, monitor performance in the AI Insights dashboard. The leaderboard view ranks your creatives by real metrics: ROAS, CPA, and CTR. This is not a vanity metrics dashboard. Every ranking is tied to performance data that reflects actual business outcomes.
The first configuration step in AI Insights is setting your target goals. When you define your specific ROAS target or CPA benchmark, the platform scores every video ad against those numbers rather than generic industry averages. This means the leaderboard is always showing you which ads are winning relative to your actual business objectives, not someone else's benchmarks.
As performance data accumulates, patterns will emerge. Pay attention to these signals:
Hook performance: If one video consistently outperforms others in the first few seconds (indicated by higher video completion rates and lower CPCs), the hook style is working. Note what made it effective and apply that approach to your next round of generation.
CTA effectiveness: Ads with strong late-video engagement and high click-through rates often have CTAs that match the intent of the audience. When a specific CTA consistently wins, replicate it across new creatives.
Format and placement: If 9:16 Reels placements are delivering stronger CPA than Feed placements for a particular product, that is a signal worth acting on in your next campaign build.
When a video ad surfaces as a clear winner, save it to the Winners Hub with its full performance data attached. From there, you can pull it directly into new campaigns and apply it to new audiences or higher budgets without recreating the asset. The creative already has a proven track record. You are simply expanding its reach. Understanding how to relaunch successful ads ensures you extract maximum value from every proven creative before moving on.
One important caution: do not pause winning ads too early. A short data window can produce misleading results. Allow enough spend to accumulate before making scaling decisions. What looks like a weak performer after two days may reveal itself as your strongest creative after two weeks of data.
The real power of this workflow is the feedback loop it creates. Every campaign produces performance data. That data informs your next round of video generation. When you return to Step 1 with a new product URL, you are not starting from zero. You are starting with knowledge about which hooks, CTAs, and formats have already proven themselves with your specific audience. Marketers who want to go further can explore scaling Facebook ads profitably to apply these same data-driven principles at a larger budget.
Your Launch Checklist and Next Steps
Generating video ads from a product URL no longer requires a production team or a multi-day turnaround. With AdStellar, the process from URL to live campaign can be completed in a single session.
Before you hit launch, run through this final checklist:
1. Your product page is publicly accessible, loads correctly, and contains strong benefit-focused copy.
2. You have selected a video style that matches your campaign objective.
3. The hook clearly states your core product benefit within the first line of the script.
4. On-screen text overlays carry the message even with sound off.
5. You have at least two creative variations ready to run simultaneously.
6. Attribution tracking is connected at the campaign level.
7. Target goals are set in AI Insights so performance scoring reflects your actual benchmarks.
The compounding advantage of this workflow is what happens after launch. AdStellar continuously scores your video ads, surfaces winners, and feeds those insights back into your next creative generation cycle. Every campaign makes the next one smarter. Your creative library grows. Your understanding of what works for your audience deepens. And the time from idea to live ad keeps shrinking.
If you have a product URL and a campaign goal, you have everything you need to get started. Start Free Trial With AdStellar and generate your first video ad from a product URL today.