Most people discover Instagram's GIF limitation the hard way: you upload what looks like a perfectly good animated file, and it shows up as a frozen, lifeless image. No movement, no loop, just a static frame staring back at you.
This is not a bug or a settings issue. It is simply how Instagram handles file formats. The platform converts uploaded images to JPEG and video to MP4, which means a raw .gif file loses its animation the moment it hits the server. Understanding this upfront saves you from spending twenty minutes troubleshooting something that was never going to work in the first place.
The good news is that animated content absolutely works on Instagram. You just need to approach it the right way depending on where you want it to appear: your Feed, your Stories, or a Direct Message conversation. Each placement has its own method, and this guide walks through all of them clearly.
Here is what you will learn: how to convert a GIF to MP4 for Feed posts, how to use Instagram's built-in GIPHY integration for Stories, how to share GIFs in Direct Messages, how to upload your own branded GIFs to GIPHY so they are searchable inside Instagram, and finally, how animated creatives fit into a paid Meta ad strategy for marketers who want to scale beyond organic posting.
Whether you are a social media manager handling organic content or a performance marketer building scroll-stopping ad creatives, this is a practical skill set worth having in your toolkit.
Step 1: Understand Why Instagram Does Not Support Direct GIF Uploads
Before jumping into workarounds, it helps to understand the mechanics of what is actually happening. Instagram processes every piece of content you upload through its own encoding pipeline. Images become JPEGs. Videos become MP4s. There is no pathway in that system for the .gif format to retain its animation.
This applies across the board: Feed posts, Reels, and standard video uploads all follow the same rules. If you drag a GIF into a Feed post as an image, Instagram reads it as a static image and strips the animation. If you try uploading it as a video, the result depends on the file, but the behavior is generally unreliable.
The platform does support animated content. Short looping videos, animated stickers in Stories, and GIF-powered Direct Messages all work well. The key distinction is that Instagram supports animation through its own approved pathways, not through the .gif file format directly.
Think of it like this: Instagram speaks MP4 and GIPHY. It does not speak .gif. Once you accept that framing, the workarounds stop feeling like workarounds and start feeling like the actual workflow.
Two main paths forward exist depending on what you are trying to accomplish. For Feed posts and Reels, you convert your GIF to an MP4 video file before uploading. For Stories, you use Instagram's built-in GIPHY sticker integration. For Direct Messages, you use the GIPHY keyboard that is already baked into the chat interface.
Knowing which path fits your use case before you start will save you time and prevent the frustration of uploading the wrong format to the wrong placement.
Step 2: Convert Your GIF to MP4 for Instagram Feed Posts
For Feed posts, converting your GIF to an MP4 video file is the most reliable method. The converted file behaves exactly like a short video on Instagram, looping automatically in the feed and preserving all the animation from the original.
You do not need any software installed to do this. Several free browser-based tools handle the conversion quickly and cleanly.
Recommended conversion tools: Ezgif.com, Convertio, and CloudConvert are all solid free options. Ezgif is particularly straightforward for this specific task since it was built around GIF manipulation.
Here is the step-by-step process:
1. Go to your chosen conversion tool (Ezgif.com is a good starting point). Navigate to the "GIF to MP4" option in the menu.
2. Upload your GIF file from your computer or paste a URL if the GIF is hosted online.
3. Click the convert button. The tool processes the file and generates a downloadable MP4.
4. Download the converted MP4 file to your device.
5. Open Instagram, tap the plus icon to create a new post, and select your MP4 file as you would any video upload.
Before you upload, make sure your file meets Instagram's current video specs. For Feed posts, square format is 1:1 at 1080 x 1080px. Portrait format is 4:5 at 1080 x 1350px. The file size limit is 4GB, which a converted GIF will almost never come close to. MP4 and MOV are both accepted formats. For a full breakdown of best size for Instagram photos and videos, it is worth reviewing the current spec guidelines before uploading.
Common pitfall to watch for: Very short GIFs, anything under three seconds, can loop awkwardly on Instagram because the platform adds a brief pause between loops. If your GIF is very short, open it in a basic video editor and duplicate the clip two or three times to extend the total duration before uploading. This creates a smoother viewing experience.
How to know it worked: After uploading, your post should play on loop automatically in the Feed, mimicking the original GIF behavior. Preview the post before publishing to confirm the animation is intact and the timing feels right.
This method works for both personal accounts and business accounts, and the resulting post performs like any other short video in the Feed algorithm.
Step 3: Add Animated GIF Stickers to Instagram Stories
Instagram Stories has a built-in GIPHY integration that makes adding animated GIF stickers straightforward. This is handled entirely inside the Instagram app with no file conversion needed.
Here is how to use it:
1. Open Instagram and tap the plus icon in the top left corner or swipe right from your Feed to open the Stories camera.
2. Take a photo or video, or upload existing media from your camera roll to use as your background.
3. Tap the sticker icon at the top of the screen. It looks like a square smiley face.
4. Select the GIF option from the sticker tray. This opens the GIPHY search interface directly inside Instagram.
5. Search by keyword to find the animation you want. GIPHY's library is extensive, so descriptive keywords work better than vague ones.
6. Tap the GIF sticker you want to add. It appears on your Story canvas where you can resize it by pinching, reposition it by dragging, and layer multiple stickers if needed.
7. Preview your Story to confirm the sticker is animating, then publish.
How to know it worked: The sticker should animate when you preview the Story before posting. If it appears static in preview, try removing and re-adding it.
Now, what if you want to share a specific branded GIF you created, not something from GIPHY's public library? You cannot upload a custom GIF file directly into the Stories sticker tool. Instead, you need to submit your GIF to GIPHY first through a GIPHY Brand Account, and once it is approved and indexed, it becomes searchable inside Instagram's GIF sticker tool. Step 5 covers exactly how to do that.
One important limitation to flag for marketers: this method works well for organic Stories content, but it is not available for Stories ads created inside Meta Ads Manager. Paid Stories ads require you to upload a video file directly. If you want to understand the size of Instagram Stories for ad placements, reviewing the current dimensions will help you prepare your files correctly.
Step 4: Share GIFs via Instagram Direct Messages
Instagram Direct has its own GIF functionality built in through GIPHY integration, and it works differently from the Stories sticker approach. Here, you are not adding a sticker to a visual canvas. You are sending a GIF as a message, similar to how you might send one in a text conversation.
Here is how it works:
1. Open Instagram and navigate to your Direct Messages inbox by tapping the paper plane icon in the top right corner.
2. Open an existing conversation or start a new one.
3. In the message bar at the bottom, tap the GIF button. If you do not see it immediately, tap the plus icon to expand your message options.
4. A GIPHY search bar opens. Type a keyword to find the animation you want.
5. Tap the GIF to send it. It delivers immediately as an animated message in the conversation.
This method is straightforward and requires no file preparation. The GIF plays automatically in the chat thread for both sender and recipient.
Where this fits for marketers: DM-based GIF sharing is not a broadcasting tool, but it has genuine value in conversational marketing contexts. Community managers can use it to respond to customer messages in a more engaging way. Sales-oriented accounts can use it as part of follow-up sequences. If you are running retargeting campaigns and following up with warm leads through DMs, a well-chosen animated response can make the interaction feel less transactional.
Key limitation: This method creates no public-facing content. It is purely for one-on-one or group conversations inside Direct Messages. If your goal is reach or visibility, this is not the right method. Use it for relationship and community touchpoints instead.
If you want to send a custom branded GIF via DM rather than something from GIPHY's public library, the same GIPHY Brand Account submission process from Step 5 applies. Once your branded GIF is indexed on GIPHY, it becomes searchable inside the DM GIF tool as well.
Step 5: Upload Your Custom GIF to GIPHY for Brand Visibility
If you have a branded GIF you want to use repeatedly across Stories stickers and Direct Messages, submitting it to GIPHY is the move. This is what unlocks your custom animation inside Instagram's native GIF tools.
Here is how to get your GIF onto GIPHY and searchable inside Instagram:
1. Go to giphy.com and create a free account if you do not already have one.
2. For branded GIFs that you want to be publicly searchable, you will need to apply for a GIPHY Brand Channel. This is a separate application process from just creating a personal account. A Brand Channel gives your GIFs a verified presence on GIPHY and makes them discoverable through keyword search both on GIPHY's platform and inside Instagram.
3. Once your account is set up, go to your GIPHY dashboard and upload your GIF file directly. GIPHY supports .gif uploads natively, so no conversion is needed at this stage.
4. Add descriptive tags to your GIF. This is important. The tags you add determine how your GIF appears in search results. Use terms that match how your audience would search for this type of animation. Brand name, campaign name, and descriptive keywords all belong here.
5. Submit for review. GIPHY reviews content before making it publicly searchable, particularly for Brand Channel submissions. This process can take a few days, so plan accordingly if you are working toward a campaign launch date.
6. Once approved and indexed, open Instagram Stories, tap the GIF sticker, and search for your brand name or the tags you added. Your custom GIF should appear in the results.
Why this matters for brands: If you are running a consistent campaign and want animated brand assets accessible to your audience, partners, and team members across Stories and DMs, this is the infrastructure that makes it possible. Your followers can also find and use your branded GIFs in their own Stories, which extends your reach organically. Pairing this with a broader Instagram promotion strategy helps maximize the visibility of your branded assets.
Pitfall to avoid: GIPHY has content guidelines and quality standards. Review them before submitting. GIFs that are low resolution, contain prohibited content, or appear spammy are likely to be rejected. Make sure your file is clean, properly sized, and clearly represents your brand before submission.
Step 6: Turn Animated Creatives into High-Performing Instagram Ads
Understanding how animated content works organically on Instagram is valuable. But for marketers running paid campaigns, the bigger opportunity is using animated and video creatives at scale inside your Meta ad strategy.
Instagram ads support short video and animated formats natively when uploaded as MP4 files through Ads Manager or a connected platform. The process is the same as what you learned in Step 2: convert to MP4, then upload. The difference in the paid context is volume and iteration speed.
Running effective Meta campaigns means testing multiple creative variations against different audiences, headlines, and copy combinations. If you are manually converting GIFs, exporting files, uploading individual creatives, and setting up each ad variation by hand, the workflow gets slow quickly. Most teams hit this bottleneck and either limit their testing or spend disproportionate time on production instead of strategy. Understanding Instagram ad creative testing methods can help you structure this process more efficiently.
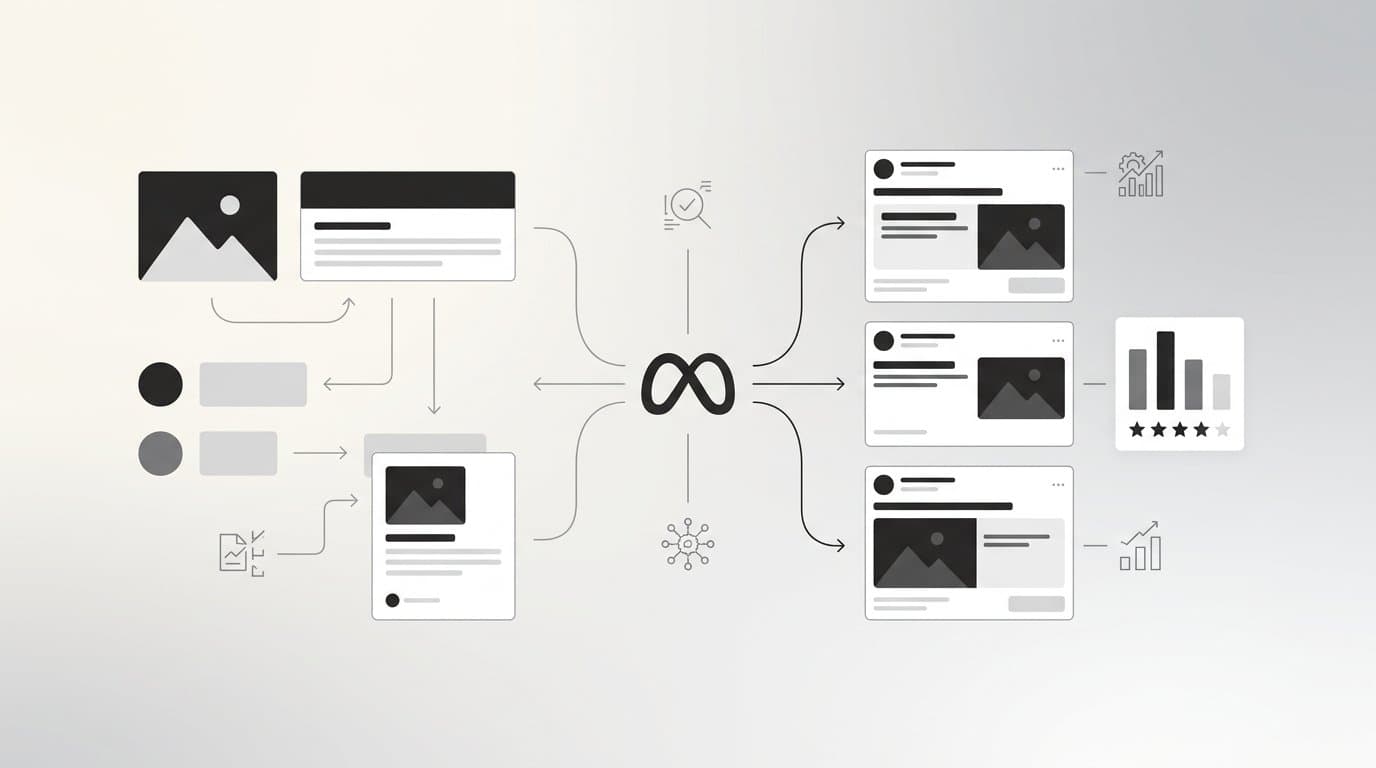
This is exactly the problem that AdStellar is built to solve. Rather than starting with a GIF file and working backward through conversion and upload steps, AdStellar's AI Creative Hub generates video ads and animated creatives directly from a product URL. You get scroll-stopping video content without designers, video editors, or manual file conversion in the workflow.
The AI analyzes your past campaign performance and ranks every creative element by what has actually driven results. It builds complete Meta ad campaigns with AI-optimized audiences, headlines, and copy, and explains every decision so you understand the strategy behind the output.
From there, the Bulk Ad Launch feature lets you mix multiple animated creatives with different headlines, audiences, and copy variations. AdStellar generates every combination and launches them to Meta in minutes rather than hours. What would take a team an entire day to set up manually gets done in a fraction of the time.
Once your campaigns are live, AI Insights ranks every creative by real metrics: ROAS, CPA, CTR. You can see at a glance which animated format is driving results and which is not, so you can double down on winners and cut what is not working. The Winners Hub keeps your best-performing creatives, headlines, and audiences in one place so you can pull them into future campaigns instantly.
The practical outcome is a shift from a manual, file-by-file workflow to a system that generates, tests, and scales animated ad content from a single platform. For performance marketers who want to move fast and iterate based on real data, that shift matters.
Your GIF-to-Instagram Checklist
Here is a quick reference to make sure you are using the right method for each situation:
For Feed posts: Convert your GIF to MP4 using Ezgif, Convertio, or CloudConvert. Confirm your file meets Instagram's specs (1080 x 1080px for square, 1080 x 1350px for portrait). Upload as a standard video post. Extend clips under three seconds before uploading to avoid awkward looping.
For Stories: Use the built-in GIPHY sticker tool inside the Instagram app. Search GIPHY's library by keyword, place your sticker, and preview before posting to confirm animation is working. For custom branded GIFs in Stories, submit to GIPHY first.
For Direct Messages: Use the GIF button in the message bar to access GIPHY search directly in the chat interface. Best for community management and conversational touchpoints rather than broad reach.
For branded GIFs you want to reuse: Create a GIPHY account, apply for a Brand Channel, upload with strong descriptive tags, and allow a few days for review and indexing before your GIF appears in Instagram search.
For marketers running paid campaigns, animated video creatives perform well in scroll-heavy placements and are worth testing systematically. Manually managing that process at scale is slow. Start Free Trial With AdStellar and generate animated ad creatives, launch hundreds of variations, and surface your winners without designers or manual file work. The 7-day free trial gives you full access to see how fast the workflow actually moves.