Let's be direct about what traditional ad creative production actually costs you. Before a single ad goes live, you're coordinating with designers, briefing copywriters, waiting on video editors, and cycling through rounds of revisions. For performance marketers managing multiple products or agency teams juggling several clients, that pipeline doesn't just slow things down. It actively kills momentum and burns budget before a single impression is served.
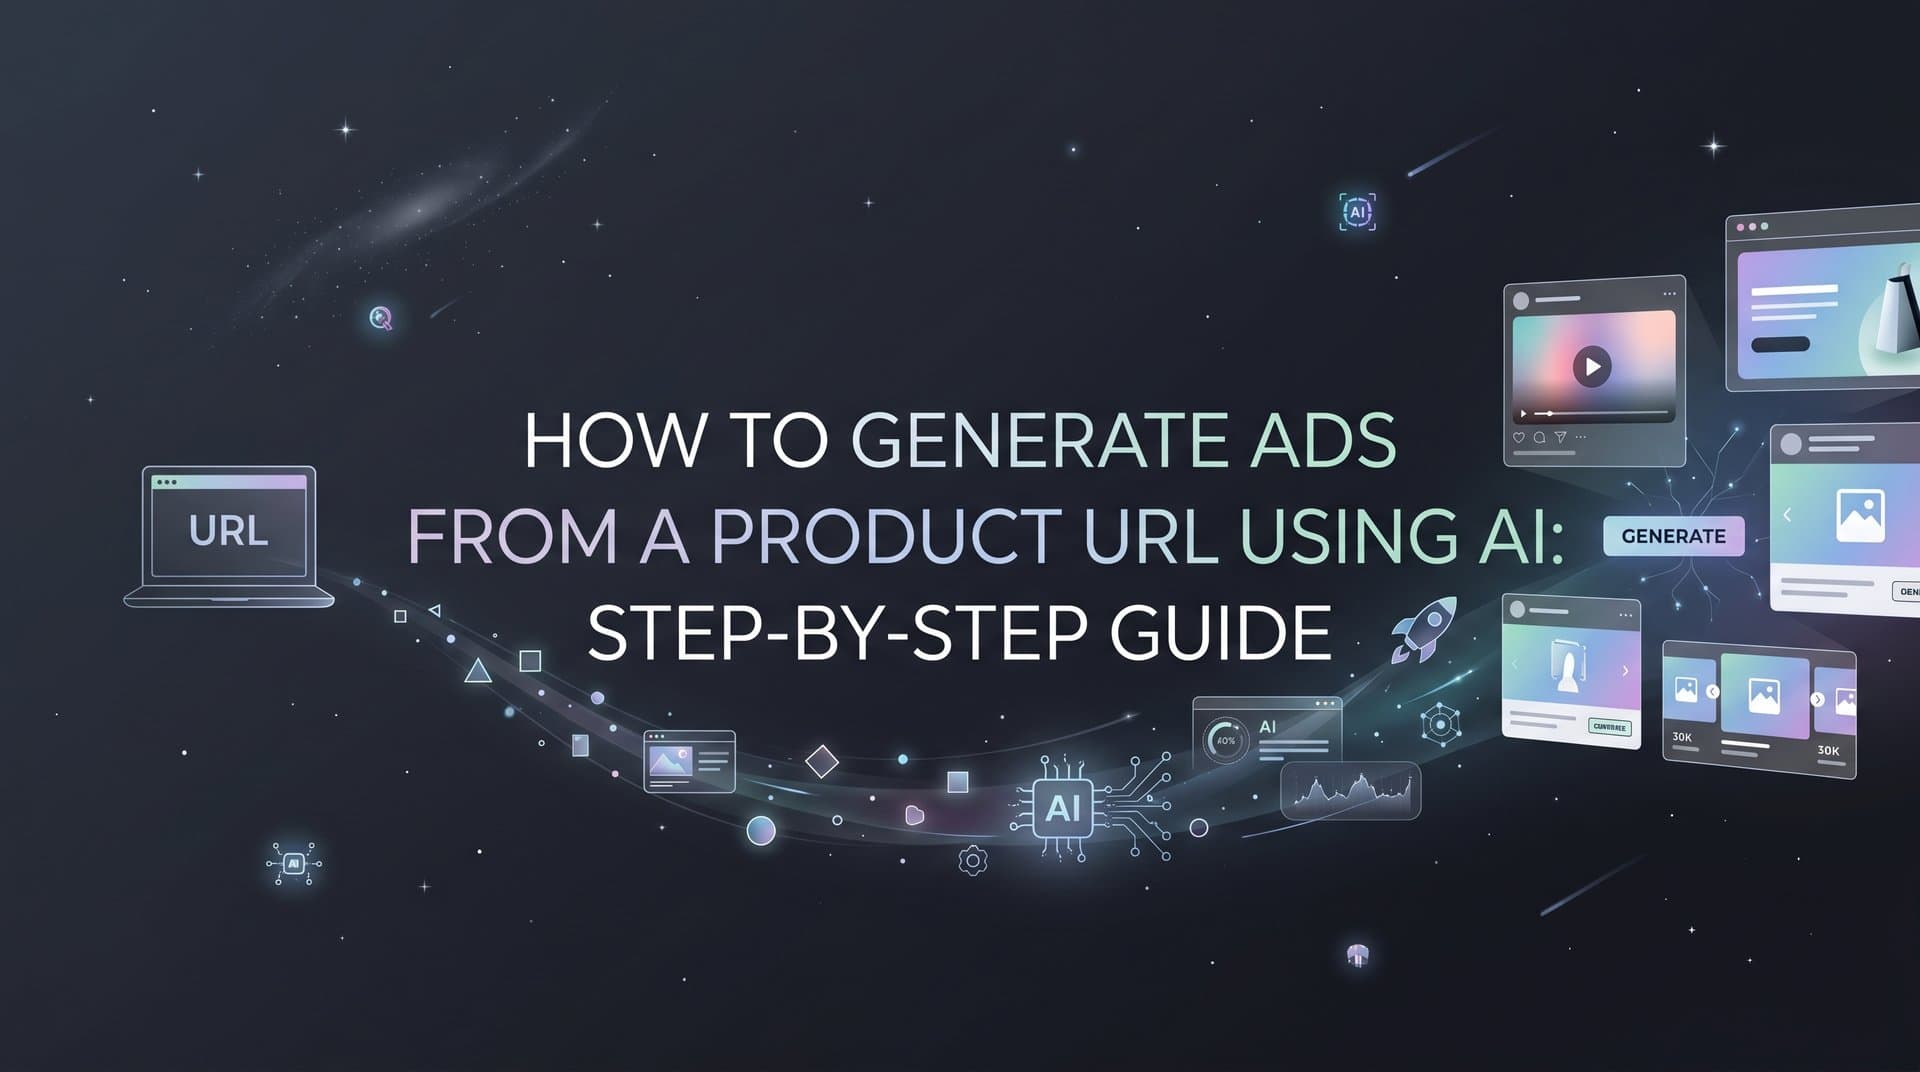
AI ad generation from a product URL changes the equation entirely. Paste a URL, and the AI pulls your product images, copy, pricing signals, and brand tone to build scroll-stopping image ads, video ads, and UGC-style creatives in minutes. No design briefs. No back-and-forth. No waiting.
This guide walks through exactly how to do that using AdStellar, from creating your account to launching your first AI-generated Meta campaign and identifying your winners. The workflow covers six concrete steps: account setup and Meta connection, URL input and asset extraction, creative generation and refinement, AI-powered campaign building, bulk ad launch, and performance monitoring with the AI Insights leaderboard.
Each step is built for speed and clarity. You will not need a designer, a video editor, or a manual audience research process. The AI handles the creative heavy lifting so you can focus on what actually matters: scaling what works.
A few things worth knowing before you start. The quality of your product page directly influences the quality of what the AI generates. A well-structured page with clear product images and benefit-driven copy gives the AI stronger inputs to work from. If your page is thin on assets, that is fine. AdStellar lets you supplement with uploads or build creatives from scratch using your product description.
By the end of these steps, you will have live ads on Meta built from your product URL, with a campaign structure informed by your historical performance data and a bulk launch that deploys hundreds of variations in minutes. Let's get into it.
Step 1: Set Up Your AdStellar Account and Connect Meta
Head to adstellar.ai and start your 7-day free trial. During signup, you will choose a plan tier based on your needs. The Hobby plan at $49/month works well for solo marketers running a handful of campaigns. The Pro plan at $129/month is built for growing teams that need more volume and flexibility. The Ultra plan at $499/month is designed for agencies managing multiple clients and high ad spend.
Once your account is created, the first priority is connecting your Meta Business account. This connection is what gives AdStellar the ability to pull your historical campaign data and push new ads directly to Meta without you ever leaving the platform. It is also what powers the AI Campaign Builder's ability to analyze past performance and make informed recommendations.
To connect, navigate to the integrations or account settings section and follow the Meta Business account authorization flow. You will be prompted to log into your Meta account and grant AdStellar access to the necessary permissions.
Ad Account Access: Required so AdStellar can read your existing campaigns, ad sets, and performance data, and push new campaigns live.
Pixel Data: Required so the AI can factor in conversion signals when analyzing what has worked historically and when scoring new ad elements against your goals.
Page Access: Required for ad delivery on Facebook and Instagram placements that pull from your business page.
After granting permissions, verify the connection is live by checking that your existing campaigns and ad sets appear in the AdStellar dashboard. If they do, you are good to move forward. If they do not, the most common issue is incomplete permission grants during the Meta authorization step.
This is worth getting right before you proceed. Incomplete Meta permissions limit the AI's ability to analyze your historical data, which directly affects the quality of campaign recommendations you will receive in later steps. Confirm all access levels are active before moving on. Understanding how Meta ads automation works end-to-end will help you get the most from this connection.
One additional note: if you are an agency setting up AdStellar for a client account, make sure you are connecting the client's Meta Business account rather than your own agency account, unless the client's ad accounts are already nested under your agency's Business Manager.
Step 2: Enter Your Product URL and Extract Creative Assets
With your Meta connection confirmed, navigate to the AI Creative Hub inside AdStellar. This is where the AI ad generation from product URL process actually begins. Find the URL input field and paste in the product page you want to advertise.
AdStellar's AI scrapes the page and automatically extracts the elements it needs to build creatives: product images, headlines, descriptions, pricing signals, and the overall brand tone communicated by your page copy. This extraction happens quickly, and you will see a preview of what the AI pulled once it is complete.
Take a moment to review what was extracted. Product pages with dynamic content, image carousels that rely on JavaScript rendering, or images loaded via lazy-load sometimes do not render fully during scraping. If you notice missing images or placeholder copy, you can make corrections directly in the interface before generating creatives.
Next, select your ad format. AdStellar supports three primary formats from a single URL input:
Image Ads: Best for direct response campaigns where a clean product visual with a strong headline drives clicks. Works well across all funnel stages.
Video Ads: Effective for demonstrating product use, showcasing before-and-after results, or building brand awareness in feeds where motion captures attention. If you want to understand the full scope of what Facebook video ad production typically involves, the contrast with AI generation becomes clear quickly.
UGC-Style Avatar Ads: AI-generated creatives that mimic user-generated content with a human spokesperson feel. These tend to blend naturally into social feeds because they look less like traditional ads, which can improve engagement rates for certain audiences.
You can generate all three formats from the same URL input, which removes format selection as a bottleneck when you are not sure which will perform best for a new product. Let the testing data tell you.
If your product URL has limited visual assets, you have two options. You can upload additional images directly into the Creative Hub to supplement what the AI extracted, or you can let AdStellar build creatives from scratch using your product description as the primary input. Both paths work. The URL extraction route is simply faster when your product page is well-structured.
Step 3: Generate and Refine Your AI Ad Creatives
Once the AI processes your URL and you have confirmed the extracted assets, trigger the creative generation. AdStellar produces multiple variations automatically, each exploring different visual layouts, headline combinations, and copy angles based on what it extracted from your product page.
The goal at this stage is variety, not perfection. Resist the urge to over-polish a single creative. The AI will identify winners through live testing, and a creative you might dismiss visually often outperforms the one you thought looked best. Your job here is to generate enough material for meaningful testing. The principles behind automated ad creative production at scale make clear why volume of variations matters more than manual curation at this stage.
Aim for at least five to ten distinct creative variations before moving to campaign setup. This gives the AI Campaign Builder enough material to surface statistically meaningful performance differences across your ad elements.
When you want to refine a specific creative, use the chat-based editing interface. This is one of the more practical features in AdStellar's Creative Hub because it lets you make targeted adjustments without starting over from scratch. You can:
Adjust tone: Shift copy from benefit-focused to urgency-driven, or from professional to conversational, depending on your audience.
Swap visual elements: Replace a background, reposition the product, or change the color scheme to create a distinct variation.
Rewrite headlines: Test different value propositions or calls-to-action across variations without regenerating the entire creative.
Change the CTA: Swap "Shop Now" for "Learn More" or "Get Yours Today" depending on where in the funnel you are targeting.
If your product benefits from a human spokesperson feel but you do not have the budget or logistics for video production, generate UGC-style avatar ads. These AI-generated creatives use virtual avatars to deliver a product message in a format that mimics real user content, without hiring actors or setting up a filming environment. Exploring the best UGC ad generation software options gives useful context for how this format compares across platforms.
AdStellar also lets you clone competitor ads directly from the Meta Ad Library. If you want to model proven creative formats from advertisers in your niche, you can pull those formats in and use them as a structural starting point for your own variations. This is particularly useful when entering a new market or product category where you do not yet have performance data to guide creative decisions.
Step 4: Build Your Campaign with the AI Campaign Builder
With your creative variations ready, open the AI Campaign Builder. Select the creatives you generated in the previous step and let the AI go to work analyzing your historical Meta campaign data.
Here is what the AI is doing in the background: it is reviewing your past campaigns to rank which headlines, audiences, copy angles, and creative formats have driven the best results for your specific account. It then uses those rankings to build a recommended campaign structure tailored to your account's history rather than generic industry benchmarks.
The output is a complete campaign recommendation that includes campaign objective, ad set structure, audience targeting parameters, and suggested budget allocation. Review each component before confirming. For ecommerce brands running Meta for the first time, a step-by-step guide to profitable Meta campaigns provides helpful context for evaluating these recommendations.
One of the more important aspects of AdStellar's Campaign Builder is the transparency layer. Every AI decision comes with a rationale explaining why a specific audience was selected, why a particular headline was prioritized, or why the budget was allocated the way it was. This matters because one of the most common concerns among performance marketers adopting AI tools is the black box problem: the AI makes a decision but provides no explanation for it.
When you understand the reasoning behind a recommendation, you can make an informed adjustment rather than either blindly accepting or blindly rejecting it. If the AI recommends a lookalike audience based on your pixel data but you know that audience has been saturated recently, you have the context to override it with a fresh segment.
Adjust the recommendations based on your specific campaign goals. If you are optimizing for a target ROAS, set that benchmark explicitly. If you are running a CPA-focused campaign, confirm the AI's audience and budget recommendations align with your cost targets. If the campaign is brand awareness rather than direct response, adjust the objective accordingly.
The AI Campaign Builder also improves over time. Each campaign you build through AdStellar adds to the account's performance history, which informs future recommendations. Early campaigns serve as training data that makes subsequent campaigns progressively more accurate. The value of the platform compounds the more you use it.
Step 5: Use Bulk Ad Launch to Deploy Hundreds of Variations at Once
This is where AdStellar's workflow creates a meaningful separation from manual campaign management. With your campaign structure confirmed, activate the Bulk Ad Launch feature.
Bulk Ad Launch takes your pool of creatives, headlines, audiences, and copy combinations and generates every possible variation across both the ad set and ad level. Then it pushes all of them to Meta in clicks rather than hours. This is one of the core advantages that Facebook ad automation for ecommerce delivers over traditional manual workflows.
To put that in practical terms: if you have five creatives, three headlines, two audience segments, and two copy variations, that is 60 unique ad combinations. Setting those up manually in Meta Ads Manager would take a significant block of time. AdStellar handles the combination logic and the upload in minutes.
Before confirming the bulk launch, set your daily or lifetime budget parameters so spend is distributed appropriately across all variations from the start. You do not want a single ad set consuming the majority of your budget before the others have had a chance to accumulate meaningful data.
It is also worth understanding what bulk launching is actually for. The goal is not to run hundreds of variations indefinitely. The goal is to give the AI enough data, fast, to identify which combinations are winning so you can scale those and cut the rest. Volume at launch accelerates the learning phase.
This feature is especially valuable in two scenarios. First, when you are launching a new product and have no historical data to rely on for creative or audience decisions. Second, when you are entering a new audience segment where your existing performance data does not transfer cleanly.
Once you confirm the bulk launch in AdStellar, check your Meta Ads Manager. All launched variations should appear within minutes, reflecting the full campaign structure AdStellar pushed. If variations are missing or the campaign status shows an error, the most common cause is a permissions issue with your Meta connection, which brings you back to the setup verification from Step 1.
Step 6: Monitor Performance with AI Insights and Surface Your Winners
Your ads are live and data is starting to flow. Now the focus shifts from launching to learning. Navigate to the AI Insights section in AdStellar to access the performance leaderboard.
The leaderboard ranks your creatives, headlines, copy, audiences, and landing pages by real performance metrics: ROAS, CPA, and CTR. This is not a vanity metrics dashboard. Every element is scored against the specific goal benchmarks you set for your account, which means the rankings reflect actual business performance rather than generic industry averages. Understanding how AI ad creation for ecommerce connects creative decisions to measurable outcomes helps frame what you are looking at in this leaderboard.
Setting your goal benchmarks is an important configuration step that many users skip. Take a few minutes to input your target ROAS, acceptable CPA range, and minimum CTR threshold. Once those are set, the AI scores every ad element against your benchmarks automatically, making it easy to spot which combinations are hitting your targets and which are not.
To find your top performers quickly, sort the leaderboard by your primary goal metric. The combinations sitting at the top of that sorted list are your winners. The ones at the bottom are candidates for pausing.
A common and costly mistake at this stage is pulling the plug on ads too early. Before an ad accumulates enough impression data to be statistically meaningful, its performance metrics are noisy. An ad that looks like a poor performer after 200 impressions might be a strong performer at 2,000. Let the AI accumulate enough signal before making optimization decisions. The AI Insights dashboard will help you identify when an element has enough data behind it to make a reliable judgment.
When you identify a winner, move it directly into the Winners Hub. This is AdStellar's library of proven ad elements, organized with real performance data attached. Your best-performing creatives, headlines, audiences, and copy angles all live here, ready to be pulled into future campaigns instantly. The ad creative inspiration strategies that experienced ecommerce teams use often mirror exactly this kind of structured winner tracking.
The Winners Hub removes one of the most frustrating patterns in paid social management: rediscovering what works from scratch with every new campaign. When you build your Winners Hub consistently, your starting point for each new campaign is a library of proven elements rather than a blank slate. That compounds your efficiency significantly over time.
Putting It All Together
Here is your six-step checklist for AI ad generation from a product URL using AdStellar:
1. Create your AdStellar account, choose your plan tier, and connect your Meta Business account with full permissions including ad account access, pixel data, and page access.
2. Paste your product URL into the AI Creative Hub, review the extracted assets, and select your ad formats: image ads, video ads, or UGC-style avatar ads.
3. Generate at least five to ten creative variations and use the chat-based editing interface to refine tone, visuals, headlines, and CTAs. Prioritize variety over perfection at this stage.
4. Open the AI Campaign Builder, review the AI's recommended campaign structure with full rationale, and adjust based on your specific ROAS, CPA, or awareness goals.
5. Use Bulk Ad Launch to deploy all creative, headline, audience, and copy combinations to Meta in minutes. Set budget parameters before launching.
6. Monitor the AI Insights leaderboard, score elements against your goal benchmarks, let data accumulate before making cuts, and move winners into the Winners Hub for future campaigns.
The entire workflow from product URL to live Meta campaign can be completed in a single session. No designers, no video editors, no manual audience research.
The compounding advantage is worth emphasizing one more time. Every campaign you run through AdStellar improves the AI's understanding of your account. Early campaigns train the system. Later campaigns benefit from that training. The platform gets more accurate with every cycle, which means your cost per winner decreases over time.
Ready to run your first AI-generated campaign from a product URL? Start Free Trial With AdStellar and launch your first campaign in a single session, with AI handling the creative generation, campaign building, and performance analysis from start to finish.