Most marketers burn through their free trials the same way. Day one is spent figuring out the interface. Day two is troubleshooting a connection issue. Day three, maybe they generate a creative or two. By day five, the trial is almost over and there is nothing meaningful to evaluate. Sound familiar?
The problem is not the tool. It is the lack of structure going into the trial.
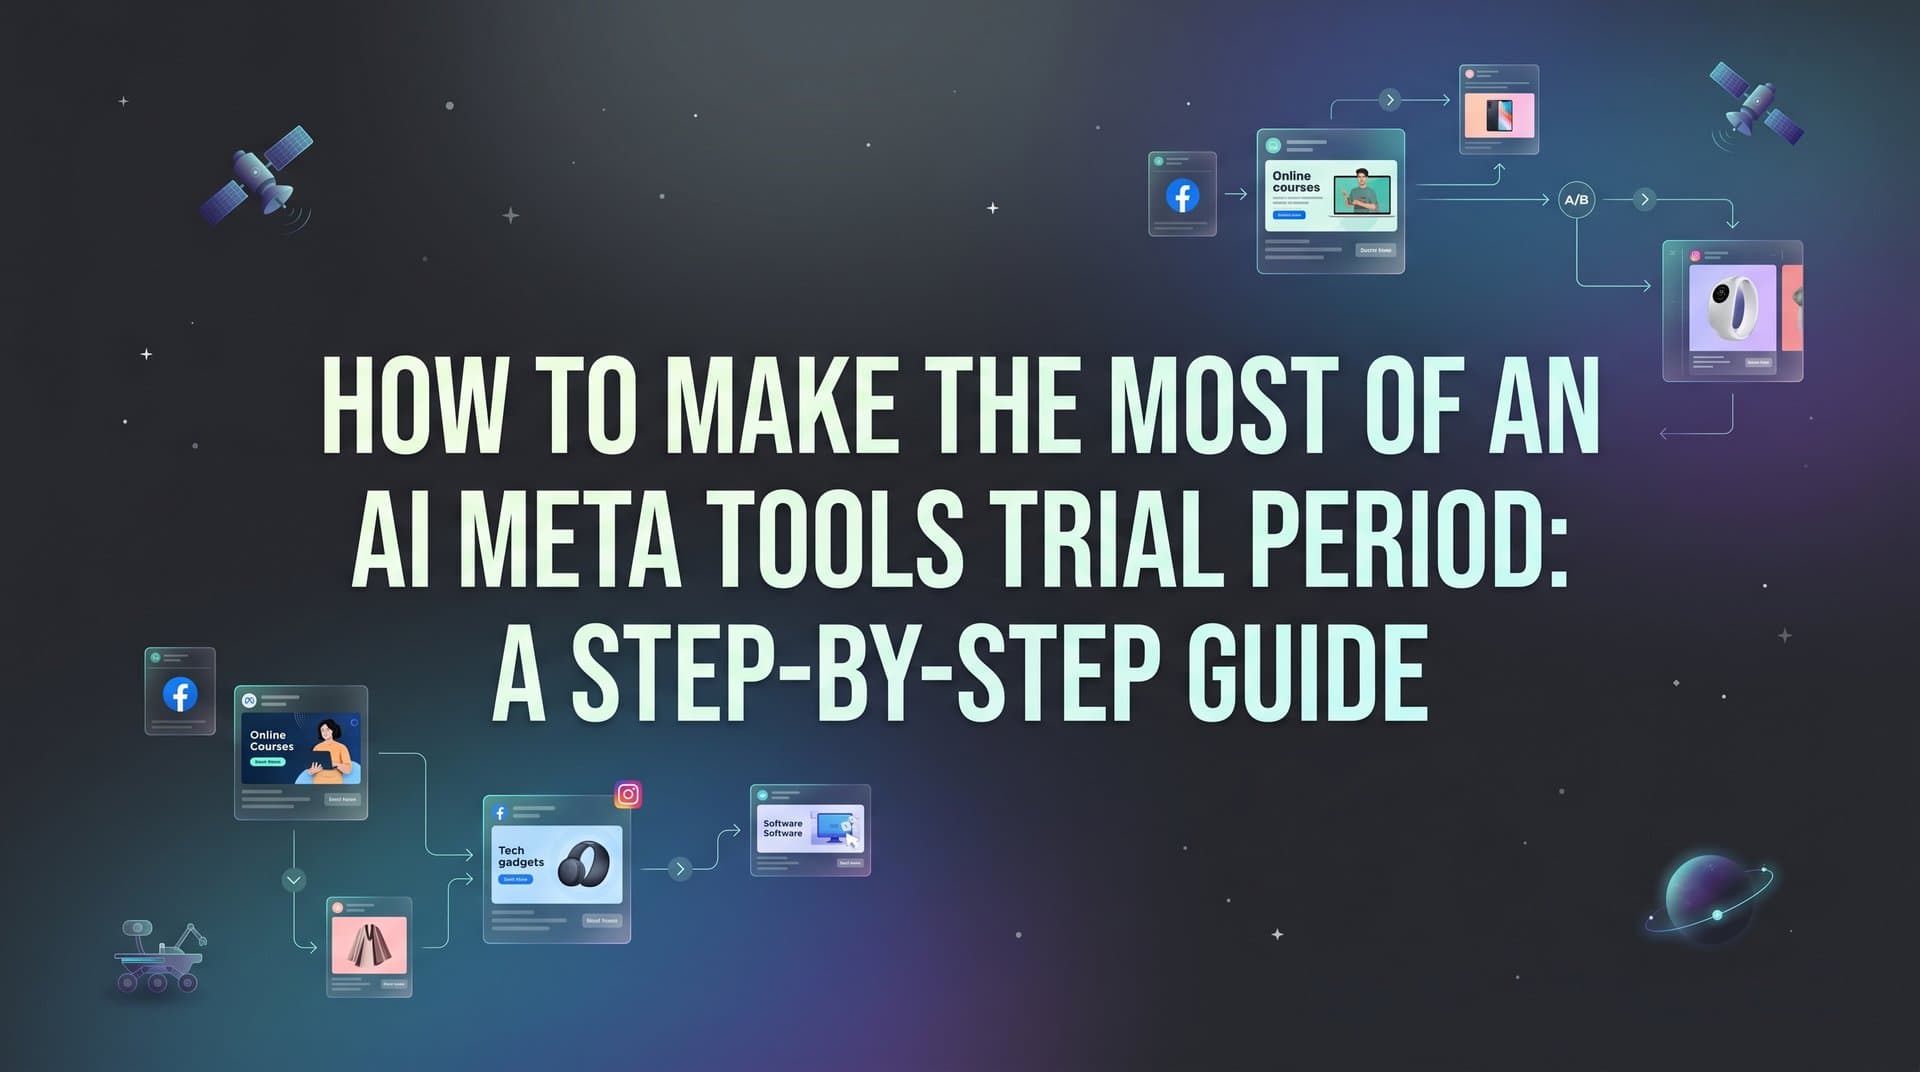
A 7-day trial window is genuinely enough time to run a real test, generate strong creatives, launch a live campaign, and come away with actual performance data. But only if you treat every day as intentional. This guide gives you that structure, whether you are evaluating AdStellar or any AI-powered Meta ad platform.
Here is what you will accomplish by following this framework: your account will be connected and verified on day one, your first AI creatives will be ready before day three, a live campaign will be running with multiple variations, and you will have real data to evaluate before the trial clock runs out. No wasted days, no vague impressions, no gut-feel decisions at the end.
The goal is simple. Walk away from your trial with real performance data, proven creatives, and a clear answer on whether this tool belongs in your stack. Let's get into it.
Step 1: Set Up Your Account and Connect Your Meta Assets
Day one has one job: get everything connected. This sounds obvious, but it is the step most marketers rush through or partially complete, and it quietly undermines everything that follows.
Start by creating your account and immediately connecting your Meta Business Manager, your ad account, and your Facebook Pixel. These three connections are the foundation the AI needs to function properly. Without them, you are essentially running the platform in a limited mode where it cannot access your historical data or track conversions accurately.
Connect Meta Business Manager: This gives the platform access to your ad accounts, pages, and assets. Make sure you are connecting the Business Manager that owns the ad account you plan to test with, not a secondary or agency account that might have restricted permissions.
Verify your Pixel is active: This is the step people skip, and it is the most consequential. An inactive or misconfigured Pixel means the AI has no conversion data to learn from. During a short trial, that missing signal can make performance look worse than it actually would be with proper setup. Use Meta's Pixel Helper or the platform's built-in verification to confirm your Pixel is firing on the right events.
Check historical campaign data access: AI campaign builders like AdStellar's analyze your past campaigns to identify what has worked before. If your historical data is not accessible, the AI is starting from scratch rather than building on your existing performance patterns. Confirm that past campaign data is visible inside the platform before moving on.
Prepare your product URL: You will need this for AI creative generation in the next step. Make sure your product page or landing page is live, loads quickly, and reflects the offer you want to promote during the trial.
A common pitfall here is treating this step as a formality. Skipping pixel verification in particular is a mistake that compounds. The AI needs conversion signals to optimize effectively, and without them, your trial results will underrepresent what the platform can actually do.
How to know this step is complete: Your ad account shows historical campaign data inside the platform, your Pixel status reads as active, and you can see past performance metrics without any missing data warnings.
Step 2: Generate Your First AI Ad Creatives
Creative is the single biggest lever in Meta ad performance. Not your audience targeting, not your bidding strategy. The creative. Which means the quality and variety of what you generate in this step directly determines how much useful data you will have by the end of your trial.
The goal here is not to produce one perfect ad. It is to produce a set of strong variations across multiple formats so the AI has real options to test. Aim for at least three to five variations per format.
Start by entering your product URL into the AI Creative Hub. The platform will analyze your page and generate ad concepts across image, video, and UGC-style formats. This is where AdStellar's approach becomes immediately practical: you are not starting from a blank canvas or briefing a designer. You are giving the AI a URL and letting it extract the visual and copy elements it needs to build creatives.
If you want to expand your creative options further, use the Meta Ad Library clone feature. Find a competitor's ad that is currently running, pull it into the platform, and let the AI generate variations inspired by that format. This is particularly useful if you are entering a new market or testing a new offer where you do not have strong historical creative benchmarks. Understanding how AI ad tools compare to manual creation can help you appreciate how much time this approach saves.
Image ads: Generate variations with different headlines, value propositions, and visual compositions. Even small differences in copy framing can produce meaningfully different performance outcomes.
Video ads: Generate at least two to three short-form video variations. These tend to perform strongly in feed placements and give you a format comparison against static images.
UGC-style creatives: These avatar-based creatives often outperform polished brand ads in certain audience segments because they feel more native to the feed. Include at least one or two in your test batch.
Once you have your initial set, use the chat-based editing feature to refine any creative that is close but not quite right. Adjust the tone, swap a headline, tighten the copy, or change the visual emphasis without starting the generation process over. This iterative refinement is where you close the gap between "decent" and "ready to test."
Do not spend more than half of day two on this step. The goal is a polished set of creatives ready to enter a campaign, not a perfect single ad. Variety is what produces learning.
How to know this step is complete: You have at least five to eight creative variations across two or more formats, all refined and ready to launch. They represent meaningfully different approaches, not minor tweaks of the same concept.
Step 3: Build and Launch Your First AI Campaign
This is the step where your trial shifts from setup to proof of concept. Everything before this was preparation. Now you are putting real money behind real creatives and generating the data that will inform your final decision.
Open the AI Campaign Builder and let it analyze your historical campaign data. The AI will review your past performance across creatives, audiences, and copy, then generate a complete campaign recommendation including audience targeting, headline options, and ad copy variations. Review this output carefully before launching. Exploring AI ad copywriting tools for Meta can give you additional context on how AI-generated copy stacks up against manual approaches.
One of the most valuable aspects of a transparent AI campaign builder is the rationale layer. For every decision the AI makes, whether it is selecting a specific audience segment or prioritizing a particular creative combination, you should be able to see why. Do not skip this review. Understanding the AI's reasoning helps you evaluate whether its logic aligns with what you know about your customers, and it builds your confidence in the output rather than just treating it as a black box.
Once you have reviewed the campaign structure, use Bulk Ad Launch to multiply your variations. This is where the real testing power comes from. Mix your creatives, headlines, and audiences at both the ad set and ad level to generate a matrix of combinations. What you are looking for is enough variation to surface meaningful differences in performance, not just minor tweaks.
Aim for at least five to ten ad combinations running simultaneously. Fewer than that and you will not have enough data to draw reliable conclusions within a 7-day window. More combinations mean faster learning, as long as your budget can support them.
Setting your budget: Keep this modest but meaningful. You need enough daily spend to generate real impressions and clicks within the trial window, but you should not feel uncomfortable spending it during an evaluation period. A budget that is too small will produce inconclusive data. A budget that makes you anxious will cause you to pull the campaign before it has had time to learn. Find the number that sits comfortably between those two points for your business.
A common pitfall at this stage is launching only one or two variations to "keep it simple." Simplicity is the enemy of learning in a short trial. The whole point of AI-powered bulk launching is that you can create many combinations quickly without the manual work that would normally make this impractical. Use that capability.
How to know this step is complete: Your campaign is live on Meta, multiple ad variations are running across different audience segments and creative combinations, and data is beginning to populate in your dashboard. You should see impressions within the first few hours of launch.
Step 4: Monitor Performance with AI Insights
Your campaign is live. Now the most important thing you can do is resist the urge to make changes too quickly, while also not ignoring the data entirely. The AI Insights leaderboard is your guide for finding this balance.
Check the leaderboard daily starting from the day your campaign launches. The leaderboard ranks your creatives, headlines, audiences, and landing pages by real performance metrics: ROAS, CPA, and CTR. This is not a vanity metrics dashboard. Every element is ranked by the numbers that actually matter for your business goals. Tools built around Meta ads dashboard software are specifically designed to surface these signals without burying them in noise.
Before you start reading the data, set your target goal benchmarks inside the platform. Define what a good CPA looks like for your offer. Set your ROAS target. This step matters because it shifts the AI's scoring from generic performance ranking to performance relative to your specific standards. An ad that looks mediocre in absolute terms might be outperforming your historical baseline by a meaningful margin. You need that context to interpret results accurately.
Within 48 to 72 hours of launch, you should start seeing early signals. Look for these patterns:
Creative format performance: Is one format generating a consistently lower CPA than others? Image ads versus video ads versus UGC creatives often perform very differently depending on the offer and audience. Early data will start to reveal which format resonates.
Audience quality signals: Which audience segment is delivering the best ROAS? Even if absolute volume is low in the first few days, relative performance differences between audiences tend to emerge quickly.
Headline and copy patterns: If the leaderboard is ranking headlines, look for any consistent patterns in what is working. Benefit-focused versus curiosity-driven copy, urgency versus social proof. Early signal here can inform future creative direction.
Use the leaderboard rankings to make mid-trial budget decisions. If one variation is clearly underperforming and another is showing strong early signals, pause the underperformer and shift budget toward the winner. You do not have to wait until the end of the trial to act on what the data is telling you.
How to know this step is complete: You can point to at least one clear winner and one clear underperformer, and you have data to support both conclusions. Not a feeling, not a guess. Actual metrics from the leaderboard.
Step 5: Save Your Winners and Plan Your Next Campaign
By day five or six, you should have enough performance data to identify your strongest performers. This step is about capturing that value so it does not disappear when the trial ends or when you start your next campaign.
Move your best-performing creatives, headlines, and audiences into the Winners Hub. This is not just organizational housekeeping. It is the beginning of a compounding asset library that gets more valuable over time. Every winning element you save becomes a building block for future campaigns, one that has already proven itself with real spend rather than being built from assumptions.
As you populate the Winners Hub, take note of the patterns. Which creative format performed best for your specific offer? Was it the UGC-style content, the video ads, or the static image variations? Which audience segment delivered the most efficient results? These observations are not just useful for your next campaign. They are signals about what your customers respond to, and that knowledge transfers beyond any single platform. Marketers running Meta campaign scaling tools often find that a well-organized winners library is the single biggest accelerant to scaling efficiently.
Now use the Winners Hub to sketch out a second campaign concept. Pull your top-performing creative, your best headline, and your most efficient audience segment, and think through how you would structure a follow-up campaign using those elements as the baseline. You do not need to launch this campaign during the trial. The exercise itself is valuable because it demonstrates whether the platform's organization and workflow actually saves you time at scale.
This is the step that separates a useful trial from a genuinely convincing one. Anyone can generate a few creatives and launch a campaign. The question is whether the platform creates a workflow that compounds. A populated Winners Hub with real performance data attached to each asset answers that question directly.
How to know this step is complete: Your Winners Hub contains at least three to five proven assets with performance data attached. You have a rough plan for a second campaign that builds on what the trial produced, and that plan took meaningfully less time to develop than starting from scratch would have.
Step 6: Evaluate Your Results and Make a Decision
The last step of your trial is not about the platform. It is about you making a clear, data-backed decision. Here is how to structure that evaluation so you are not just going with a gut feeling.
Compare against your baseline: Pull your pre-trial benchmarks. What was your average CPA before this test? What was your typical ROAS? How long did it take you to produce a set of creatives and launch a campaign through your previous workflow? Now compare those numbers to what the trial produced. The comparison does not have to be perfect. Even directional improvement, or time savings, is meaningful signal.
Assess time savings honestly: How long did creative generation take compared to your normal process? How long did campaign building take with the AI versus without it? Bulk launching hundreds of variations in minutes versus hours is a real operational difference, and it compounds across every campaign you run. Factor this into your evaluation, not just the performance numbers.
Consider the full-stack value: One of the strongest arguments for a platform like AdStellar is consolidation. Creative generation, campaign building, bulk launching, performance insights, and asset organization all in one place. Compare that to your current stack. If you are currently paying for a creative tool, a campaign management tool, and a reporting tool separately, the math on consolidation often looks very different from the sticker price of a single subscription.
Review the pricing tiers against your volume: The Hobby tier at $49/month works well for lower-volume testing. The Pro tier at $129/month is designed for marketers running campaigns consistently. The Ultra tier at $499/month is built for agencies and high-volume advertisers who need the full feature set at scale. Match the tier to the volume of campaigns and creatives you actually run each month, not the volume you aspire to run. A detailed breakdown of AI Meta ad tool subscription costs can help you benchmark these tiers against the broader market.
Use this decision framework: If the trial produced at least one winning creative and saved you meaningful time compared to your normal workflow, the tool is worth continuing. If neither of those things happened, ask yourself whether the issue was setup quality, budget size, or genuine product fit. A trial that was rushed through setup or underfunded is not a fair evaluation of the platform's capability. If you hit genuine product fit issues, that is a real and valid reason to walk away.
How to know this step is complete: You have a clear, specific answer on whether to subscribe, and you know which pricing tier matches your needs. That answer is supported by data from the trial, not just a general impression of the interface.
Your Trial Framework at a Glance
A trial period is only as valuable as the structure you bring to it. By connecting your assets on day one, generating creatives on day two, launching a live campaign by day three, and spending the remaining days reading data and saving winners, you turn a 7-day window into a genuine proof of concept.
Here is a quick checklist to confirm you covered every step:
Account connected and Pixel verified: Your historical campaign data is accessible and your Pixel is firing correctly.
Creatives generated: At least five variations across two formats, refined and ready to test.
Campaign live: Multiple ad combinations running with a budget that generates meaningful data.
AI Insights reviewed daily: Benchmarks set, leaderboard checked, budget shifted toward early winners.
Winners saved: At least three to five proven assets in the Winners Hub with performance data attached.
Decision made: A clear, data-backed answer on whether to subscribe and which tier fits your needs.
If you are evaluating AdStellar, the 7-day free trial is designed to give you enough runway to run this entire process without rushing. Follow this guide from day one and you will walk away with data, proven creatives, and a confident decision, not just a vague impression of a tool you barely had time to use.
Start Free Trial With AdStellar and follow this guide from day one so you walk away with real performance data, a populated Winners Hub, and a clear answer on whether AI-powered Meta advertising belongs in your stack.