Most marketers know Facebook lead generation ads work. The challenge is that Ads Manager has a way of making a straightforward process feel overwhelming, with objectives, placements, audience settings, and form options all competing for your attention before you have even written a single line of ad copy.
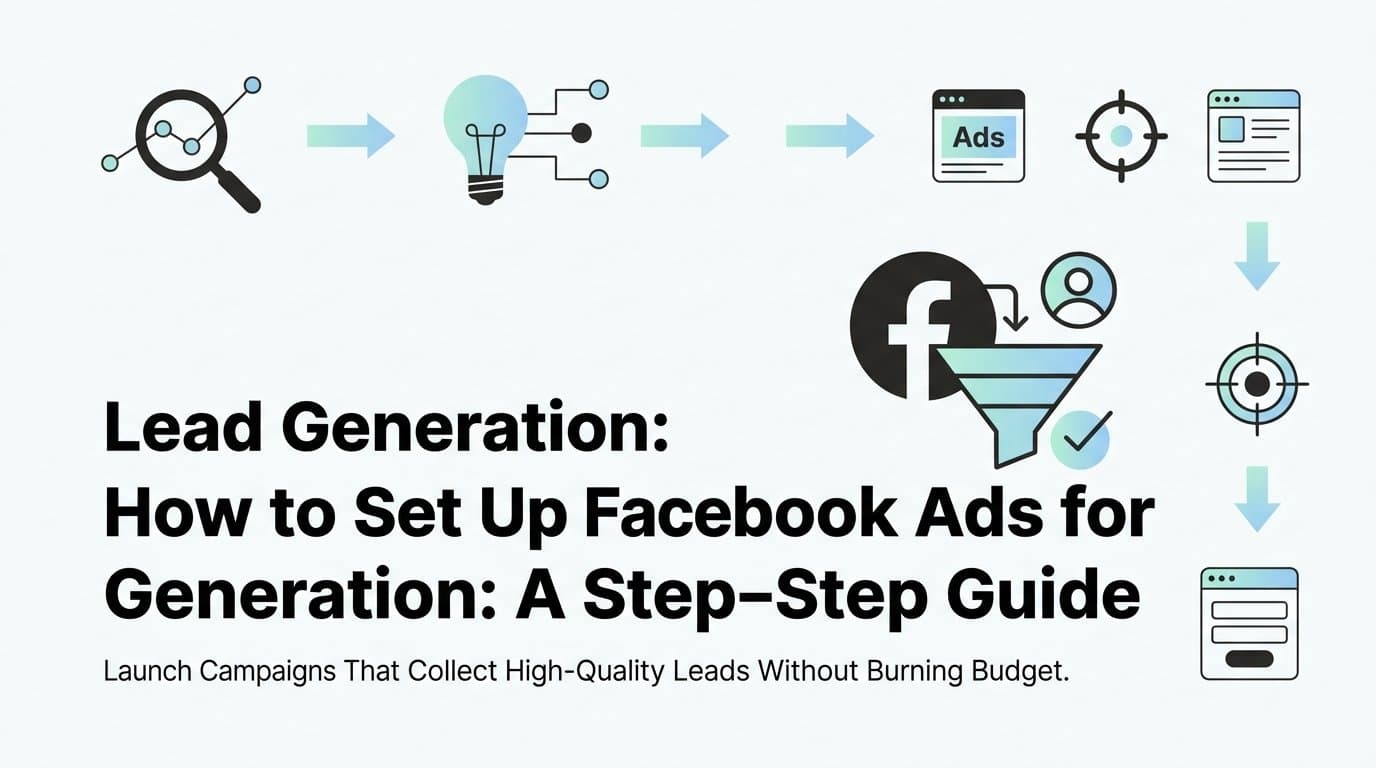
The good news: the setup process follows a logical sequence. Each decision builds on the one before it, and once you understand the order of operations, the whole thing becomes far more manageable. This guide walks you through every step, from getting your account infrastructure ready to launching and optimizing a campaign that actually collects leads worth following up on.
By the end, you will know how to choose the right campaign structure, build an audience worth targeting, create ad creatives that stop the scroll, set up a lead form that converts, and track results so you know what is working. Follow the steps in order because skipping ahead is exactly how campaigns end up burning budget with nothing to show for it.
And if you want to compress the timeline significantly, tools like AdStellar can generate your creatives, build your campaign, and launch everything to Meta in a fraction of the time. But first, let us make sure the foundation is solid so every decision you make is intentional.
Step 1: Get Your Meta Business Account and Pixel Ready
Before you touch a single campaign setting, you need three things connected and working together: a Meta Business Suite account, an Ad Account, and a Facebook Page. If any of these are missing or not properly linked, you will hit walls mid-setup that cost you time and frustration.
Log into Meta Business Suite at business.facebook.com and confirm your Ad Account is assigned to your business. If you are running ads for a client or a brand separate from your personal profile, make sure the Page is also connected under the same Business Suite umbrella. This sounds basic, but misaligned account structures are one of the most common reasons campaigns fail before they even launch.
Next, install the Meta Pixel on your website or landing page. The Pixel is a small piece of code that tracks what visitors do after clicking your ad. Without it, you are flying blind. You have no data on who converts, no ability to build retargeting audiences from website visitors, and no foundation for lookalike audiences down the road.
To install it, go to Events Manager inside Meta Business Suite, create a Pixel if you do not have one, and follow the setup instructions. Most website platforms like Shopify, WordPress, and Squarespace have direct integrations that make this a few-click process. If you are using a custom site, you will need to paste the base code into the header of every page.
Once installed, verify it is firing correctly using the Meta Pixel Helper browser extension for Chrome. Visit your website with the extension active and confirm the Pixel shows as detected and firing on the pages that matter, especially your landing page or thank-you page.
Here is the pitfall most people fall into: they skip Pixel setup entirely because they plan to use a native Facebook lead form instead of a landing page. While it is true that Instant Forms do not require a Pixel to collect leads, you will still want the Pixel active for retargeting campaigns later. Set it up now and save yourself the headache of adding it as an afterthought after your first campaign wraps up.
How you know this step is done: Meta Pixel Helper shows your Pixel as active, your Ad Account and Page are both visible inside Meta Business Suite, and Events Manager is registering test events from your site.
Step 2: Choose the Right Campaign Objective and Budget Structure
This is where most beginner mistakes happen. The campaign objective you select tells Meta's algorithm what to optimize for. Choose the wrong one and you are paying for the wrong outcome.
For lead generation, you want the Leads objective. Not Traffic. Not Engagement. Leads. When you select this objective, Meta's delivery system looks for users in your target audience who are most likely to complete a lead action, whether that is filling out a native form or converting on your landing page. Choosing Traffic gets you clicks. Choosing Leads gets you leads. The distinction matters more than most people realize.
Inside the Leads objective, you will choose between two conversion locations:
Instant Forms: These are native Facebook lead forms that open directly inside the app. Users never leave Facebook or Instagram, which means lower friction and typically higher volume. The tradeoff is that leads can sometimes be lower quality because the barrier to entry is so low. These work well for offers like free guides, consultations, or quote requests where volume matters.
Website conversions: These drive users to a landing page on your site. You get more control over the experience, more space to qualify the lead, and generally better lead quality. The tradeoff is that you need a fast, well-optimized landing page and a functioning Pixel to track conversions. These work well for higher-ticket offers where lead quality is more important than volume.
Once you have chosen your conversion location, set your budget. You can choose between a daily budget and a lifetime budget. Daily budgets give you more control and flexibility. Lifetime budgets work well when you have a fixed end date and want Meta to pace spend automatically.
You will also decide between Advantage Campaign Budget (formerly CBO, which lets Meta distribute budget across ad sets automatically) and manual ad set budgets. If you are testing multiple audiences, Advantage Campaign Budget can be efficient because it shifts spend toward whichever ad set is performing best. If you want equal spend across audiences for a cleaner test, set budgets at the ad set level instead.
One important concept to understand here: the learning phase. After you launch, Meta's algorithm needs time to optimize delivery. This phase typically requires around 50 optimization events within a 7-day window before the campaign stabilizes. Set your budget low enough that you are not burning through it in two days, but high enough that you can actually reach that threshold. A budget that is too conservative means the algorithm never exits the learning phase and performance never stabilizes.
How you know this step is done: You have selected the Leads objective, chosen your conversion location, set a realistic budget, and decided on your budget allocation method before moving to audience setup.
Step 3: Build an Audience That Actually Matches Your Ideal Lead
Targeting is where lead generation campaigns live or die. Showing the right ad to the wrong audience is just as ineffective as showing the wrong ad to the right one. The goal is to build audiences that reflect where your ideal lead actually is in their awareness of your brand.
A solid lead gen targeting strategy uses three layers simultaneously:
Cold interest-based audiences: These are users who have never heard of you but match the profile of your ideal customer. Use Meta's detailed targeting to layer interests, job titles, behaviors, and demographics. Be specific enough to reach relevant people, but not so narrow that your audience size becomes too small to deliver efficiently. A good starting point for most campaigns is an audience large enough to give the algorithm room to work, typically in the hundreds of thousands rather than the tens of thousands.
Lookalike audiences: These are built from your existing data. Upload a customer list, use your email subscriber list, or create a lookalike from past converters. Meta finds users who share characteristics with your source audience. Lookalikes built from high-quality customer data tend to produce better lead quality than broad interest targeting because the algorithm has a real signal to work from, not just assumed interests.
Retargeting audiences: These target people who already know your brand: website visitors, video viewers, people who engaged with your Page or Instagram profile. These audiences are warmer and often convert at a lower cost per lead. Set up retargeting as a separate ad set with messaging that acknowledges their familiarity with your brand.
Before you launch, use Meta's audience overlap tool to check whether your ad sets are competing against each other for the same users. Significant overlap between ad sets means you are bidding against yourself, which drives up costs and muddies your data.
If you do not have enough first-party data to seed strong lookalike audiences, consider using Advantage+ Audience, Meta's AI-driven targeting option. It uses broad signals and Meta's own data to find likely converters. It works best when you have some campaign history for Meta to learn from, but it can be a reasonable starting point when manual data is limited.
How you know this step is done: You have at least two or three distinct audiences set up across your ad sets, you have checked for overlap, and each audience has a clear rationale tied to your buyer profile.
Step 4: Create Ad Creatives That Stop the Scroll and Prompt Action
The creative is what your potential lead actually sees. All the targeting and campaign structure in the world cannot save a weak ad. For lead generation specifically, the creative has one job: communicate the value exchange clearly enough that someone is willing to hand over their contact information.
Think about it from the user's perspective. They are scrolling through their feed and your ad appears. In about two seconds, they decide whether to keep scrolling or pay attention. Your creative needs to answer one question immediately: what is in it for me?
Here is how to approach the format decision:
Static image ads work well for direct, clear offers. A free guide, a discount, a quote request. The image should be visually clean, the headline should lead with the benefit, and the call to action should match the form. "Download Now" or "Get My Free Quote" are more effective than generic CTAs like "Learn More."
Video ads are effective for higher-ticket offers where trust needs to be built before someone gives you their information. A 30 to 60 second video that explains the offer, demonstrates the value, and ends with a clear CTA can outperform static ads when the offer requires more context.
UGC-style content works well for social proof. When a real person (or a realistic-looking avatar) speaks directly to camera about a problem your product solves, it feels more authentic than polished brand creative. This format performs particularly well on Instagram and Reels placements.
Write headlines that focus on the benefit to the lead, not the features of your product. "Get 10 Proven Email Templates for Free" outperforms "Download Our Email Marketing Resource" every time. The first one tells the lead exactly what they get. The second one tells them nothing useful.
Test at least three creative variations per ad set. This is not optional if you want the algorithm to optimize effectively. One creative gives the system nothing to compare. Three creatives let it identify which resonates most with your audience and shift delivery accordingly.
If producing multiple creative variations feels like a bottleneck, AdStellar's AI Ad Creative feature lets you generate image ads, video ads, and UGC-style creatives from a product URL without needing a designer or video editor. You can also clone competitor ads from the Meta Ad Library and refine any creative through chat-based editing. The platform then lets you launch those creatives directly to Meta through the AI Campaign Builder, so you are not bouncing between tools.
How you know this step is done: You have at least three creative variations ready per ad set, each with a clear value exchange in the headline, a format suited to the offer, and a CTA that matches the lead form action.
Step 5: Build a Lead Form That Converts Without Losing People
If you are using Meta Instant Forms, the form itself is a critical piece of the conversion puzzle. A poorly built form will collect fewer leads, lower quality leads, or both.
The first decision is form type. Meta gives you two options:
More Volume: Fewer steps, pre-filled fields, fast completion. This produces more leads but sometimes at the cost of quality because the low friction means people submit without thinking much about it.
Higher Intent: Adds a review step where the user sees their information before submitting. This small added friction reduces volume slightly but tends to improve lead quality because users are making a more conscious decision to submit.
Choose based on your sales process. If your team can handle volume and qualifies leads on the call, More Volume works. If every lead requires significant follow-up time, Higher Intent is worth the volume tradeoff.
Keep the form short. Name and email are often enough. Every additional field you add reduces completion rates. Only ask for information you will actually use in your follow-up process. If you do not need a phone number on day one, do not ask for it.
Add a context card at the top of the form. This is a short section that appears before the fields and reinforces what the user is getting. Think of it as a mini landing page inside the form. Restate the offer, set expectations for what happens next, and remind them why it is worth filling out.
Customize the thank-you screen with a specific next step. "Your guide is on its way to your inbox" is more reassuring than a generic confirmation. If you want to drive traffic to your site, add a link to the thank-you screen. If you want them to book a call, add a calendar link there.
If you are driving traffic to a landing page instead of using a native form, the same principles apply: keep it focused, match the message from the ad exactly, and make sure the page loads quickly. A slow-loading page loses leads before they even see the form.
Finally, connect your lead form to your CRM. Leads that sit in Ads Manager uncollected are leads that go cold. Meta has native integrations with several popular CRMs, and tools like Zapier can connect almost anything else. Set this up before you launch so every lead flows directly into your follow-up system automatically.
How you know this step is done: Your form is live, the context card is set, the thank-you screen has a clear next step, and leads are flowing automatically into your CRM or follow-up system.
Step 6: Launch, Monitor, and Optimize Based on Real Data
Launching the campaign is not the finish line. It is the starting gun. What you do in the days and weeks after launch determines whether the campaign becomes profitable or stays mediocre.
The first and most important rule after launch: leave it alone during the learning phase. Editing campaigns, ad sets, or individual ads resets the learning phase and forces the algorithm to start over. This is one of the most common and costly mistakes in Meta advertising. Set your campaign up correctly, launch it, and resist the urge to tinker for at least the first several days.
While the campaign is in the learning phase, monitor these metrics:
Cost per lead (CPL): The primary metric for lead generation campaigns. Compare it against your target CPL and your historical benchmarks. Early numbers will fluctuate as the algorithm optimizes.
Lead form completion rate: If you are using Instant Forms, this tells you what percentage of people who opened the form actually submitted it. A low completion rate points to a form problem, not a targeting problem.
Click-through rate (CTR): A falling CTR over time is one of the earliest signals of ad fatigue. When your audience has seen the ad too many times, they stop engaging. Watch for this and plan creative refreshes proactively rather than reactively.
Once the learning phase is complete and you have statistically meaningful data (enough spend and impressions to draw real conclusions), start making decisions. Pause ad sets that are significantly underperforming relative to your CPL target. Do not pause them after two days and fifty impressions. Give each ad set enough runway to generate real data before making calls.
Scale winning ad sets gradually. A common practice is increasing the budget by around 20% at a time rather than doubling it overnight. Large budget jumps can disrupt the algorithm's optimization and cause performance to drop before it recovers.
AdStellar's AI Insights feature makes this analysis significantly faster. Leaderboards rank your creatives, headlines, copy, and audiences by real metrics like ROAS, CPA, and CTR. Set your target goals and the platform scores everything against your benchmarks automatically, so you can see at a glance what to scale and what to cut rather than manually pulling reports from Ads Manager.
Keep an eye on lead quality in addition to lead volume. A campaign generating a high volume of leads at a low CPL looks great on paper until your sales team reports that none of them are converting. Stay in communication with whoever is following up on leads and use that feedback to adjust your targeting, form questions, or offer.
How you know this step is done: The learning phase is complete, you have paused underperforming ad sets based on real data, you are scaling winners gradually, and you have a creative refresh plan in place before fatigue sets in.
Putting It All Together
Setting up Facebook ads for lead generation is a process, not a single action. Get your accounts and Pixel ready, choose the Leads objective, build a targeted audience across multiple funnel stages, create compelling creatives with a clear value exchange, set up a form that converts without friction, and then let the data guide your optimization decisions.
The four mistakes that sink most lead generation campaigns are skipping the Pixel, launching with only one creative, making changes too early in the learning phase, and never connecting leads to a CRM. Avoid those four things and you are already running a better campaign than most advertisers on the platform right now.
If you want to move faster through this process, AdStellar handles the creative generation, campaign building, and performance tracking all in one place. You can generate image ads, video ads, and UGC-style content from a product URL, launch them to Meta with AI-optimized audiences and copy, and let the platform surface your winners automatically through the Winners Hub and AI Insights features. No designers, no guesswork, no switching between six different tools to get one campaign live.
Start Free Trial With AdStellar and be among the first to launch and scale your lead generation campaigns faster with a platform that automatically builds, tests, and surfaces winning ads based on real performance data.