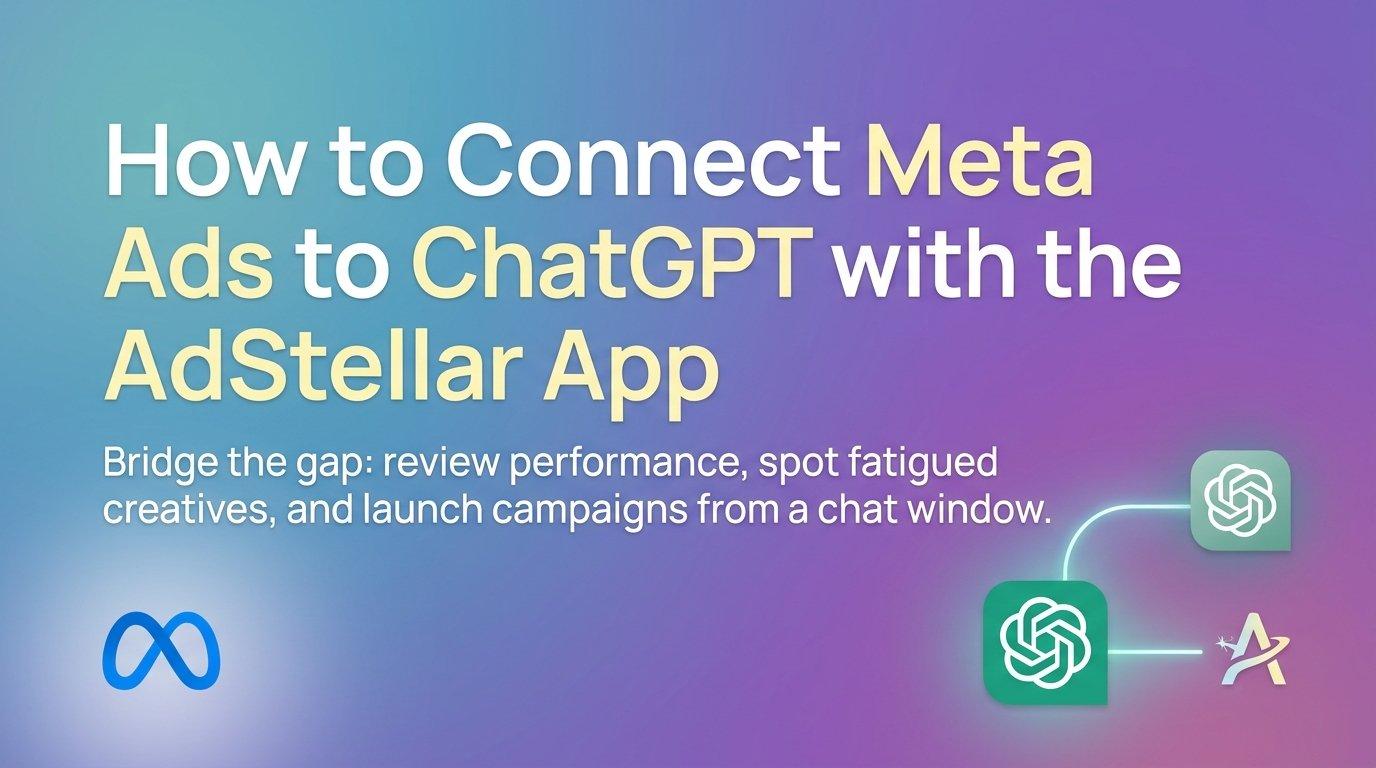
ChatGPT can't talk to Meta on its own. It needs a bridge, and AdStellar is that bridge: once it's connected, you can ask for performance breakdowns, spot fatigued creatives, and build and launch campaigns from a chat window. This guide covers how to connect Meta Ads to ChatGPT through the AdStellar app, from install to a verified first query. Before you start, you need a ChatGPT account with access to apps (or Developer Mode if you take the manual route), an AdStellar account, and admin or advertiser access to the Meta ad account you want to use.
Step 1: Install the AdStellar app in ChatGPT
There are two routes. Most marketers should take the first.
Route A: the approved AdStellar app (recommended)
- Open the approved AdStellar ChatGPT app: https://chatgpt.com/plugins/plugin_asdk_app_6ac0b6df2c148191992b3a4334f2f833.
- Click the button to add it to your ChatGPT account.
- Confirm the prompts ChatGPT shows. You'll connect your AdStellar login in the next step.
Route B: Developer Mode with a custom connector
If you already work with custom connectors, you can add AdStellar manually. Enable Developer Mode in ChatGPT, add a custom connector (an MCP server), and paste this URL and nothing else:
https://app.adstellar.ai/api/mcp
Do not add any other MCP URL for this setup. The connector should only ever point at that address.
Which route to pick
The app is the simpler, approved path: one click, no manual configuration. Developer Mode suits people who are comfortable managing connectors themselves and want that control. Both end in the same place, with ChatGPT able to call AdStellar's tools.
A note on menu names: as of November 2026, where apps and Developer Mode live in ChatGPT settings, and which plans include them, has been changing. If you can't find the option where you expect it, check ChatGPT's current settings and help documentation for the exact path and your plan's availability.
Step 2: Sign in and authorize your AdStellar account
After you add the app, ChatGPT will prompt you to connect. An authorization window opens where you log in to AdStellar, or create an account if you don't have one yet, and approve the connection.
Read the permissions screen before you click approve. It tells you what ChatGPT will be allowed to do through AdStellar. Wording may differ from what you see described elsewhere, so go by what's on your screen.
Also confirm which workspace the app is linking to. AdStellar supports unlimited workspaces, which is built for agencies running many clients: each client or brand can sit in its own workspace with its own ad accounts and data. That structure is useful, but it creates the most common setup mistake.
Mistake to avoid: authorizing with a login or workspace tied to the wrong client. Nothing will look broken at first. The wrong account's data simply shows up later, in your analysis and your campaign drafts. If you manage multiple brands, decide which workspace this ChatGPT connection is for before you approve, and check the name on the permissions screen.
If the authorization window doesn't open:
- Check whether your browser is blocking pop-ups for ChatGPT and allow them for this site.
- Retry the connection from the app's settings in ChatGPT rather than starting a new chat.
- Make sure you're signed in to the correct ChatGPT account, since apps attach to the account that added them.
Step 3: Link your Meta ad account inside AdStellar
This is the step that most clearly answers how to connect Meta Ads to ChatGPT: the link to Meta is made in AdStellar, not in ChatGPT. ChatGPT talks to AdStellar, and AdStellar talks to Meta. If your Meta account is already connected in AdStellar, confirm it and move on.
If it isn't, connect it from your AdStellar workspace through Meta's login flow:
- Log in to Meta when prompted, using the profile that holds access to your ads.
- Select the specific ad account or accounts you want AdStellar to use.
- Select the Facebook Page (and Instagram account, if relevant) your ads will run from.
- Approve the permissions Meta lists.
Check your role first. Your Meta user needs a sufficient role on the ad account and in Business Manager, typically admin or advertiser level for the account. Meta adjusts its permission requirements from time to time, so verify the current requirements in Meta's Business Help Center if the connection fails or the account doesn't appear in the list.
Once linked, AdStellar pulls real-time Meta data, so what the AI sees reflects current spend and results rather than a stale export. You can also import your existing Meta campaigns, which gives the AI your history to learn from. That history matters later: AdStellar builds new campaigns from your past performance.
Optional: add attribution. If you use Cometly, connect that integration too. Analysis can then reflect tracked results, not only the numbers Meta reports for itself, which helps when platform-reported conversions and your own tracking disagree.
Step 4: Run a read-only test prompt to verify the connection
Before you ask for anything that changes an account, confirm the data is right. Start a new chat in ChatGPT and invoke the AdStellar app, either by selecting it from the tools menu or by mentioning it by name in your message. Then ask for something low-risk:
- "List my connected ad accounts."
- "Summarize the last 7 days of spend, ROAS, and CTR by campaign."
What a good result looks like: the account names are the ones you expect, and the metrics match Meta Ads Manager. Spot-check two or three numbers, such as total spend and one campaign's ROAS, against Ads Manager using the same date range and attribution window. Small differences can come from attribution settings or reporting delays, but they should be close.
If the data is empty or the wrong account appears: recheck the workspace you authorized in Step 2, then confirm in Step 3 that the right ad account is selected and the Meta link is still active. Those two settings cause nearly every wrong-data problem.
Two terms worth knowing
MCP (Model Context Protocol) is the standard that lets ChatGPT call external tools and read outside data. A ChatGPT app is a packaged integration built on that idea, so you add it with a click instead of configuring a server yourself. Developer Mode is the setting that lets you add MCP connectors manually.
Step 5: Analyze performance and find your winners and fatigue
With a verified connection, use chat as an analyst. AdStellar's creative analytics scores each element of an ad, such as the hook, image, headline, and copy, so you can see which parts drive results rather than just which ad won. It also detects creative fatigue, which is the decline in performance that happens when an audience has seen an ad too many times. AI Insights ties these signals together.
Prompts worth trying:
- "Which of my ads have the strongest element-level scores, and what do they have in common?"
- "Which creatives show signs of fatigue?"
- "Where is spend going to ads that are underperforming?"
- "Show my top creatives from the creative library that I could reuse."
That last one points to the ranked creative library, where proven winners are stored so you can reuse them in new campaigns instead of starting from scratch.
Tip: state your goal and benchmark. "Find underperformers" is vague. "My target ROAS is 3.0 and my target CPA is $25; which ads are missing those targets?" gives the AI a standard to judge against, so recommendations are goal-based rather than generic.
Mistake to avoid: trusting conclusions drawn from a short window or tiny spend. An ad with $15 of spend and one purchase can look like a star. Ask the model to state the date range and sample size behind every recommendation, and discount anything built on thin data. If it doesn't tell you, ask again.
Step 6: Build and launch a campaign from chat
This is where AdStellar's Agent does the work rather than just advising. Give it the essentials in one message: the product, the audience, your budget, and the goal.
For example: "Build a conversion campaign for our new running shoe, targeting US women 25 to 44, $150 a day, goal of 3.0 ROAS." AdStellar builds a data-backed campaign from your past performance, positioned as taking under 60 seconds, and explains the reasoning behind its choices so you can see why it picked a structure, audience, or budget split.
Choose your creative
- AI image ads and AI video ads generated for the campaign.
- AI UGC avatars and talking-head ads for a creator-style look.
- URL to Ad Maker, which turns a product page into ads, or Ad Clone, which recreates the style of an ad that's already working.
- Bulk launch, to push hundreds of variations live in minutes for broader testing.
Review before you confirm
Read the proposed structure, budget, and creative before anything goes live. If the product offers a paused state or a modest starting budget for new campaigns, use it for your first launches. Verify in the product whether launches default to paused, since that behavior can change.
Mistake to avoid: approving a launch without reading the reasoning and checking the budget and targeting. The transparency is there so you can catch a mismatch, such as a daily budget a zero too high or an audience that doesn't fit the offer. Use it.
Step 7: Set up ongoing monitoring and good habits
A connection is only useful if you keep using it. Build a few recurring prompts into your routine, such as a weekly review: "Review fatigue, spend pacing against budget, and my top five creatives this week, and recommend actions." AdStellar also monitors accounts around the clock, so issues can surface between your check-ins.
A few habits keep the setup safe:
- Keep a human approval step. Let the AI recommend and draft, but you confirm budget changes and launches.
- Separate workspaces per client or brand. It prevents the cross-account mix-ups described in Step 2.
- Name the account in your prompts. When you manage several, say which one you mean.
Disconnecting
To remove the connection, delete the app or connector in ChatGPT's settings, then revoke access from your AdStellar account. Exact menu names vary and have shifted as of November 2026, so look for the apps or connectors section in ChatGPT and the integrations or connected-apps area in AdStellar.
Keep the connection trustworthy as you scale
Re-run your read-only test prompt whenever you change a permission, switch workspaces, or reconnect Meta. A thirty-second check against Ads Manager beats finding out a week later that the wrong account was feeding your analysis.
Then move in stages: start with read-only analysis, graduate to drafted campaigns you review line by line, and only extend to supervised launches as the results keep matching what you see in Meta. Trust in the setup should come from checked numbers, not assumption.