Let's be direct about what manual Instagram advertising actually costs you. Not just in ad spend, but in time. Designing creatives, writing copy variations, setting up audiences, duplicating ad sets, launching campaigns, and then digging through performance data to figure out what moved the needle. By the time you have clear answers, your budget has already funded the experiment.
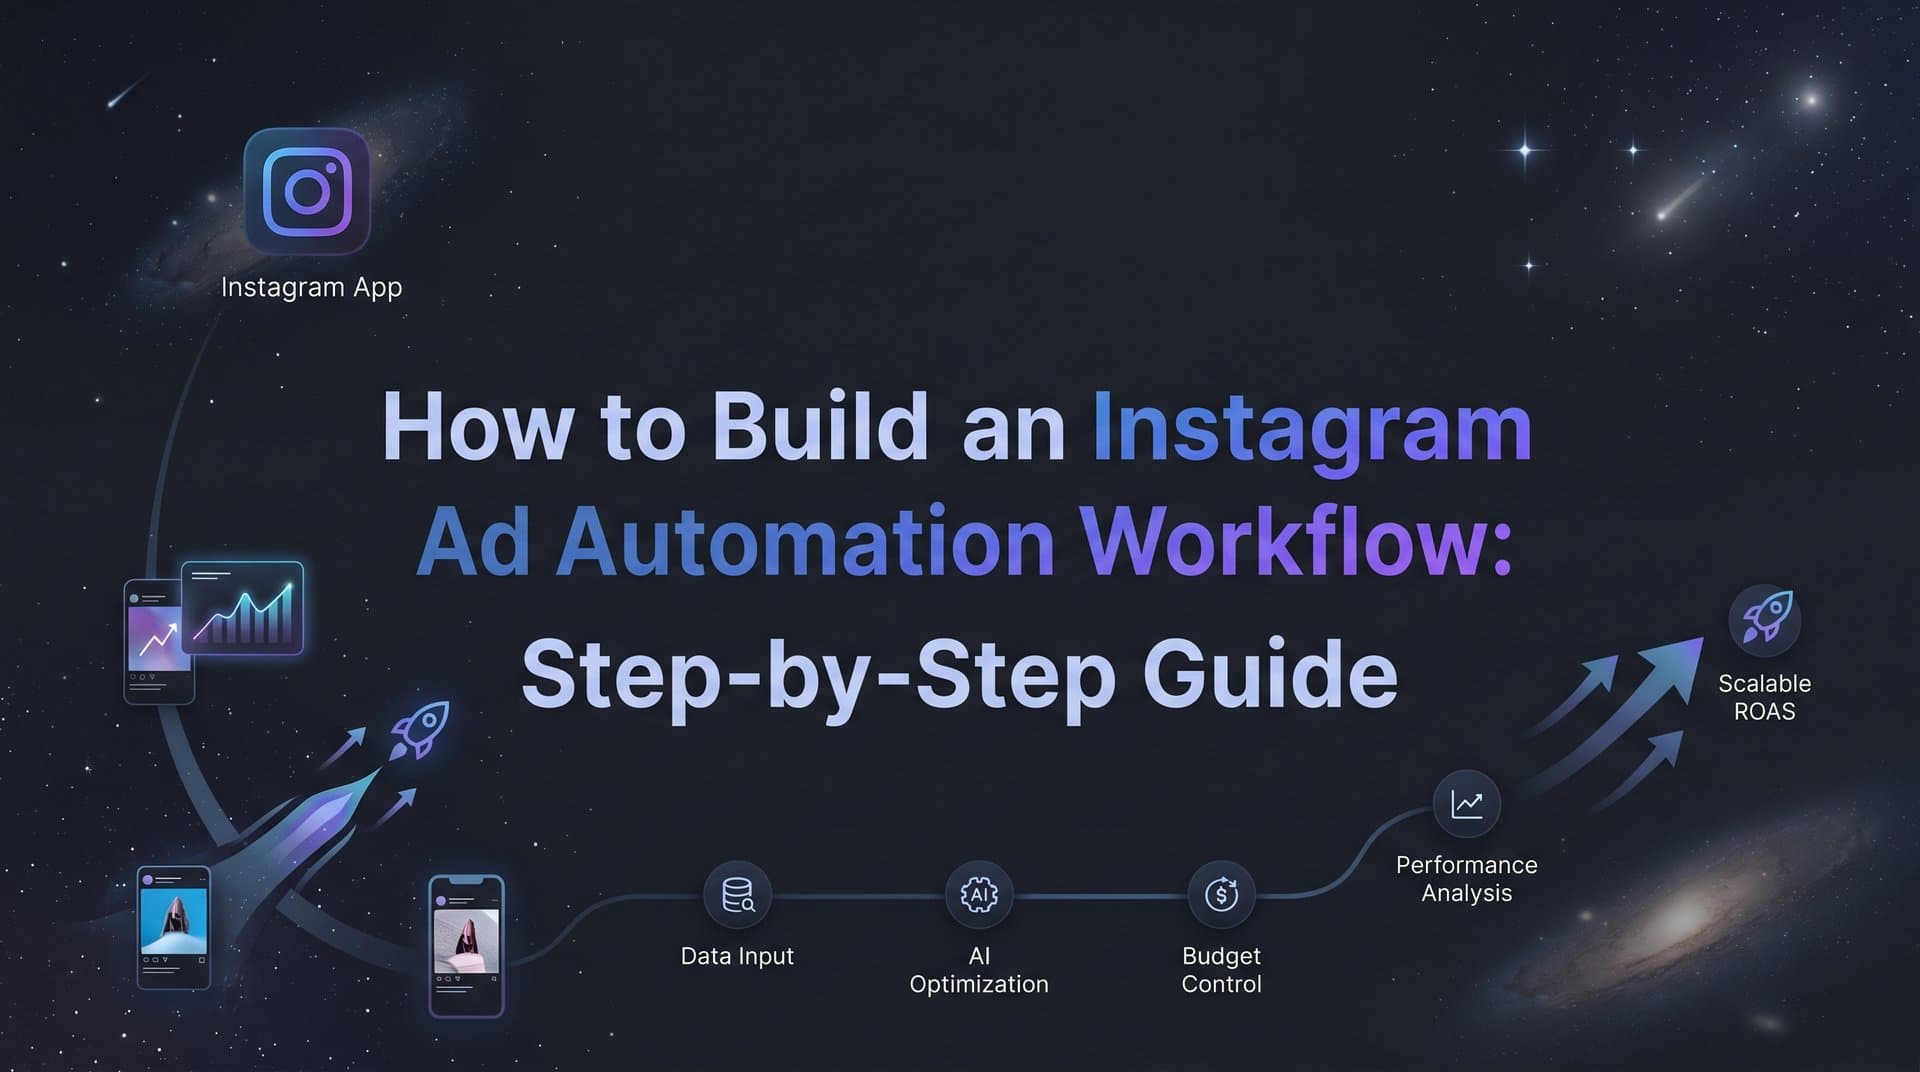
An Instagram ad automation workflow changes the equation entirely. Instead of managing every moving part by hand, you build a system where AI handles creative generation, campaign setup, audience targeting, and performance analysis in a continuous loop. The result is faster launches, more variations tested simultaneously, and a much clearer picture of what actually drives results.
This guide walks you through exactly how to build that workflow from scratch. You will learn how to generate ad creatives without designers, set up campaigns using AI-assisted targeting, launch hundreds of variations at scale, and use performance data to feed your next round of ads. Whether you are a solo performance marketer, an agency managing multiple clients, or a business owner running your own Facebook and Instagram campaigns, this workflow applies directly to your situation.
Each step builds on the last. By the end, you will have a repeatable system that gets smarter with every campaign you run.
Step 1: Define Your Campaign Goals Before Touching Any Tool
This step is where most automation workflows break down before they even start. People jump straight to creative generation and campaign setup without establishing the strategic foundation that makes everything else work. Spend 20 to 30 minutes here and you will save hours of rework later.
Start with a single primary goal for this campaign. Conversions, traffic, leads, or awareness. Pick one. Mixing goals creates conflicting optimization signals that confuse both Meta's algorithm and your AI tools. A campaign trying to drive purchases and boost video views at the same time is optimizing for two different behaviors, and it will underperform at both.
Next, set your performance benchmarks before you launch anything. What is your target CPA? What ROAS do you need to hit for this campaign to be profitable? What CTR signals healthy engagement for your audience? These numbers become the scoring criteria your automation system uses to identify winners and flag underperformers. Without them, you are just collecting data with no way to act on it.
Map your audience segments at this stage as well. Cold traffic (interest-based or lookalike audiences), warm retargeting (website visitors, video viewers, past engagers), and existing customers all behave differently. They respond to different creative angles, different copy tones, and different offers. Each segment needs its own strategy, and mixing them in a single ad set creates optimization conflicts that Meta's own advertising guidelines specifically recommend against.
Finally, document your offer and unique value proposition clearly. What problem does your product solve? What makes it different? Are there any seasonal or promotional angles relevant to this campaign? AI creative and copy tools use this input to generate relevant, on-brand content. The more specific your brief, the better the output.
Common pitfall: Skipping this step and jumping straight to creative generation produces generic ads that lack strategic direction. The automation system has nothing meaningful to optimize toward. Treat this as the blueprint everything else is built on.
Success indicator: You have a one-page brief with your primary goal, performance benchmarks, audience segments, and offer details documented before moving to Step 2.
Step 2: Generate Your Ad Creatives with AI
Here is where the workflow starts to feel different from traditional ad production. Instead of briefing a designer, waiting for drafts, requesting revisions, and repeating that cycle, you generate a full creative library in a single session.
Start with your product URL or a brief description of your offer. Platforms like AdStellar use this input to generate image ads, video ads, and UGC-style avatar creatives across multiple formats. You are not choosing between formats at this stage. You want variety because different creative types perform differently depending on placement, audience, and offer type. What works for cold traffic on Instagram Reels may not be your top performer in the feed.
Aim for at least three to five creative variations per angle. Build one benefit-focused creative that leads with what the customer gains. Build one problem-aware creative that opens with the pain point your product solves. Build one social proof oriented creative that leans on results, reviews, or credibility signals. More variations mean more data to learn from, and more data means your automation system finds winners faster.
Use the Meta Ad Library clone feature to accelerate this process. You can analyze what competitors are actively running, identify creative patterns that are clearly getting investment (meaning they are likely working), and generate inspired variations based on those directions. This is completely legal, fast, and gives you market-tested creative direction without starting from a blank page.
Refine creatives using chat-based editing rather than rebuilding from scratch. Need to adjust the headline? Swap the background visual? Change the tone from playful to direct? Chat-based editing handles all of this without going back to a designer or video editor. The iteration cycle that used to take days now takes minutes.
No designers or video editors needed at this stage. AI handles the production work entirely.
Success indicator: You have a library of 10 to 20 creatives across multiple formats before your campaign goes live. This gives your automation system enough variation to identify patterns and surface winners quickly. A library this size also protects against creative fatigue, which is a common issue on Instagram where users scroll frequently and can see the same ad multiple times within a short window.
Step 3: Build Your Campaign Structure with AI Assistance
Manual campaign building from memory is one of the most common sources of wasted ad spend. You recreate audience configurations you have used before, guess at which headlines performed well in previous campaigns, and rely on intuition rather than data. AI-assisted campaign building replaces that guesswork with a structured process grounded in what has actually worked.
Start by feeding your historical campaign data into your AI campaign builder. AdStellar's AI Campaign Builder analyzes past campaigns and ranks every element by actual performance metrics. Creatives, headlines, audiences, and copy are all scored based on results like ROAS, CPA, and CTR. The AI then selects the top-performing elements and assembles them into your new campaign structure.
What makes this particularly useful is the transparency. Every selection comes with a rationale explaining why the AI made that choice. You are not handed a black-box output and told to trust it. You can see the strategy, understand the reasoning, and make informed adjustments if your current campaign has context the AI does not account for, like a new offer or a seasonal angle.
Set up separate ad sets for each audience segment you defined in Step 1. Cold traffic, warm retargeting, and existing customers should never compete within the same ad set. Each segment has different intent levels, different familiarity with your brand, and different conversion probabilities. Keeping them separate allows Meta's algorithm to optimize delivery for each segment independently and gives you clean performance data to analyze.
Configure your budget at the campaign level and let Meta's algorithm distribute spend across ad sets based on performance signals. This approach, known as Advantage Campaign Budget, lets the algorithm shift spend toward the ad sets generating the best results in real time rather than locking fixed budgets to each segment manually.
Pitfall to avoid: Rebuilding your campaign structure from scratch each time because you did not save what worked previously. The AI campaign builder solves this problem by learning from every campaign cycle. The more campaigns you run through the system, the more accurate and efficient this step becomes.
Step 4: Launch at Scale Using Bulk Ad Creation
This is where the automation workflow delivers its most visible time savings. Traditional ad launching means manually duplicating ad sets, swapping creatives one by one, editing copy for each variation, and repeating that process across every audience segment. For a test matrix with five creatives, four headlines, and three audiences, that is sixty individual ads to set up by hand. Bulk ad creation handles that entire process in minutes.
Take your creative library from Step 2 and mix it with multiple headline variations, copy options, and the audience segments you structured in Step 3. AdStellar's Bulk Ad Launch generates every combination across ad sets and ad levels, then pushes them live to Meta in clicks rather than hours. The system handles the matrix logic automatically, so you are not manually tracking which combinations have been created and which have not.
Aim for a broad test matrix. Multiple creatives multiplied by multiple headlines multiplied by multiple audiences creates the volume of data needed for statistically meaningful insights. Running a single creative per audience gives you one data point. Running ten creatives across three audiences gives you thirty data points, and patterns emerge much faster.
Set naming conventions before you hit launch. This step is easy to skip and consistently causes reporting headaches later. Include the creative type, audience segment, and launch date in each ad name. A clear naming structure means your leaderboard reports in Step 5 are immediately readable and actionable rather than a list of generic ad names you have to decode.
Scaling tip: Start with your highest-confidence audience and creative combinations. Run those for three to five days before expanding to broader test combinations. This approach gives you early performance signals to validate before committing full budget to the wider matrix. If you are comparing approaches, understanding automation versus manual campaign management can help you see exactly how much time bulk launching saves at this stage.
Success indicator: Your campaign is live with dozens or hundreds of ad variations without spending hours inside Ads Manager manually duplicating and editing ad sets. What used to be a half-day task is now a 20-minute process.
Step 5: Monitor Performance with AI-Powered Insights
Data without structure is just noise. Most advertisers have access to performance metrics, but the challenge is turning those numbers into clear decisions quickly. AI-powered insights solve this by ranking every element of your campaign against the benchmarks you set in Step 1 and surfacing the patterns that matter.
Use leaderboard-style reporting to rank your creatives, headlines, copy variations, audiences, and landing pages by ROAS, CPA, and CTR. AdStellar's AI Insights feature scores every element against your target goals, so instead of scanning rows of data and doing mental math, you can immediately see which combinations are winning and which are draining budget. The leaderboard format makes it obvious where to shift spend and where to cut.
Timing matters here. Meta's algorithm goes through a learning phase after a campaign launches, during which delivery and performance can be inconsistent. This phase typically requires a meaningful volume of optimization events before the algorithm stabilizes. Avoid making significant optimization decisions before the learning phase completes. Check in on performance after the initial three to seven days depending on your spend volume, and resist the urge to pause underperformers too early.
Look for patterns across your winners, not just individual ad performance. Is a specific visual style consistently outperforming across multiple audiences? Is one headline angle driving lower CPA regardless of which creative it is paired with? These cross-campaign patterns are the most valuable insights your AI advertising system produces. They tell you what to create more of in your next round.
Integrate with an attribution tool like Cometly to track conversions beyond last-click data. Instagram ads often play a role in awareness and consideration before a user converts, and last-click attribution undervalues those upper-funnel touchpoints. A more complete attribution picture shows you which ads are contributing to revenue across the full customer journey, not just which ad happened to be the final touch before purchase.
Pitfall: Optimizing based on CTR alone. A high-CTR ad that does not convert is costing you money and inflating your confidence in the wrong creative direction. Always tie performance back to your primary goal metric from Step 1. CTR is a signal, not the destination.
Step 6: Save Winners and Feed the Loop
This is the step that separates a one-time campaign from a compounding system. Most advertisers treat each campaign as a standalone project. They launch, analyze, and then start the next campaign largely from scratch. The automation workflow is designed to do the opposite: every campaign cycle makes the next one faster, smarter, and more effective.
Move your top-performing creatives, headlines, audiences, and copy into your Winners Hub. This is not just a folder of files. It is a library of proven assets with real performance data attached. You know exactly which creative drove the lowest CPA, which headline angle produced the highest ROAS, and which audience segment responded best to which offer. That institutional knowledge stays in the system rather than disappearing when a campaign ends.
When building your next campaign, pull directly from the Winners Hub rather than starting from a blank brief. Every new campaign starts from a stronger baseline because it is built on elements that have already proven themselves in the market. The AI Campaign Builder in Step 3 becomes more accurate over time for exactly this reason: it has more proven data to work from.
Use winning creative formats as templates for new variations. If a UGC-style video is consistently outperforming static images for cold traffic, generate more UGC variations with different hooks, different offers, or different talent. You are not abandoning what works. You are scaling it while testing fresh angles within the proven format.
Update your performance benchmarks based on recent results. As your campaigns improve, raise your CPA and ROAS targets to keep pushing performance forward. Static benchmarks stop being useful once your campaigns consistently exceed them. Raising the bar ensures your Instagram advertising automation tools continue to surface genuine improvements rather than flagging average performance as a win.
Success indicator: Your second campaign launches faster than your first, performs better on average, and requires less manual intervention. Not because you got lucky, but because the AI has more data to work from and your Winners Hub gives you a proven starting point. This is what the loop looks like in practice.
Putting It All Together
Building an Instagram ad automation workflow is not a one-time setup. It is a repeatable system that compounds over time. Each campaign generates data, that data informs better decisions, and those decisions produce stronger results in the next round.
The six steps covered here give you the full loop: goal setting, AI creative generation, campaign building from historical data, bulk launching at scale, performance monitoring with AI insights, and feeding winners back into the system. Each step feeds the next, and the system gets smarter with every cycle you run.
The tools exist to handle the heavy lifting. AdStellar brings creative generation, campaign building, bulk launching, and performance analysis into a single workflow so you are not stitching together five different platforms to get there. Everything from generating your first ad creative to surfacing your top performers happens inside one system.
Start with one campaign using this framework. Run it, review the data, save your winners, and launch the next round faster. Over time, your launches get faster, your creative quality improves, and your results become more predictable because the system is learning from real performance data rather than starting from scratch each time.
Ready to build your first automated campaign? Start Free Trial With AdStellar and run your first Instagram ad automation workflow today with a full 7-day free trial.