Meta's Ads Manager interface greets you with a dashboard that looks like a cockpit—dozens of buttons, toggles, dropdown menus, and configuration options stacked in nested layers. You click "Create Campaign" and immediately face a decision tree that branches into audience segments, placement configurations, budget allocation strategies, conversion tracking setup, and creative specifications that seem to multiply with each click.
The platform wasn't always this complex. Meta has spent years adding features designed for enterprise advertisers managing million-dollar budgets across dozens of markets. Each new capability—Advantage+ targeting, dynamic creative optimization, detailed placement controls, conversion lift studies—arrived as a solution to sophisticated advertising challenges.
But for the rest of us? These layers of options create decision paralysis before we even launch our first ad.
The irony is that Meta's machine learning has become so sophisticated that many of these manual configurations now hurt performance rather than help it. The algorithm can identify high-intent users faster than manual targeting. It can allocate budget more efficiently than static ad set budgets. It can select optimal placements better than educated guesses.
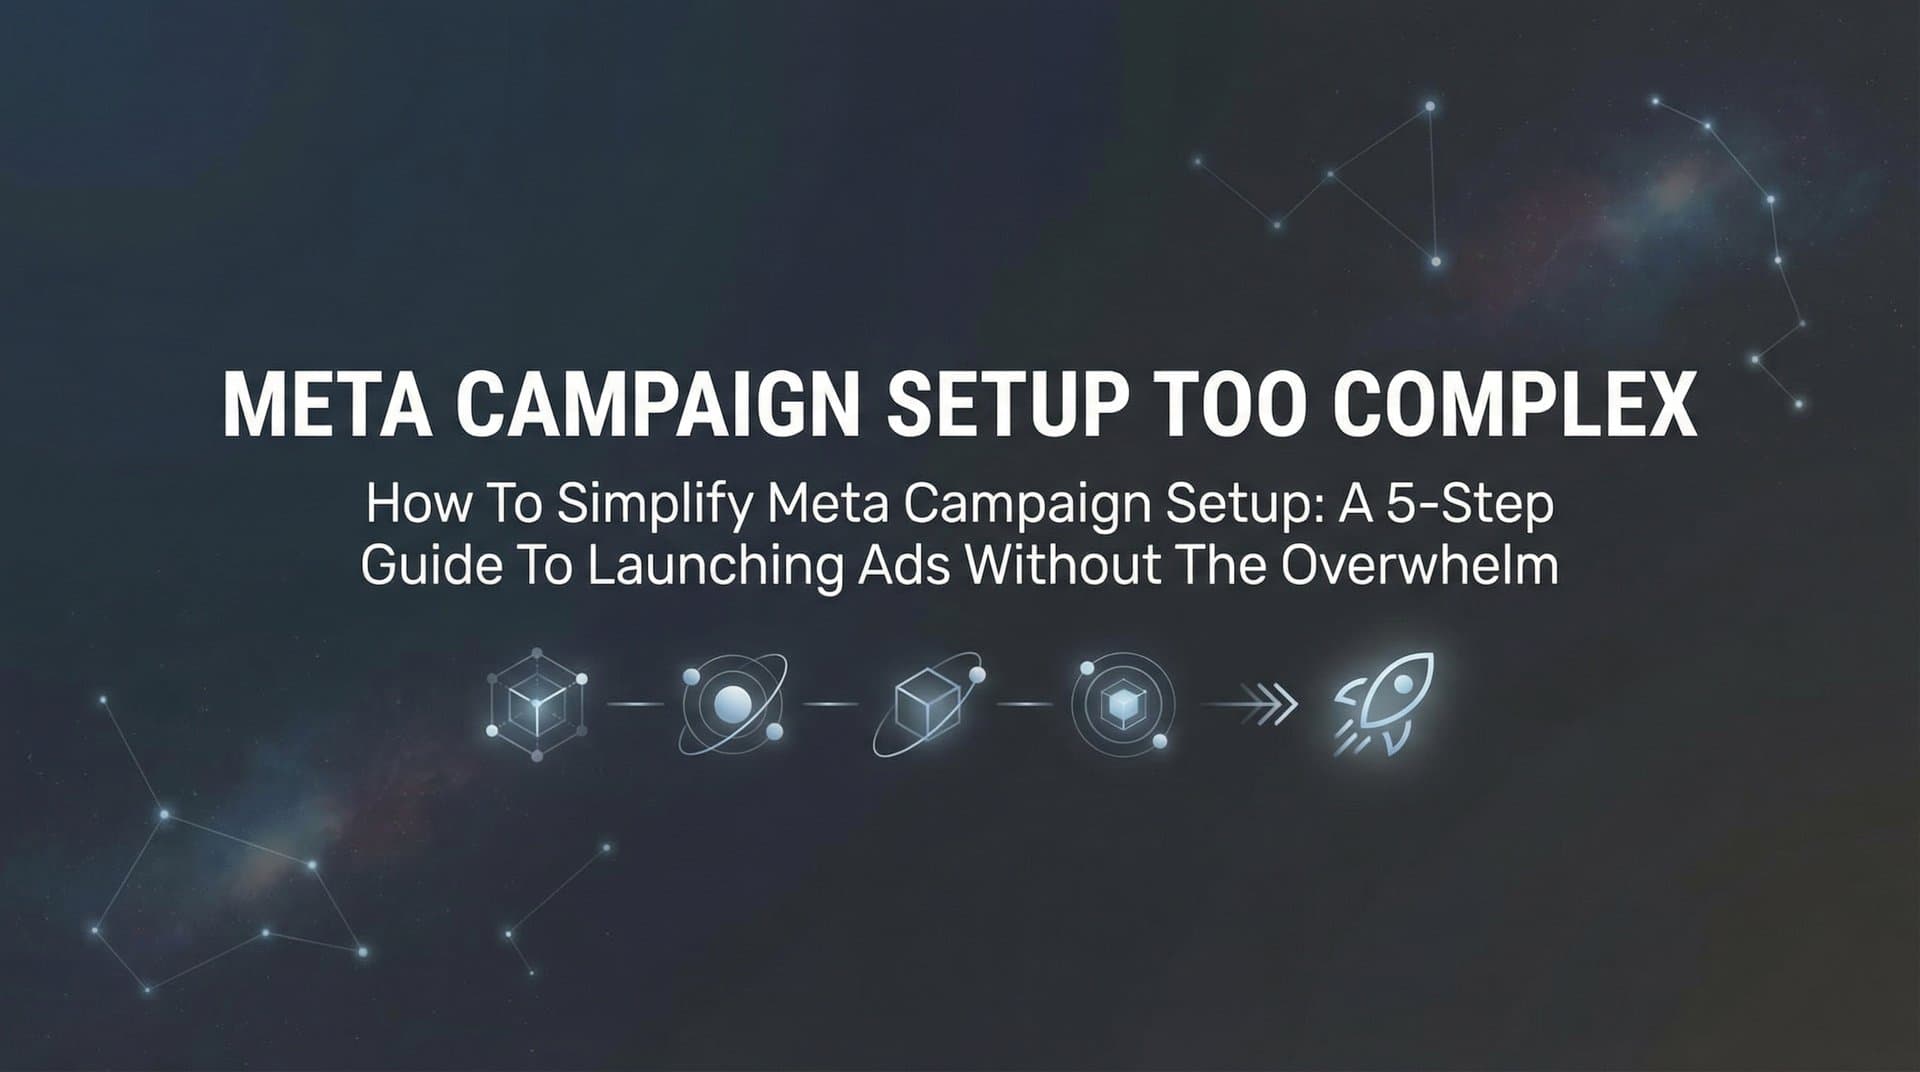
This guide strips away the complexity with a streamlined five-step approach that gets your campaigns live without the overwhelm. You'll learn which settings actually matter, which features to trust to automation, and how to structure campaigns that are both simple to set up and strategically sound. Whether you're launching your first Meta campaign or you're an experienced marketer tired of spending hours in Ads Manager, these steps will help you launch faster while building the foundation your ads need to perform.
Step 1: Choose Your Campaign Objective Based on One Simple Question
Before you touch any other setting in Ads Manager, answer this question: What single action do I want someone to take after seeing my ad?
Not "What do I want people to know about my brand?" or "How do I want people to feel?" Those are marketing strategy questions. For Meta campaign setup, you need a concrete action: Click to my website. Submit a lead form. Purchase a product. Download an app.
Meta offers six campaign objectives, but most businesses only need to consider three:
Awareness: You want people to see and remember your brand. Use this when you're launching something genuinely new or entering a market where nobody knows you exist.
Traffic: You want people to click through to your website, app, or Messenger conversation. This works for content-driven businesses where the conversion happens after multiple touchpoints.
Sales or Leads: You want people to complete a specific conversion action—purchase, sign up, register, download. This is where most businesses should start.
Here's the reality that simplifies this decision considerably: If your business goal involves any measurable conversion action, choose Sales (for e-commerce) or Leads (for lead generation). These objectives tell Meta's algorithm to find people most likely to complete your desired action, not just people who might click or remember your brand.
The most common mistake? Choosing Traffic when you actually want conversions. Traffic campaigns optimize for clicks, which means Meta will find people who click ads—not necessarily people who buy products or submit forms. You'll get cheaper clicks but fewer actual results. If you're paying for advertising, you want results, not just traffic.
Think of it like hiring someone for a job. If you tell Meta you want "awareness," you're asking it to find people who might glance at your storefront. If you choose "traffic," you're asking for people who will walk through the door. But if you choose "sales" or "leads," you're asking Meta to find people who will actually buy something or sign up.
The algorithm performs best when you give it a clear success metric. Understanding campaign structure for Meta ads helps you align objectives with your overall advertising strategy.
Verification checkpoint: Your objective should complete this sentence: "I want Meta to find people who will [take this specific action]." If you can't complete that sentence with a concrete action, your objective isn't clear enough yet.
Step 2: Set Up Your Audience Without Getting Lost in Targeting Options
The audience targeting section is where most people get stuck. Meta offers detailed demographics, interests, behaviors, custom audiences, lookalike audiences, and now Advantage+ audience targeting. It's tempting to layer on multiple targeting criteria, thinking more specificity equals better results.
That's usually wrong.
Start with Advantage+ Audience for most campaigns. This feature lets Meta's algorithm find high-intent users based on your campaign objective and creative, rather than forcing it to search within narrow demographic boxes you've defined. The machine learning system analyzes billions of signals—recent purchases, content engagement, app usage, browsing behavior—that you could never manually configure.
Here's your simple setup: Select your geographic location (country, state, or city), set an age range if your product has legal restrictions or clear age relevance, and enable Advantage+ Audience. That's it for most campaigns.
When should you use custom audiences instead? Three specific scenarios:
Retargeting website visitors: People who've already interacted with your website are warmer prospects. Create a custom audience from your Meta Pixel data targeting visitors from the past 30-90 days.
Uploading email lists: If you have an existing customer list or email subscribers, upload it as a custom audience. These people already know your brand.
Engaging past purchasers: Create audiences of people who've bought specific products to cross-sell or upsell related items.
The interest targeting trap catches many advertisers. Meta lets you add dozens of interest categories—"fitness enthusiasts," "small business owners," "organic food shoppers." It feels strategic to stack these interests, creating what seems like a perfectly defined target customer.
But here's what actually happens: Each interest you add narrows your audience, often below the threshold where Meta's algorithm can effectively optimize. The algorithm needs scale to test variations and find patterns. When you force it to search within a tiny audience segment, you're handicapping its ability to discover high-intent users who don't fit your assumptions.
Many successful advertisers have found that broader targeting with strong creative outperforms narrow targeting with mediocre creative. Let your ad content do the filtering—people who aren't interested in your offer won't engage regardless of their demographic profile.
Verification checkpoint: Check your "Potential Reach" estimate in the audience section. If it's under 100,000 people, your targeting is probably too narrow. Meta's algorithm needs room to find patterns and optimize delivery. Broader audiences typically lead to better performance, not worse.
Step 3: Configure Placements and Budget in Under Five Minutes
The placements section presents another decision tree: Facebook Feed, Instagram Feed, Stories, Reels, Messenger, Audience Network, and various sub-options within each. You could spend an hour researching which placements perform best for your industry, or you could trust the algorithm that's analyzed billions of ad impressions.
Choose Advantage+ Placements unless you have a specific creative limitation. If your video is formatted only for vertical viewing, then yes, manually select placements that support that format. But for most campaigns, Meta's algorithm will test your ads across placements and allocate more impressions to wherever they perform best.
Manual placement selection made sense years ago when the algorithm was less sophisticated. Today, it usually just limits your reach and forces Meta to deliver ads in places you've chosen rather than places that actually convert. The algorithm knows which placements drive results for campaigns similar to yours—let it use that intelligence.
Budget configuration is simpler than most advertisers think. Use Campaign Budget Optimization (CBO) and set your daily budget at the campaign level rather than splitting it across ad sets. This lets Meta automatically allocate more budget to better-performing ad sets rather than forcing equal spend across all variations.
How much should you budget? Use this simple formula: Set a daily budget you can afford to spend for seven days without seeing any results. This ensures you have enough budget to complete Meta's learning phase (approximately 50 optimization events) without financial stress if initial performance is slow.
If you're selling a product with a $50 profit margin and you can afford to spend $350 to acquire your first customer, set a $50 daily budget. If you're generating leads worth $100 each and can afford $700 to validate the campaign, budget $100 daily.
Starting too low—say, $10 per day—often means you won't generate enough events for the algorithm to optimize effectively. You'll spend weeks in the learning phase without clear performance data. Starting too high risks burning budget before you've validated your offer and creative. For more guidance on Meta campaign optimization tools, explore platforms that help automate budget allocation decisions.
Verification checkpoint: After setting your budget and placements, Meta displays a "Cost per Result" estimate. This number should be in a reasonable range for your industry. If it estimates $200 per conversion and your product sells for $30, something is wrong with your campaign structure. Revisit your objective and audience settings.
Step 4: Build Your Ad Creative Using a Proven Structure
Your ad creative does more work than any targeting setting or budget optimization. A compelling ad with broad targeting will outperform a mediocre ad with perfect targeting every time. The good news? Effective ad creative follows a simple three-element structure.
Element 1: The Hook (First Three Seconds)
Your ad competes with friends' photos, viral videos, and dozens of other advertisers. You have roughly three seconds before someone scrolls past. Your hook needs to stop the scroll with either a provocative question, a bold statement, or a visually striking image.
For video ads, this means your first frame and opening line carry enormous weight. For static image ads, your visual and headline need to work together to create immediate curiosity or relevance.
Element 2: The Value Proposition
Once you've stopped the scroll, you have about five more seconds to communicate why someone should care. What specific benefit does your product or service provide? Not features—benefits. Not "AI-powered analytics dashboard" but "See which ads are wasting money in under 60 seconds."
The value proposition answers the viewer's unspoken question: "What's in this for me?" Be direct and specific.
Element 3: The Clear Call-to-Action
Tell people exactly what to do next. "Shop Now" if you're selling products. "Learn More" if you're driving to content. "Sign Up" if you're collecting leads. Don't be clever or subtle—be clear.
You don't need to create new content from scratch. Repurpose what's already working. Check your organic posts—which ones got the most engagement? That's proven creative. Look at customer testimonials—real user experiences make compelling ad content. Review your website's top-performing pages—what messaging resonates there?
For your primary text (the copy that appears above your image or video), lead with the benefit and keep it under 125 characters. Mobile users see truncated text, so your core message needs to land immediately. You can add more detail in the following sentences, but assume most people will only read your opening line.
Your headline and description should reinforce your call-to-action, not repeat your brand name. If your CTA button says "Shop Now," your headline might be "Free Shipping on Orders Over $50" rather than "Welcome to [Brand Name]." Give people a reason to click, not just brand recognition. Using Meta ads campaign templates can help you maintain consistent creative structure across multiple campaigns.
Verification checkpoint: Show your ad to someone unfamiliar with your business and give them three seconds to look at it. Then ask: "What was that ad offering?" If they can't answer, your hook or value proposition needs work. The scroll-stopping test is brutal but honest.
Step 5: Review, Launch, and Set Up Simple Monitoring
Before you click "Publish," run through this pre-launch checklist. These five minutes of verification prevent hours of troubleshooting later.
Pixel Verification: Open your website in a new tab and check that the Meta Pixel is firing correctly. Use the Meta Pixel Helper browser extension to confirm events are registering. If your pixel isn't working, your conversion tracking won't work, and your campaign can't optimize properly.
URL Parameters: If you're using UTM parameters or other tracking codes in your destination URL, test the full link to ensure it loads correctly and doesn't break your website.
Mobile Preview: View your ad preview on a mobile device or in mobile view. Most people will see your ad on their phones, so if it looks awkward on mobile, it will underperform regardless of your targeting.
Payment Method: Confirm your payment method is current and has sufficient funds. Campaigns pause automatically if payment fails, wasting your learning phase progress.
Ad Account Permissions: If you're running ads for a client or working with a team, verify everyone has appropriate access levels to the ad account and Business Manager.
Click "Publish" and understand what happens next. Your campaign enters the "learning phase"—a period where Meta's algorithm tests your ads with different users to understand who responds best. This phase typically requires about 50 optimization events (conversions, leads, purchases) before performance stabilizes.
During the learning phase, your cost per result will fluctuate, sometimes dramatically. This is normal. The algorithm is gathering data and adjusting delivery. Making changes to your campaign during this phase—adjusting budget, editing creative, modifying targeting—resets the learning process and extends the time until you see stable performance.
Set up one automated rule to protect your budget: Pause any ad set that spends more than twice your target cost per acquisition with zero conversions. This prevents runaway spending on ads that clearly aren't working while giving successful ads room to optimize. Exploring Meta campaign automation tools can help you implement these protective rules without constant manual monitoring.
Schedule your first performance review for 72 hours after launch—not 24 hours. Checking results too early leads to premature optimization decisions based on insufficient data. Most campaigns need at least three days to show meaningful patterns.
When you do review performance, focus on these key metrics: Cost per result (conversion, lead, or purchase), Frequency (how many times the average person sees your ad), and Click-through rate (CTR). If your cost per result is within your target range, let the campaign continue learning. If frequency climbs above 3 and performance drops, your audience may be too small or your creative needs refreshing.
Verification checkpoint: Within a few hours of launching, check Events Manager to confirm your conversion events are registering. Your campaign status should show "Active" with delivery happening. If it shows "Learning" with minimal spend, that's normal—the algorithm is starting to test delivery patterns.
Putting It All Together
Meta campaign setup becomes manageable when you strip away the complexity that doesn't serve your goals. By following these five steps—clarifying your objective with a single action focus, simplifying your audience with Advantage+ features, trusting algorithmic placement and budget optimization, structuring creative around the hook-value-CTA formula, and setting up basic monitoring with realistic timelines—you can launch campaigns in under an hour instead of an entire afternoon.
The key insight that simplifies everything: Meta's algorithm has become sophisticated enough that over-configuration usually hurts performance. The machine learning system analyzes billions of signals and patterns that manual targeting can't match. Your job isn't to outsmart the algorithm with clever audience definitions—it's to give the algorithm a clear objective, strong creative, and sufficient budget to find high-intent users.
Start simple. Let the learning phase complete without interference. Optimize based on actual performance data rather than assumptions about who your customer might be. Most campaigns improve when you remove restrictions rather than add them. If you're struggling with an inefficient Meta ad campaign process, simplification is often the answer.
The advertisers who succeed on Meta aren't necessarily the ones with the most sophisticated targeting strategies or the biggest budgets. They're the ones who launch quickly, test consistently, and let data guide their decisions rather than getting paralyzed by configuration options. Learning how to build Meta campaigns faster gives you more time for the strategic work that actually drives results.
For marketers who want to eliminate setup complexity entirely while maintaining strategic integrity, AI tools for Meta advertising can analyze historical performance data and build complete campaigns automatically. Start Free Trial With AdStellar AI and be among the first to launch and scale your ad campaigns 10× faster with our intelligent platform that automatically builds and tests winning ads based on real performance data. The system handles the five-step process in seconds—from objective selection through creative structure—so you can spend less time in Ads Manager and more time on strategy that actually moves the needle.
Whatever approach you choose, remember that campaign setup is just the beginning. The real work happens in creative testing, performance analysis, and iterative improvement. But none of that matters if you're stuck in setup paralysis, afraid to launch because you haven't configured every possible option perfectly.
Launch your campaign. Give it time to learn. Optimize based on results. That's the process that drives performance, not perfect configuration on day one.


