Let's be direct about something: most ad campaigns don't fail because of bad targeting or insufficient budget. They fail because the person who wrote the strategy and the person who built the creative were working from completely different assumptions. One thought the ad was for cold audiences who had never heard of the brand. The other assumed everyone already knew what the product did. Nobody checked. Nobody wrote it down.
A well-built ad creative brief template solves this problem before it starts. It creates a single source of truth that aligns your creative team, your media buyer, and anyone else touching the campaign around the audience, the message, the format, and the goal before a single pixel gets designed or a word of copy gets written.
This guide walks you through building a reusable brief template from scratch, covering every field that actually matters for Meta advertising. Whether you are briefing an in-house designer, a freelancer, or feeding inputs into an AI creative tool, the same principles apply.
By the end, you will have a structured template you can use across every campaign, plus a clear understanding of why each section exists and what happens when you skip it. No fluff, no filler. Just a practical, step-by-step process for building briefs that translate into ads people actually stop scrolling to read.
Step 1: Define the Campaign Objective Before Anything Else
Every brief starts with one question: what does this ad need to accomplish? Not what would be nice, not a list of goals the marketing team brainstormed in a meeting. One specific business outcome this campaign is responsible for delivering.
The options are straightforward: awareness, lead generation, purchase, retargeting a warm audience, or driving an app install. Pick one. Write it down. Everything else in the brief flows from this decision.
Why does this matter so much? Because on Meta, the campaign objective you select directly influences how the algorithm delivers your ads. A campaign set to Conversions optimizes for people most likely to complete a purchase action. A campaign set to Traffic optimizes for clicks. If your brief says "drive sales" but your campaign is set to Traffic, you have a structural mismatch that no amount of great creative will fix. The brief should name both the business goal and the corresponding Meta campaign objective so there is no ambiguity when the media buyer sets up the account.
Write the objective as a single sentence that anyone on the team can read and immediately understand. Something like: "This campaign drives first-time purchases from cold audiences using a Conversions objective targeting women 28-45 interested in sustainable skincare." That sentence tells a designer, a copywriter, and a media buyer everything they need to orient their decisions.
The most common pitfall here: listing multiple goals in one brief. Teams do this because they want to get maximum value from one campaign, but the result is creative that tries to do too much and accomplishes nothing clearly. If you have an awareness goal and a conversion goal, those are two campaigns with two briefs. Split them.
Your success indicator for this step is simple: hand the brief to someone who was not in the strategy meeting and ask them to state the campaign goal. If they can do it without asking a follow-up question, the objective section is working.
Step 2: Build a Precise Audience Profile Section
Once the objective is locked, the next section of your ad creative brief template needs to answer a question that sounds simple but is often handled poorly: who exactly is this ad talking to?
Start with the targeting parameters. Document the primary audience with the demographics, interests, and behavioral signals you plan to use in Meta Ads Manager. This is not just for the media buyer. A copywriter who knows they are targeting 35-year-old homeowners with a household income above a certain threshold will write very differently than one who thinks the audience is college students renting apartments.
Next, document where this audience sits in the funnel. Cold traffic, warm retargeting, and existing customers require completely different creative approaches. Cold traffic has never heard of your brand and needs context and credibility. A warm retargeting audience already knows who you are and just needs a reason to come back. Existing customers respond to loyalty offers and upsell messaging. The brief should make this distinction explicit.
Here is where most briefs stop, and where the best ones go further. Write a short "day in the life" description of the person you are targeting. Not a demographic summary. A human picture. What are they doing when this ad appears in their feed? What problem are they aware of? What are they worried about? What does a win look like for them? This kind of grounded description gives creative teams something to work with that a list of targeting parameters never can.
Two more elements belong in this section. First, note what this audience already knows about your product. A retargeting audience who visited your product page does not need an explanation of what you sell. A cold audience does. Second, list the likely objections this audience has. Price? Skepticism about results? Loyalty to a competitor? Knowing the objection in advance lets the creative team address it proactively rather than leaving it unresolved.
One distinction worth making explicit: the audience you are targeting in Meta's backend and the audience who appears in the creative are not always the same person. A brand targeting 45-year-old parents might show a 28-year-old in the ad because that is who the target audience aspires to relate to. Note this in the brief so the creative team is not confused when the talent or visual style does not match the demographic on paper.
The success indicator: a designer or copywriter should be able to read this section and immediately know who they are talking to, what that person cares about, and what is standing between them and a conversion.
Step 3: Write the Core Message and Value Proposition
This is the section where most briefs fall apart. Teams arrive at the message section and list every feature the product has, every benefit the brand is proud of, and every claim the legal team approved. The result is a brief that gives creative teams no real direction because everything is equally important, which means nothing is.
Your brief needs to identify the single most important thing this ad must communicate. Not three things. Not a hierarchy of five. One primary message that the entire creative is built to deliver.
Start by separating the primary message from supporting proof points. The primary message is what the audience needs to understand or feel to take the desired action. The proof points are the facts, testimonials, or data points that support that message. In the brief, make this hierarchy explicit. Something like: "Primary message: this tool saves you hours every week. Supporting proof points: used by over X teams, integrates with tools you already use, no setup required." The creative team now knows what to lead with and what to use as reinforcement.
Write the value proposition from the customer's perspective, not the brand's. There is a meaningful difference between "our platform uses advanced AI to optimize ad delivery" and "you stop wasting money on ads that aren't working." The first is how the brand thinks about the product. The second is what the customer actually cares about. Briefs written from the brand's perspective produce ads that feel like ads. Briefs written from the customer's perspective produce ads that feel like solutions.
Include the key emotional or rational trigger this audience responds to. Different audiences are moved by different things. Fear of missing out works in some categories. The desire for status works in others. The need for simplicity is a powerful driver for audiences overwhelmed by complexity. Naming the trigger in the brief gives copywriters and art directors a psychological anchor for their decisions.
Also list any mandatory elements: required claims, legal disclaimers, brand statements, or compliance language that must appear in the ad. Getting this into the brief upfront prevents late-stage revisions that delay launches.
The success indicator: the primary message fits in one sentence, and every element of the finished ad, the visual, the headline, the body copy, the CTA, supports that sentence.
Step 4: Specify Format, Dimensions, and Creative Requirements
Vague creative direction is expensive. When a designer does not know exactly what formats to produce or what dimensions are required, they either guess or ask. Both options slow everything down. This section of the brief eliminates that problem entirely.
Start by listing every ad format this brief covers. Static image, video, carousel, UGC-style content, or a combination. If you are running multiple formats, each one should be documented. Do not assume the creative team knows which formats you need based on context.
Then get specific about dimensions. Meta's placements each have their own requirements, and a creative that works perfectly in the Feed will be cropped incorrectly in Stories if the dimensions are wrong. The key placements and their standard aspect ratios are worth having memorized: Feed images typically use 1:1 or 4:5, Stories and Reels use 9:16, and Right Column uses 1.91:1. Document the exact placements this campaign will run in and the corresponding specifications for each. This is not the media buyer's job to communicate after the fact. It belongs in the brief.
For video, specify the length. Meta's own guidance recommends shorter video for most placements, with the first three seconds being the most critical window for capturing attention before a user scrolls past. If you are running Reels, note that the format rewards content that feels native to the platform rather than repurposed from other channels.
Document the brand guidelines that apply to this campaign. Color palette, approved fonts, logo usage rules, and any visual restrictions. If there are elements that must never appear alongside the brand, note them here. This section should be specific enough that a designer who has never worked with your brand before can follow it without a separate brand guidelines document.
Specify the tone of the creative. Bold and direct, soft and aspirational, humorous, educational. Tone affects every visual decision from color choices to typography to the facial expressions of anyone featured in the ad.
If you are running multiple variations for testing: list how many versions are needed and what element changes between them. For example, three versions of the same ad with different headlines, or two versions with different visual treatments. This tells the creative team exactly what to produce and gives the media buyer a clear picture of what the test structure looks like.
The success indicator: a designer can open this section and know exactly what files to deliver, in what formats, at what dimensions, without sending a single follow-up email.
Step 5: Write the Copy Framework Into the Brief
Leaving copy direction entirely open-ended is one of the most common brief mistakes. "Write something compelling" is not direction. Even a rough framework gives copywriters something to react to, and reacting is always faster than starting from nothing.
Begin with headline direction. You do not need to write the final headline in the brief, but you should provide either approved headline options or a clear structural direction. Reference proven formats: benefit-led headlines that lead with the outcome the audience gets, curiosity-gap headlines that create a question the ad answers, or social proof formats that lead with credibility signals. Naming the structure gives copywriters a starting point without locking them into your specific wording.
For the primary text, provide directional guidance with word count expectations appropriate for the placement. One important technical detail worth including in the brief: on Meta Feed placements, the primary text is truncated after approximately 125 characters on mobile before a "see more" prompt appears. That means the most important part of your message needs to land in the first line. Brief your copywriter on this constraint explicitly. Many do not think about it until after the ad is live.
Specify the call to action and explain why that CTA was chosen. This matters more than it seems. Cold traffic audiences who have never encountered your brand respond differently to "Shop Now" than they do to "Learn More." A retargeting audience who visited your checkout page is a much better candidate for "Complete Your Order" than a generic "Get Started." The CTA choice should reflect the funnel stage documented in the audience section, and the brief should make that connection explicit.
Note any copy restrictions. Words or phrases the brand avoids. Competitor names to exclude. Any regulatory language required. If there is a specific brand voice guide, reference it here or include the key principles directly in the brief.
For video briefs, include hook direction for the first three seconds. This is where attention is won or lost on Meta. The hook might be a provocative question, a surprising visual, a bold claim, or a pattern interrupt that stops the scroll. Whatever approach you choose, it should be specified in the brief so the creative team knows what they are working toward before production begins.
The success indicator: a copywriter can produce a first draft without scheduling a kickoff call. The brief gives them enough direction to start, and enough creative latitude to do their best work.
Step 6: Set Performance Benchmarks and Approval Workflow
A brief that ends at creative direction is only half a brief. The other half covers how performance will be measured and how the campaign will move from brief to live without getting stuck in approval loops.
Define the key performance indicators this creative will be measured against before the campaign launches. CTR, CPA, ROAS, conversion rate. Whatever metrics matter most for this campaign objective. Defining them in the brief sets shared expectations and prevents the subjective creative debates that happen when there is no agreed-upon standard for success.
Set a minimum spend threshold before performance is evaluated. This is a discipline that many teams skip, and it leads to premature decisions that kill potentially strong creative before it has had enough exposure to generate meaningful data. The right threshold varies based on your audience size, bid strategy, and daily budget, but having any defined threshold is better than none. Document it in the brief so the team knows not to make changes before that point.
Document the approval workflow. Who reviews the creative before launch? What is the turnaround expectation at each stage? If there are multiple stakeholders who need to sign off, list them in order. Unclear approval chains are a major source of launch delays, and they are entirely preventable with a brief that maps the process explicitly.
Include the campaign launch date and work backward to set deadlines for brief delivery, creative delivery, and review. A brief with a launch date but no intermediate deadlines is a brief that will miss its launch date.
Finally, document what happens after launch. Who monitors performance? How frequently? What is the threshold for pausing an underperforming creative or scaling a winner? These decisions should not be made reactively in the moment. Making them in advance, when everyone is thinking clearly, produces better outcomes.
The success indicator: the brief functions as both a creative document and a project management tool. Anyone on the team can read it and know who does what, when, and how success is defined.
Step 7: Turn Your Brief Into a Reusable Template and Automate What You Can
You have now built a complete brief for one campaign. The next step is making sure you never have to build one from scratch again.
Start by stripping out all the campaign-specific answers and saving the structure as a locked template in a shared document or project management tool. What remains is the skeleton: every section, every field, every prompt, ready to be filled in for the next campaign. Store it somewhere the whole team can access and update it as a team, not as an individual file on someone's desktop.
Add efficiency features to the template that speed up future briefs. Dropdown menus or checkboxes for fields that repeat across campaigns, like objective type, ad format, and placement, reduce the time spent on mechanical decisions and free up mental energy for the strategic ones. If your team uses a project management tool like Notion, Asana, or a shared Google Doc, these features are straightforward to build in.
Build a brief library organized by campaign type. Prospecting campaigns, retargeting campaigns, seasonal promotions, and product launches each have their own patterns. When you have a strong brief from a successful campaign, archive it. Future briefs for similar campaign types can start from that reference point rather than from zero, and the institutional knowledge embedded in past briefs compounds over time.
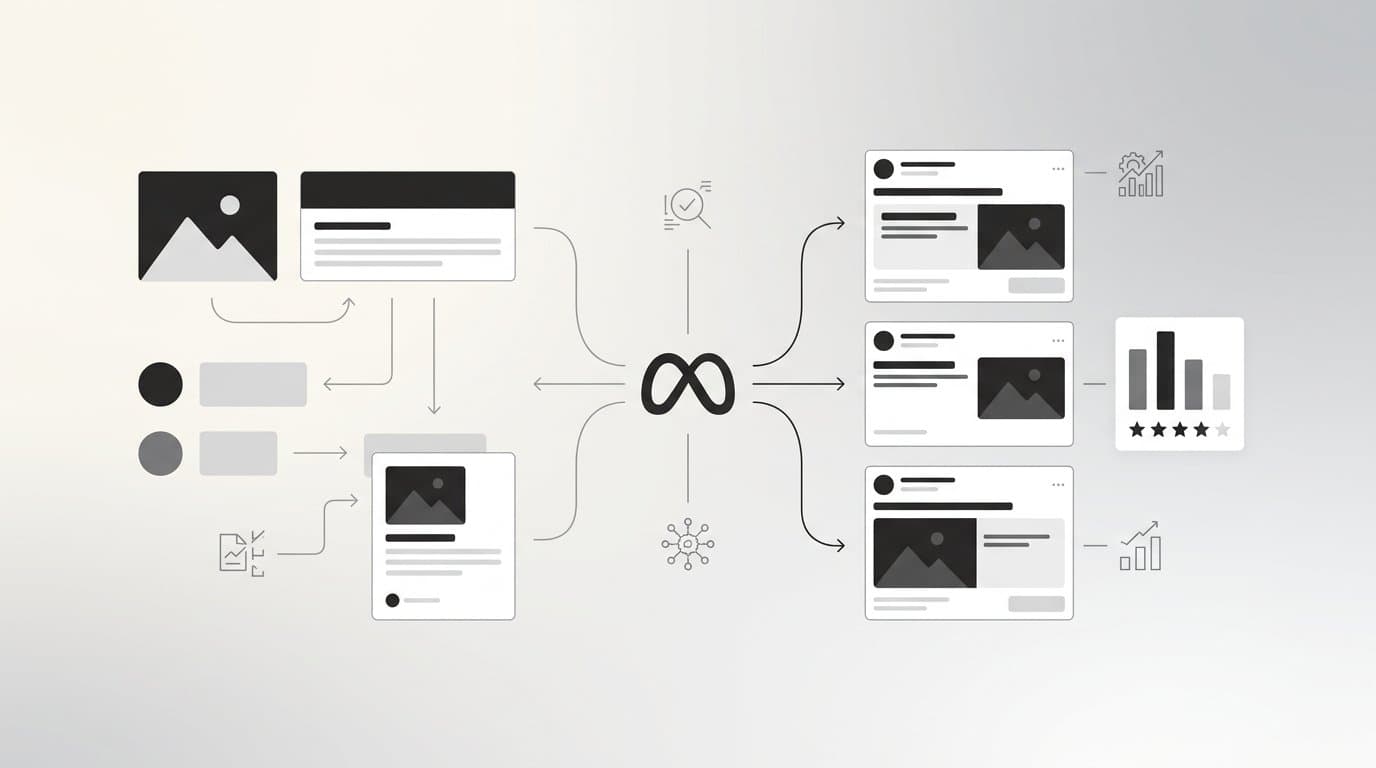
Consider how AI creative tools fit into your brief workflow. The gap between a completed brief and a live ad has historically been filled by designers, video editors, and back-and-forth revision cycles. That gap is now much smaller. Tools like AdStellar can take your brief inputs and generate image ads, video ads, and UGC-style creatives directly, then launch them to Meta without requiring a separate design workflow. AdStellar's AI Campaign Builder analyzes your past performance, ranks creatives and audiences by real metrics, and builds complete campaigns in minutes. The Bulk Ad Launch feature lets you create hundreds of variations from your brief's creative parameters and test them simultaneously, with AI Insights surfacing the winners automatically.
Review and update the template quarterly. Meta's placement options evolve. Best practices shift as the platform changes. Your own performance data will reveal patterns that should inform how you brief future campaigns. A brief template that was built two years ago and never updated is a template that is quietly working against you.
The success indicator: your team can go from a new campaign idea to a briefed, launched, and live ad in hours rather than days. The template removes friction from the process without removing strategic thinking from the equation.
Putting It All Together
A strong ad creative brief template is not a bureaucratic formality. It is the difference between a creative team that produces on-brief work the first time and a cycle of revisions that delays launches and burns budget while the campaign sits idle.
The seven steps above give you every section a complete brief needs: a clear objective, a defined audience, a focused message, format specifications, copy direction, performance benchmarks, and a repeatable system that gets faster every time you use it.
Once your template is built, the real leverage comes from using it consistently and learning from what the data tells you after each campaign. Winning creative elements, headlines, and audience combinations become inputs for your next brief, creating a feedback loop that compounds over time. The brief is not just a production document. It is the beginning of a learning system.
If you want to shortcut the gap between brief and live ad, AdStellar lets you generate image ads, video ads, and UGC-style creatives from your brief inputs, test every combination automatically, and surface the winners with real performance data. No designers, no video editors, no guesswork. One platform from creative to conversion.
Start Free Trial With AdStellar and be among the first to launch and scale your ad campaigns faster with an intelligent platform that automatically builds and tests winning ads based on real performance data.