Ad creative production is one of the most time-consuming parts of running paid social campaigns. Performance marketers often find themselves spending more hours on creative logistics than on actual strategy or optimization. You need product images, ad copy, the right dimensions for each placement, multiple variations for testing, and ideally fresh creative rotating in before fatigue sets in. By the time everything is ready, your launch window has narrowed.
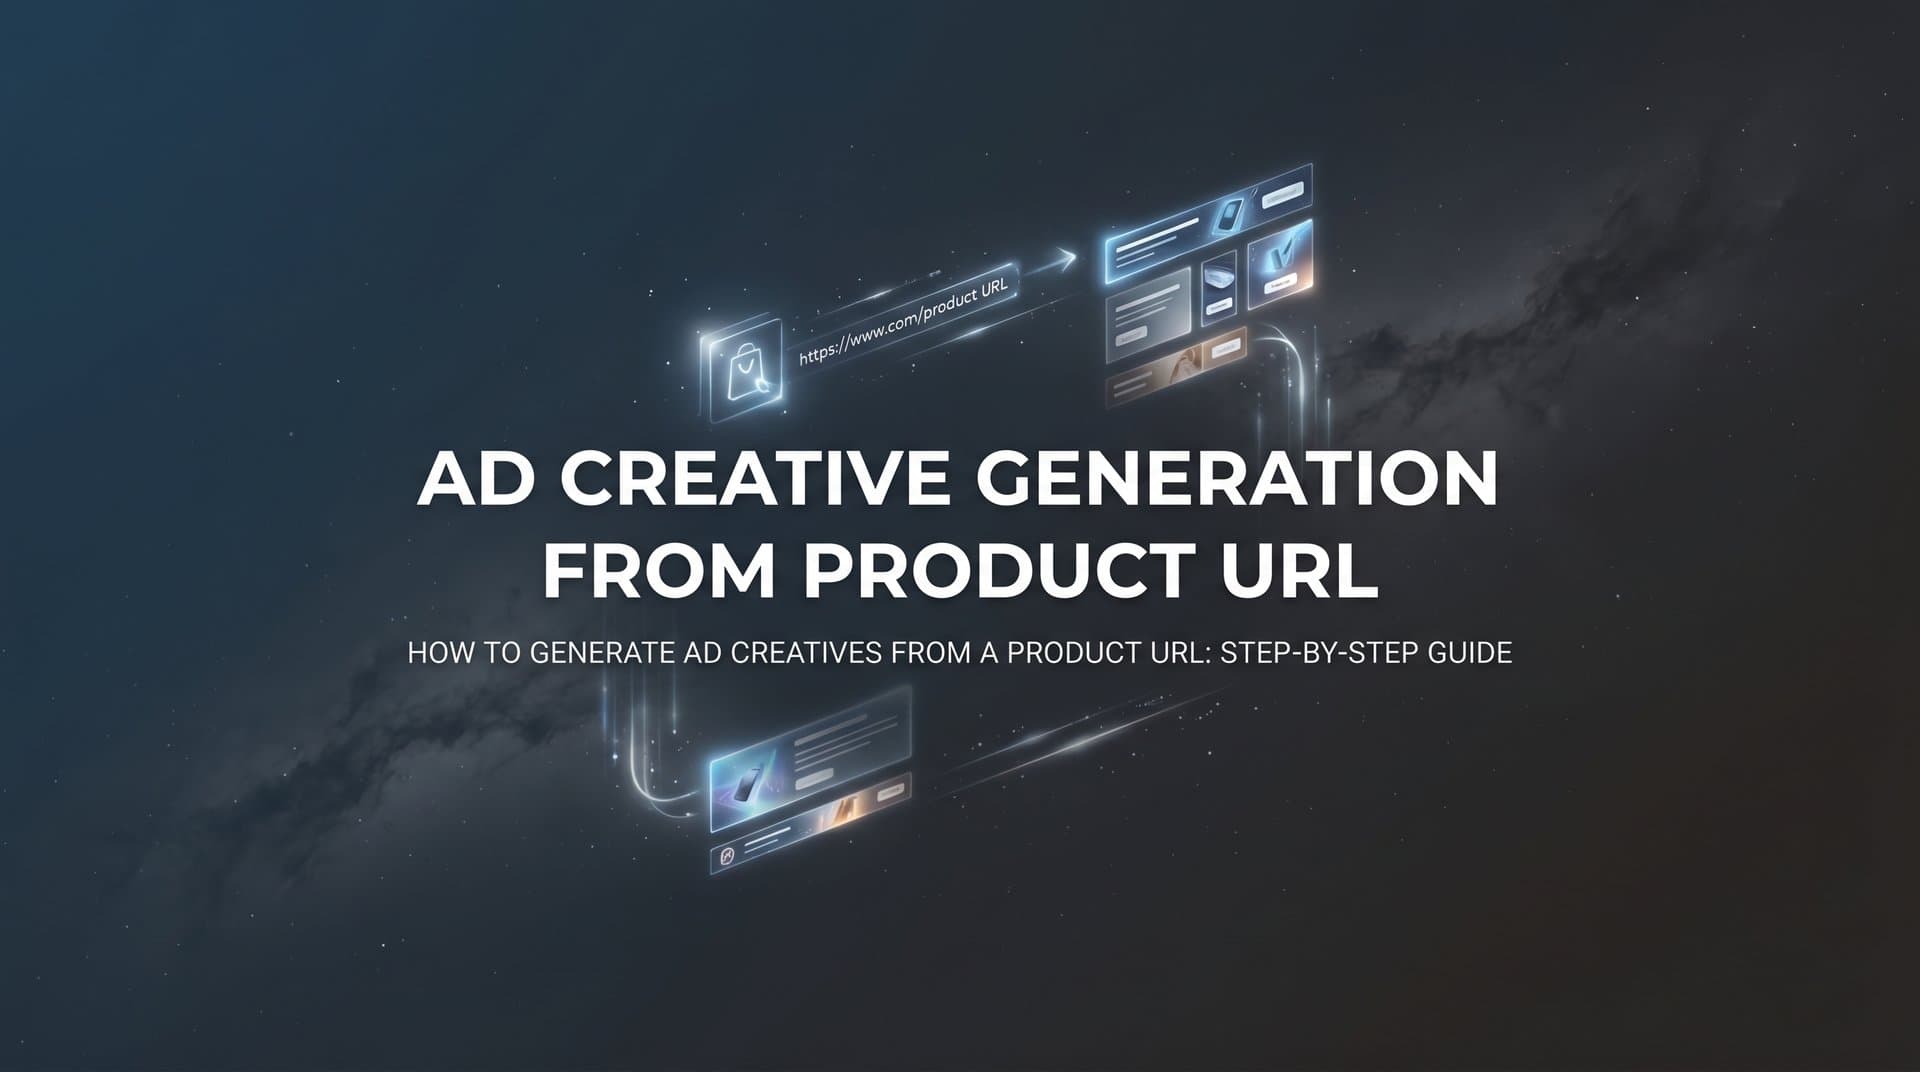
Ad creative generation from a product URL changes the starting point entirely. Instead of assembling a creative brief from scratch, you hand the AI a link and it does the extraction work for you: pulling product images, descriptions, branding elements, and key selling points directly from your page and transforming them into ready-to-launch ad creatives in minutes.
This approach is particularly valuable for DTC brands and agencies managing multiple products. The time between product launch and first live ad compresses dramatically when you're not waiting on designers or coordinating photo shoots.
This guide walks you through the complete process of turning a product URL into scroll-stopping Meta ad creatives using AdStellar's AI Creative Hub. You will learn how to prepare your product page for the best AI extraction results, generate multiple creative formats simultaneously, refine your outputs using chat-based editing, and launch everything into live campaigns without leaving the platform. By the end, you will have a repeatable system for producing high-volume, high-quality ad creatives without designers, video editors, or guesswork.
Step 1: Prepare Your Product Page for AI-Ready Extraction
The quality of your creative output is directly tied to the quality of your product page. Think of it like briefing a designer: if you hand them blurry photos, vague copy, and no clear value proposition, the work they produce will reflect exactly that. The same principle applies to AI-powered ad creative generation from a product URL.
Before you paste anything into AdStellar, run your product page through this quick checklist:
High-resolution images from multiple angles: The AI needs strong visual material to work with. Lifestyle shots, close-up detail images, and clean product-on-white images all give the AI more to pull from when generating different creative formats. For tips on optimizing your visuals, explore how an AI product photo editor can help prepare your images before generation.
A compelling, benefit-driven product title: Your product title often becomes headline material. "Wireless Noise-Cancelling Headphones" is functional. "Block Out the World and Focus for Hours" gives the AI something to work with creatively.
A clear, detailed description: Thin descriptions produce thin ad copy. Your product description should spell out key features, core benefits, and the problem the product solves. The more context the AI has, the more angles it can explore across different variations.
Pricing and social proof elements: Pricing signals help the AI frame urgency and value in the copy. Reviews, star ratings, and customer counts give it material for trust-building elements in the creative.
There are a few common pitfalls worth avoiding before you begin. Pages behind login walls or paywalls will block the AI from extracting any data at all. Placeholder images or low-resolution stock photos will produce weak visual output. Slow-loading pages with heavy scripts can also interfere with the extraction process.
The good news is that most of these issues are fixable in under ten minutes. Swap placeholder images for your actual product photos, add two or three sentences to a thin description, and make sure your page loads cleanly on a standard connection.
The success indicator here is simple: read your product page as if you knew nothing about the product. If it clearly communicates what the product is, what it does, and why someone should buy it without needing additional context, you are ready for the next step.
Step 2: Input Your URL Into AdStellar's AI Creative Hub
With your product page ready, head into AdStellar and navigate to the AI Creative Hub. This is where the URL-to-ad workflow begins. Select the "Generate from URL" option and paste your product link into the input field.
What happens next is one of the more satisfying parts of this process. The AI immediately begins extracting data from your page: product images, copy, brand colors, key selling points, and any social proof elements it can identify. Within moments, you will see a summary of what it pulled, organized into the building blocks it will use to generate your creatives.
Before you hit generate, take a moment to review this extracted data. This step matters more than most people realize. If the AI pulled a product image you would rather not feature, swap it out. If the description it extracted is missing a key benefit you want emphasized, add it here. If your brand colors weren't automatically detected, you can input them manually. Think of this review stage as a quick quality check on your creative brief before the AI goes to work.
Next, select your creative formats. AdStellar supports image ads, video ads, and UGC-style avatar ads. You do not have to choose just one. In fact, generating all three at once is a smart move because it gives you a much broader pool of testing material. Each format serves a different context: static image ads work well in Feed placements, video ads tend to perform in Reels and Stories, and UGC-style content blends into organic feeds in a way that polished brand creative often does not.
After selecting your formats, choose your aspect ratios and placements. A square 1:1 ratio suits Feed placements, while 9:16 vertical formats are built for Stories and Reels. If you plan to run across multiple placements, generate for each ratio now rather than adapting later.
The tip worth remembering at this stage: generating multiple formats simultaneously costs you very little extra time and gives you significantly more to work with when you reach the testing phase. Volume at the creative stage translates directly into better data at the performance stage.
Step 3: Generate and Review Multiple Creative Variations
Once you trigger generation, AdStellar's AI produces multiple creative variations from the same product URL. Each variation explores a different angle: different visual layouts, different copy approaches, different CTAs, different ways of framing the product's value. This is not random output. The AI is deliberately exploring the creative space to give you options that can be tested against each other.
When reviewing your variations, look at each one through four lenses:
Visual hierarchy: Does the eye land on the product first? Is the headline readable at a glance? Does the layout guide attention in a logical sequence from hook to CTA?
Text readability: Ad text that requires effort to read gets skipped. Check that font sizes are appropriate for mobile viewing, contrast is strong enough, and the message is clear within two seconds of viewing.
Brand consistency: Do the colors, tone, and visual style feel aligned with your brand? AI-generated creatives are a starting point, and this review stage is where you catch anything that feels off-brand before it goes live.
Thumb-stopping potential: This is the hardest one to quantify, but ask yourself honestly: would you pause on this in your feed? If the answer is uncertain, that is useful information for the refinement step.
Here is why volume matters at this stage. Meta's advertising ecosystem is built around creative variation. Their algorithm needs multiple inputs to optimize delivery effectively, and Meta's own advertising best practices document the importance of providing multiple creative variations per ad set. More variations mean more opportunities to find a winner through creative testing automation rather than guessing upfront which single creative will perform.
If a variation is close but not quite right, do not discard it yet. Use AdStellar's chat-based editing to make targeted adjustments directly within the platform. Change a headline, swap a background, shift the tone of the copy. The goal at this stage is to exit with at least five to ten creative variations across formats, ready for refinement and launch.
Step 4: Refine Your Creatives With AI-Powered Editing
Having a strong set of raw variations is a good position to be in. Now it is time to sharpen the ones with the most potential without falling into the trap of over-polishing a single ad at the expense of volume.
AdStellar's chat-based editing lets you make targeted adjustments through natural language instructions. You do not need to rebuild anything from scratch. Tell the AI what you want to change and it applies the edit directly. Common refinements at this stage include:
Adjusting copy tone: Switching a headline from urgency-driven ("Limited Time Only") to aspirational ("Finally, Headphones That Keep Up With You") changes who the ad resonates with. Testing both is more valuable than picking one.
Swapping product images: If the AI selected a product image that works but a lifestyle shot would perform better for a specific audience, swap it here.
Modifying CTA text: "Shop Now" and "Try It Free" communicate very different things. Matching your CTA to your campaign objective is a small change with a meaningful impact on click intent.
Changing color schemes: For seasonal campaigns or A/B tests, shifting the color palette of a proven layout is faster than generating a new creative from scratch.
This is also a good moment to consider supplementing your URL-generated creatives with competitor-inspired ads. AdStellar lets you clone ads directly from the Meta Ad Library, giving you a way to incorporate proven creative frameworks alongside your own product-specific content. Exploring ad creative inspiration for ecommerce can help you identify structural patterns worth testing. These two sources work well together: your URL-generated ads communicate your product's unique value, while competitor-inspired formats give you structural variety.
The key discipline here is restraint. Resist spending an hour perfecting one creative when that same hour could produce three more testable variations. The market will tell you what works. Your job at this stage is to give it enough options to tell you clearly.
Step 5: Launch Creatives Into Live Meta Campaigns
With a refined set of creatives ready, the next step is getting them live. One of AdStellar's core advantages is that you never need to leave the platform to do this. The transition from creative generation to campaign launch happens within the same workflow.
Start with the AI Campaign Builder. This is where AdStellar's AI analyzes your historical campaign data, ranks previous creatives, headlines, and audiences by actual performance, and uses those insights to build a complete Meta ad campaign around your new creatives. Every recommendation comes with an explanation, so you understand the reasoning behind each creative-audience pairing rather than just accepting a black-box suggestion.
If you are running your first campaign through AdStellar and do not yet have historical data, the AI builds from best-practice baselines and refines its recommendations as your data accumulates. The system gets smarter with every campaign you run. For a deeper look at how automation streamlines this entire process, see our guide on Meta ads creative automation.
For scaling, the Bulk Ad Launch feature is where the real leverage comes in. You can combine multiple creatives with multiple audiences and multiple copy variations simultaneously. AdStellar generates every combination and queues them for launch. What would typically take hours of manual ad set creation in Meta's native interface happens in minutes.
Before pushing live, set your campaign objectives, daily or lifetime budgets, and scheduling parameters. These inputs help the AI make better delivery decisions and ensure your spend is aligned with your goals from the start.
The success indicator at this step is straightforward: your campaign is live with multiple creative variations running simultaneously. Meta's algorithm now has what it needs to begin optimizing delivery, and you have the data collection process underway. The creative work you did in the earlier steps is now actively generating performance signals you can act on.
Step 6: Track Performance and Surface Your Winners
Launching is not the finish line. It is the beginning of the data collection phase, and what you do with that data determines whether your creative process gets better over time or stays flat.
AdStellar's AI Insights gives you leaderboard-style rankings across every dimension of your campaign: creatives, headlines, ad copy, audiences, and landing pages. Each element is ranked by real metrics including ROAS, CPA, and CTR. You are not looking at vanity numbers. You are seeing which specific creative elements are driving the outcomes that matter to your business.
Set your goal-based scoring benchmarks before you start reviewing results. When you define your target ROAS or CPA, the AI scores every creative against that specific benchmark rather than against a generic average. This means you can immediately see which creatives are meeting your goals, which are close, and which are underperforming, without manually calculating anything.
The Winners Hub is where your top performers are automatically organized. Your best creatives, headlines, audiences, and more all live in one place with their actual performance data attached. When you are ready to launch your next campaign, you can pull directly from the Winners Hub rather than starting from scratch. Learn more about building a winning creative library to maximize the value of your top-performing assets. Select any winner and add it to your next campaign in a few clicks.
This is where the continuous learning loop becomes powerful. The performance data from your current campaigns informs the next round of URL-based creative generation. You know which copy angles resonated, which visual formats drove conversions, and which audiences responded. Feed those insights back into your next generation session and your starting point improves with every cycle.
Creative fatigue is a well-established reality in digital advertising. Audiences see the same ad repeatedly and performance degrades. Understanding how to combat ad creative burnout is essential, and the ability to rapidly generate fresh creatives from a product URL, informed by what your winners looked like, is what keeps your campaigns from plateauing. The system is designed to compound: each campaign teaches the AI more about what works for your specific product and audience, and that knowledge carries forward.
The success indicator here is clarity. You can look at your leaderboard and immediately identify which creatives outperform, understand why based on the AI's scoring rationale, and use that knowledge to make your next creative session faster and more targeted.
Your Quick-Reference Checklist: From URL to Winning Ad
Here is the complete workflow condensed into a scannable reference you can use every time you start a new creative cycle:
1. Prepare your product page. Confirm high-resolution images, a benefit-driven title, a detailed description, pricing, and social proof are all visible and accessible to the AI crawler.
2. Input your URL into the AI Creative Hub. Paste your product link, review the extracted data, make any corrections, and select your creative formats and placement ratios before generating.
3. Generate multiple creative variations. Let the AI produce a range of visual layouts, copy angles, and CTAs. Aim for at least five to ten variations across image, video, and UGC formats.
4. Refine with chat-based editing. Use targeted adjustments to sharpen your best variations. Adjust tone, swap images, modify CTAs, and consider supplementing with competitor-inspired formats from the Meta Ad Library.
5. Launch with the AI Campaign Builder and Bulk Ad Launch. Pair your creatives with AI-recommended audiences and copy, generate every combination, and push live to Meta without leaving AdStellar.
6. Track performance and surface your winners. Monitor leaderboard rankings by ROAS, CPA, and CTR. Use goal-based scoring to benchmark against your targets. Pull winners into your next campaign directly from the Winners Hub.
One product URL becomes dozens of ad creatives across image, video, and UGC formats, launched and optimized without ever leaving a single platform. For DTC brands, performance marketers, and agencies managing multiple products, this workflow removes the creative bottleneck that has historically slowed campaigns down before they even start.
The other advantage worth emphasizing: the system improves with use. Every campaign you run teaches AdStellar more about what works for your specific product and audience combination. Starting sooner means faster optimization and a stronger creative foundation for every campaign that follows.
If you want to test this workflow with your own product URL, Start Free Trial With AdStellar and run the complete process from URL to live campaign during your 7-day free trial. No designers, no video editors, no guesswork. One platform from creative to conversion.