Manual ad creative testing is one of the biggest time drains in paid social advertising. The cycle is familiar to anyone who has managed Meta campaigns: build a creative, set up a campaign, wait for data, analyze results, make adjustments, and repeat. By the time you have a clear winner, your competitors have already tested dozens of variations and moved on to scaling.
Automating ad creative testing changes the entire equation. Instead of testing one or two creatives at a time, you can generate hundreds of variations, launch them simultaneously, and let the data surface your winners automatically. No more gut-feel decisions. No more wasted spend on creatives that were never going to work.
This guide walks you through exactly how to set up an automated creative testing system for Meta ads, from defining what you will test to scaling the creatives that actually convert. The process covers six concrete steps: defining your variables, generating creative volume with AI, building the right campaign structure, setting up automated rules, analyzing winning patterns, and scaling what works while keeping fresh tests running in parallel.
Whether you are a solo media buyer managing multiple accounts or a performance marketer looking to get more output from your ad budget, this system will help you move faster, waste less spend, and find winning creatives without the manual grind. The goal is not a one-time test. It is a repeatable system that gets smarter with every cycle you run.
Let's get into it.
Step 1: Define Your Testing Variables Before You Build Anything
The most common mistake in creative testing is jumping straight into building ads without a clear plan for what you are actually testing. If you launch five different creatives that each change the format, hook, headline, and visual style simultaneously, you will get performance data but no insight into why one ad outperformed another. That makes the results nearly impossible to replicate.
Start by identifying the specific creative elements you want to test. The main variables in Meta ad creative testing typically fall into these categories:
Format: Static image, video, UGC-style content, and carousel ads often perform very differently across audiences and placements. Testing across formats rather than within a single format broadens your data set significantly.
Hook: The opening line of your ad copy or the first three seconds of a video. This is often the highest-leverage variable because it determines whether someone stops scrolling at all.
Headline: The text that appears below the creative in a Meta ad. Small changes here can have a meaningful impact on click-through rates.
CTA: The call-to-action button text and the offer framing in your copy. "Shop Now" and "Learn More" can attract very different user intent.
Visual style: Product-focused versus lifestyle imagery, bright versus muted color palettes, text-heavy versus minimal overlays.
Once you have identified your variables, establish a testing hierarchy. Decide which variable matters most for your current goals and make that the primary focus of your first test cycle. If you are not sure where to start, format and hook tend to have the biggest impact on early-funnel performance metrics and are worth prioritizing.
The key principle here is isolation. Keep audience and budget conditions consistent across creative variations during a test so that any differences in performance can be attributed to the creative itself rather than to audience variance or spend imbalance.
Before you build a single ad, set your success metrics. Decide whether you are optimizing for ROAS, CPA, CTR, or a combination. Document your benchmark thresholds: for example, a target CPA below a specific number, or a minimum CTR before a creative is considered worth scaling. Having these defined upfront prevents you from moving the goalposts mid-test when results look uncertain.
Success indicator: You have a documented list of variables, a priority order, and defined KPI thresholds before a single ad is built. This document becomes the foundation for every test cycle you run going forward.
Step 2: Generate a High Volume of Creative Variations with AI
Once your testing framework is defined, the next challenge is producing enough creative volume to run a meaningful test. Testing two or three variations per cycle gives you very limited data. Experienced media buyers generally recommend running at least 10 to 20 distinct creative variations per test cycle to generate results that are statistically worth acting on.
For most teams, that kind of volume used to require a designer, a video editor, and days of back-and-forth. AI creative tools change that math entirely.
With a platform like AdStellar, you can generate scroll-stopping image ads, video ads, and UGC-style avatar content from a single product URL. Paste in your URL and the AI pulls your product details, brand context, and visual assets to build multiple ad formats without any design work on your end. No designers, no video editors, no actors needed.
Here is how to approach the generation phase efficiently:
Start with multiple formats: Generate static image variations, short-form video ads, and UGC-style creatives in the same session. You want representation across formats because Meta's algorithm and your audience may respond very differently to each one.
Use competitor ads as creative hypotheses: AdStellar lets you clone and adapt competitor ads directly from the Meta Ad Library. This is not about copying. It is about understanding what is already resonating in your market and then differentiating with your own brand angle and offer. A competitor's best-performing ad structure can be a powerful starting point for your own hook testing.
Iterate rapidly with chat-based editing: Once you have a base creative, use chat-based editing to produce variations quickly. Change the background color, swap the headline, adjust the CTA, test a different product angle. What would take a designer a full day can happen in minutes when you are working with AI-assisted editing.
Cover multiple hooks: For each format, aim to test at least three to five different hooks. A benefit-led hook, a problem-agitation hook, a social proof angle, and a curiosity-driven opener will each attract different responses from your audience. You want to know which framing style works best before you commit budget to scaling.
By the end of this step, you should have a library of creative variations covering multiple formats and hooks, all ready to load into your campaign structure. The goal is not perfection at this stage. It is volume with intention: enough distinct variations to surface meaningful patterns when the data comes in.
Success indicator: You have at least 10 to 20 creative variations across multiple formats and hooks, organized and ready for campaign setup.
Step 3: Build Your Campaign Structure for Automated Testing
How you structure your campaign has a direct impact on the quality of data you collect. A poorly structured test produces noisy, inconclusive results. A well-structured test gives you clean signals you can act on.
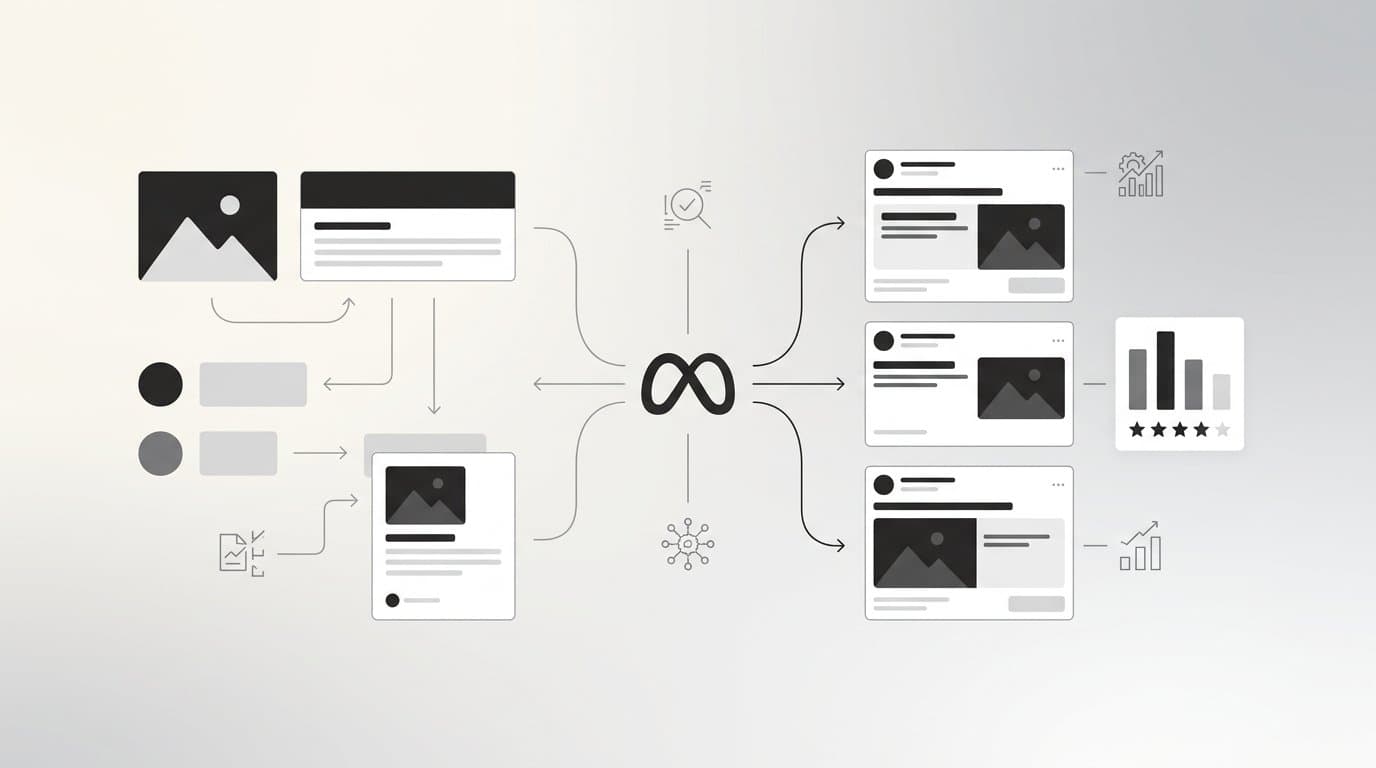
The recommended Meta campaign structure for creative testing follows this logic: one campaign, multiple ad sets with consistent audiences, and multiple ad variations within each ad set. This setup controls for audience variance while isolating creative performance. When every variation is running against the same audience under the same budget conditions, differences in performance are attributable to the creative itself.
Here is how to build it step by step:
Campaign level: Set your campaign objective based on your primary KPI. If you are optimizing for purchases, use a conversion campaign. Keep the campaign objective consistent across test cycles so your data is comparable over time.
Ad set level: Create multiple ad sets with identical audience targeting. The audience should match the segment most relevant to the creatives you are testing. Keeping audiences consistent across ad sets is critical. If one ad set targets a broad audience and another targets a retargeting list, any performance difference is driven by the audience, not the creative.
Ad level: Load your creative variations into each ad set. Distribute your test creatives evenly so each one gets a fair share of impressions and spend.
Budget allocation matters more than most advertisers realize. If one creative receives significantly more spend than another during the testing phase, its performance data is not comparable to lower-spend variations. Distribute your test budget evenly across variations to ensure a fair competition.
AdStellar's AI Campaign Builder simplifies this entire process. It analyzes your past campaign data, ranks every creative, headline, and audience by historical performance, and builds a complete testing campaign in minutes. Every decision is explained with full transparency so you understand the strategy behind the structure, not just the output. The AI gets smarter with each campaign you run, which means your campaign setups improve over time.
The Bulk Ad Launch feature takes this further. Rather than building each creative-headline-audience combination manually, you can mix multiple creatives, headlines, audiences, and copy variations at both the ad set and ad level. AdStellar generates every combination and launches them to Meta in clicks rather than hours. What would typically take a full day of setup can be live in minutes.
Success indicator: Your campaign is live with all creative variations running under consistent audience and budget conditions, giving each variation a fair opportunity to prove itself.
Step 4: Set Up Automated Rules to Pause Losers and Scale Winners
This is where automation delivers its biggest advantage. Without automated rules in place, creative testing requires daily manual review: checking performance, pausing underperformers, adjusting budgets, and trying to catch winners before they get starved of spend. That manual overhead is exactly what you are trying to eliminate.
Set up your automated rules before the campaign goes live, not after. Here are the core rules every creative testing campaign should have from day one:
Pause underperformers: Set a rule to pause any ad that exceeds your CPA threshold after it has reached a minimum spend level. The minimum spend threshold is important. Do not pause a creative after $10 of spend. Give each variation enough budget to collect meaningful data before making a judgment. The right minimum spend threshold depends on your average order value and conversion rate, but the principle is consistent: let creatives breathe before cutting them.
Scale winners: Set a rule to increase budget on ads that hit your ROAS or CPA targets. When a creative is performing above your benchmark, the system should respond automatically rather than waiting for your next manual review session.
Impression thresholds: In addition to spend thresholds, consider setting minimum impression requirements before automated rules trigger. A creative that has served very few impressions may show extreme performance data that does not reflect its true potential. Impressions-based rules add an additional layer of protection against premature decisions.
AdStellar's AI Insights leaderboards make this process visible in real time. Creatives, headlines, audiences, and landing pages are ranked by actual performance metrics including ROAS, CPA, and CTR. You set your target goals and the AI scores every variation against your benchmarks automatically. Instead of reviewing individual ad performance in isolation, you see a ranked leaderboard that immediately shows you what is working and what is not.
One common pitfall here is setting rules that are too aggressive. If your automated rules pause creatives after minimal spend or cut budgets at the first sign of variance, you will discard potentially strong performers before they have had a chance to find their audience. The goal of automation is to remove manual busywork, not to replace judgment with speed. Build in appropriate data thresholds and let the system work with enough room to generate reliable signals.
Another pitfall is confusing pausing a losing creative with ending a test too early. If your entire test is paused before reaching statistical significance, you have not learned anything actionable. Make sure your rules are designed to manage individual ad performance, not to shut down the entire testing campaign prematurely.
Success indicator: Automated rules are active, underperformers are being flagged and paused without manual intervention, and top performers are being surfaced and scaled automatically.
Step 5: Analyze Results and Extract Winning Patterns
Once your test has run long enough to collect meaningful data, the temptation is to identify your single best-performing ad and call it done. Resist that instinct. A single winning ad is a short-term asset. A winning pattern is a long-term competitive advantage.
The real value of automated creative testing is not the individual winner. It is what the data tells you about why certain creatives work. Look for patterns across your results:
Which hooks performed consistently? If benefit-led hooks outperformed problem-agitation hooks across multiple formats, that tells you something important about how your audience wants to be approached. That insight applies to every future creative you build.
Which formats drove lower CPA? If UGC-style content consistently outperformed static images on your target audience, that is a format signal worth building into your default creative mix going forward.
Which visual styles resonated with specific audiences? Lifestyle imagery may outperform product-focused visuals for one audience segment and underperform for another. Capturing that nuance helps you build more targeted creative briefs for future cycles.
AdStellar's Winners Hub consolidates your top-performing creatives, headlines, audiences, and more in one place with real performance data attached. This is not just an archive. It is a living reference for your creative strategy. When you can see your best-performing headline next to your best-performing format and the CPA data that proves it, you have a foundation for future creative decisions that is grounded in evidence rather than opinion.
Use this analysis to document winning patterns as creative briefs or templates. Instead of starting each new test cycle from a blank slate, you start from a proven foundation. A brief that says "UGC-style format, benefit-led hook, minimal text overlay, CTA focused on free shipping" is far more likely to produce strong first drafts than a vague request for "something that converts."
This analysis phase is also where you plan your next testing cycle. What variables did you not test this time? What patterns need to be validated across a different audience segment? What creative hypotheses did this cycle generate? Each test cycle should directly inform the next, creating a compounding feedback loop rather than a series of disconnected one-off tests.
Success indicator: You have a documented list of winning creative patterns and a Winners Hub populated with verified top performers, ready to be reused and built upon in the next cycle.
Step 6: Scale Winners and Launch the Next Testing Cycle
A well-run creative testing system never fully stops. There is always a scaling phase and a testing phase running in parallel. Winners are being scaled. New variations are being tested. Creative fatigue is being monitored and addressed before it erodes performance.
Here is how to manage both simultaneously:
Scale winners without rebuilding from scratch: AdStellar's Winners Hub lets you take any top-performing creative and instantly add it to a new campaign or ad set. You do not need to recreate the ad, re-upload assets, or reconfigure settings. Select the winner, add it to your next campaign, and it carries its proven creative into a new context. This dramatically reduces the friction between identifying a winner and putting it to work at scale.
Increase spend on proven performers strategically: Budget scaling on Meta requires some care. Aggressive budget increases can reset the learning phase and temporarily destabilize performance. A common approach is to increase budgets incrementally, allowing the algorithm time to adjust, rather than multiplying spend overnight. Your automated rules from Step 4 should be calibrated to reflect this.
Run a new testing cycle simultaneously: While your winners are scaling, your next batch of creative variations should already be in testing. The creatives that are performing well today will eventually experience fatigue. Audiences exposed to the same creative repeatedly show declining engagement over time on Meta. A continuous pipeline of fresh variations ensures you always have new candidates ready to replace fatigued creatives before performance drops.
Use historical data to improve each cycle: AdStellar's AI Campaign Builder gets smarter with every campaign you run. It uses historical performance data to make better decisions about audiences, copy combinations, and creative pairings in each subsequent cycle. The longer you use the system, the more informed each new campaign setup becomes. This is the compounding advantage of treating creative testing as an ongoing system rather than a periodic project.
Establish a testing cadence: For most Meta advertisers, running a new creative test cycle every two to four weeks strikes a reasonable balance between generating enough data per cycle and maintaining a fresh pipeline. High-spend accounts may benefit from more frequent cycles. Smaller budgets may need longer cycles to accumulate meaningful data. Adjust based on your spend level and the speed at which your target audience fatigues.
Success indicator: You have an ongoing system where proven winners are scaling, new test cycles are running, and creative fatigue is being addressed proactively rather than reactively.
Your Automated Creative Testing System at a Glance
Here is the full six-step process condensed into a quick reference checklist:
1. Define your variables: Identify what you are testing, establish a priority order, and set your KPI thresholds before building anything.
2. Generate creative volume: Use AI to produce at least 10 to 20 variations across multiple formats and hooks without a design team.
3. Build the right campaign structure: One campaign, consistent audiences across ad sets, even budget distribution, and bulk launch all variations simultaneously.
4. Set automated rules: Pause underperformers at defined spend thresholds, scale winners automatically, and let AI leaderboards surface results in real time.
5. Extract winning patterns: Go beyond the single best ad and document what hooks, formats, and visual styles consistently drive results.
6. Scale and repeat: Move winners into new campaigns instantly, run a fresh test cycle in parallel, and let the system compound over time.
The most important shift this process represents is moving from reactive testing to a proactive system. Automation removes the manual bottleneck at every stage: creative generation, campaign setup, performance monitoring, and winner identification. Your team stops spending time on execution and starts spending time on strategy.
That is the real payoff. Not just faster testing, but a fundamentally better use of your team's attention.
AdStellar is built to handle every layer of this system in one place: AI-generated creatives, bulk campaign launching, automated AI insights, and a Winners Hub that keeps your best performers organized and ready to reuse. If you are ready to stop managing spreadsheets and start running a real creative testing machine, Start Free Trial With AdStellar and launch your first automated creative test today.