Attribution tracking in Meta Ads is one of those topics that sounds straightforward until you're staring at two completely different conversion numbers across two different platforms, wondering which one to believe. Your Meta Ads Manager says you had 150 purchases last week. Google Analytics says 87. Your actual backend orders? Somewhere in between.
This is the reality for most performance marketers running Facebook and Instagram campaigns in 2026. The tracking landscape has become genuinely complex, shaped by privacy-first browser changes, Apple's App Tracking Transparency framework, cookie restrictions, and Meta's shift toward modeled conversion data. The result is a reporting environment where numbers are directional rather than exact, and where misconfigured tracking can quietly destroy your ability to make good budget decisions.
The frustrating part is that many of these facebook ad attribution tracking issues are fixable. Not all of them, because some data loss is simply the new normal. But a surprising number of marketers are operating with broken pixels, wrong attribution windows, missing UTM parameters, or improperly configured domains, and those are problems you can solve today.
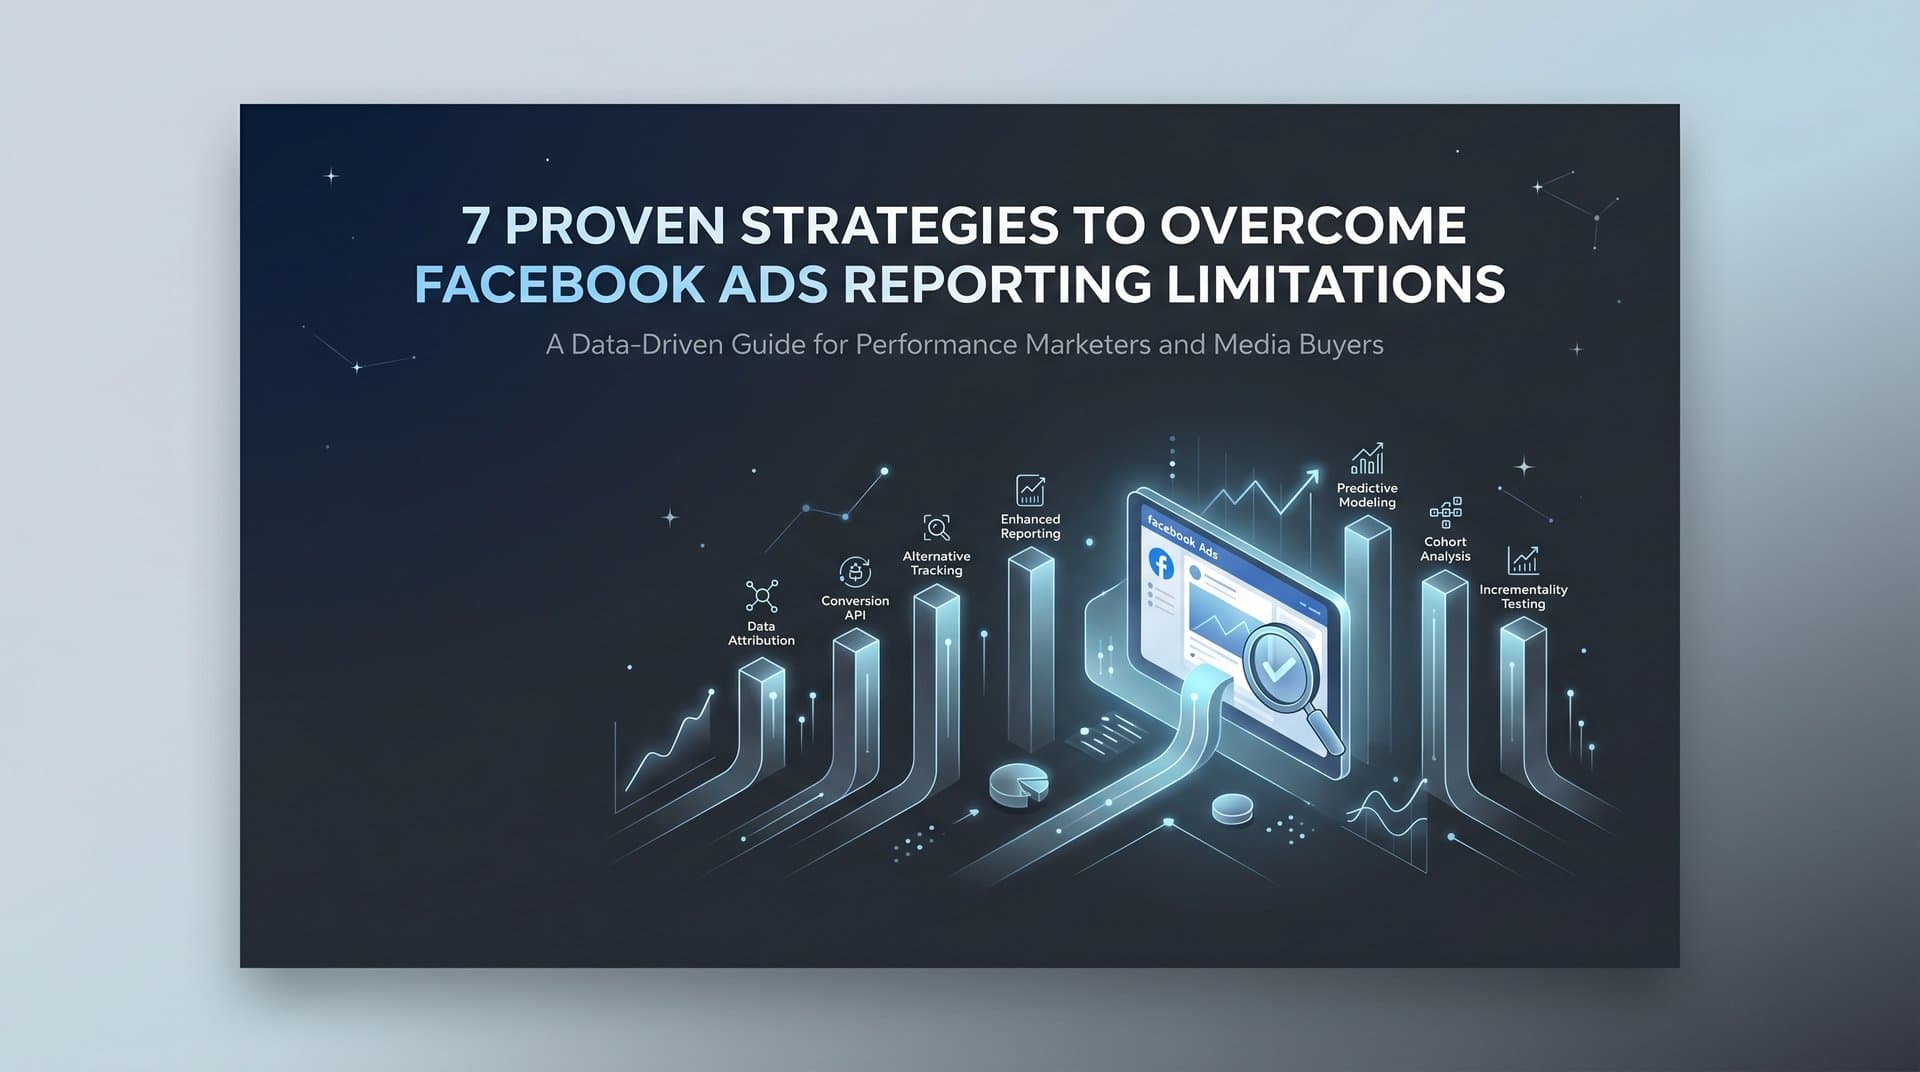
This guide walks you through six concrete steps to audit your entire tracking setup, identify where data is leaking, and build a reporting framework you can actually trust. Whether you manage campaigns for a single brand or run a full-service agency, these steps apply directly to your setup. Let's get into it.
Step 1: Audit Your Meta Pixel and Conversions API Setup
Every attribution problem investigation starts here. Before blaming iOS privacy changes or cross-platform discrepancies, you need to confirm that your foundational tracking tools are actually working. A surprising number of campaigns run for weeks with silent pixel failures that nobody catches.
Start with the Meta Pixel Helper, a free Chrome extension from Meta. Install it, navigate to your website, and open the extension. It will show you which pixels are firing, which events are triggering, and whether there are any errors. You're looking for a clean green status on your pixel ID with the correct events firing on the correct pages. If you need a refresher on the basics, our guide on how to set up Facebook Pixel covers the full installation process.
Common pixel issues to look for:
Duplicate pixels: Multiple pixel IDs firing on the same page, which inflates event counts and creates reporting confusion. This often happens after site migrations or when multiple team members have installed tracking independently.
Pixels on wrong pages: Your Purchase event should only fire on the order confirmation page, not the checkout page. If it fires on both, every checkout attempt gets counted as a purchase.
Missing event codes: Standard events like AddToCart, InitiateCheckout, and Lead should be firing at each corresponding stage of your funnel. If any are missing, you lose visibility into where people drop off and Meta loses signal for optimization.
Incorrect event parameters: The value and currency parameters on your Purchase event must be passing correctly. If value is returning null or zero, your ROAS data in Ads Manager will be meaningless.
Next, head to Events Manager in Meta Business Suite. Here you can see all events being received, check their status, and most importantly, review your Event Match Quality (EMQ) scores. EMQ is scored on a scale of 0 to 10 and reflects how well Meta can match the event data you're sending to actual Meta user accounts. Scores above 6 are generally considered healthy. Scores below 4 indicate that your events are being received but Meta can't reliably attribute them to users, which directly hurts campaign optimization and reporting accuracy.
This is where the Conversions API (CAPI) becomes critical. CAPI is Meta's server-side tracking solution, designed to complement your browser-based pixel. Because it sends event data directly from your server to Meta rather than relying on a browser, it bypasses ad blockers, cookie restrictions, and many of the limitations introduced by iOS privacy changes.
Meta strongly recommends running both pixel and CAPI simultaneously. In Events Manager, you should see events showing both a browser source and a server source. If you only see browser events, you're missing a significant portion of trackable conversions. Most major e-commerce platforms (Shopify, WooCommerce, BigCommerce) offer native CAPI integrations, and Meta's own documentation provides setup guides for custom implementations.
Success indicator: All key events show active status in Events Manager, your EMQ scores are above 6, and events display both browser and server sources confirming your pixel and CAPI are working together.
Step 2: Understand What iOS Privacy Changes Are Actually Doing to Your Data
Once your pixel and CAPI are confirmed working, the next step is understanding why you're still going to see gaps in your data regardless. This isn't a setup problem. It's a structural reality of the current privacy landscape.
Apple's App Tracking Transparency (ATT) framework, introduced with iOS 14.5, requires apps to ask users for explicit permission before tracking their activity across other apps and websites. A significant portion of iOS users decline this prompt. When they do, Meta cannot track their post-click behavior, cannot match their conversions back to ad interactions, and cannot use their data for campaign optimization in the traditional sense.
This affects Meta campaigns in several concrete ways. Conversion reporting becomes incomplete. Retargeting audiences based on website behavior shrink because opted-out users don't populate those audiences. And campaign optimization signals are reduced, which can impact how efficiently Meta's algorithm finds converting users. For a deeper look at why these challenges persist, our article on why Facebook ad performance tracking is difficult breaks down the full picture.
Browser-level privacy features compound this further. Safari's Intelligent Tracking Prevention (ITP) and Firefox's Enhanced Tracking Protection (ETP) actively limit or delete third-party cookies, which are the mechanism traditional pixel tracking relies on. Even Chrome, which has delayed its own cookie changes multiple times, continues to move in a more privacy-restrictive direction.
To understand how much of your audience is affected, pull a breakdown in Ads Manager by platform and device. Look at the split between iOS and Android, and between desktop and mobile. A campaign heavily weighted toward iOS mobile traffic will naturally have more attribution gaps than one running primarily on desktop or Android.
Here's the important concept to internalize: Meta fills some of these gaps using modeled conversions. These are statistical estimates based on aggregated, anonymized data that Meta uses to project conversion activity it cannot directly observe. When you see conversions in Ads Manager that don't have a direct match in your analytics platform, some of those are modeled rather than individually tracked.
This isn't Meta making up numbers. It's a statistical methodology designed to give you directional signal when direct signal isn't available. But it does mean your reported numbers will always carry some degree of estimation, and comparing them directly to platform-agnostic tools like Google Analytics will always produce a gap. Emerging solutions like AI-powered ad attribution tracking are helping marketers bridge these gaps with smarter modeling.
Practical expectation: Accept that a discrepancy between Meta-reported and analytics-reported conversions is normal and expected. The goal isn't to eliminate the gap. It's to understand its size and make sure it stays stable over time.
Step 3: Configure Your Attribution Windows to Match Your Sales Cycle
Attribution windows are one of the most misunderstood settings in Meta Ads, and getting them wrong produces misleading performance data that leads to bad budget decisions.
Meta's attribution settings determine how long after an ad interaction a conversion gets credited to that ad. The available options are:
1-day click: Conversions are attributed if they happen within 24 hours of someone clicking your ad.
7-day click: Conversions are attributed if they happen within 7 days of a click. This is the default setting for most campaigns.
1-day view: Conversions are attributed if they happen within 24 hours of someone viewing (not clicking) your ad.
7-day click and 1-day view combined: The broadest window, which captures the most conversions but also has the highest potential for overlap with organic behavior.
To access and change attribution settings, go to the ad set level in Ads Manager and look for the Attribution Setting section. You can also customize which attribution windows appear as columns in your reporting view, which lets you compare how different windows affect your reported numbers for the same campaigns. If you're still getting familiar with the platform, our guide on how to use Facebook Ads Manager walks through the interface in detail.
Why does this matter? Because the same campaign can look profitable or unprofitable depending on which window you're measuring. A campaign selling a high-consideration product like software or furniture might see most conversions happen 3 to 5 days after the initial click, as people research and compare before buying. If you're only looking at 1-day click attribution, you're undercounting those conversions and potentially pausing campaigns that are actually performing well.
Conversely, a campaign using view-through attribution for impulse purchases might be taking credit for conversions that would have happened anyway, inflating your apparent ROAS.
The right approach is to align your attribution window with your actual sales cycle. If your customers typically convert within 24 hours of seeing an ad, 1-day click is appropriate and gives you the cleanest signal. If your product has a longer consideration phase, 7-day click captures more of the real impact. For brand awareness campaigns where you want to understand downstream conversion lift, adding 1-day view can be informative.
The most common mistake is accepting the default window without questioning whether it actually reflects how your customers buy. Pull your attribution window comparison columns and look at the difference in reported conversions across windows. That difference tells you how spread out your conversion behavior is and helps you choose the window that best represents reality.
Success indicator: Your attribution window is documented, consciously chosen based on your sales cycle, and consistent across all active campaigns so you can compare performance reliably.
Step 4: Build a UTM Structure and Cross-Reference With Analytics
UTM parameters are your independent source of truth. While Meta's attribution relies on pixel matching and modeled data, UTM parameters pass through directly to your analytics platform via the URL, giving you a platform-agnostic view of which ads drove traffic and downstream behavior.
The key is building a consistent UTM structure that you apply to every Meta campaign, ad set, and ad without exception. Meta supports dynamic URL parameters that auto-populate based on your campaign structure, which means you can set this up once and let it run at scale.
A recommended UTM structure for Meta campaigns looks like this:
utm_source: facebook (or instagram, depending on placement)
utm_medium: paid-social
utm_campaign: {{campaign.name}} (dynamic parameter that pulls your actual campaign name)
utm_content: {{ad.name}} (dynamic parameter that pulls your actual ad name)
utm_term: {{adset.name}} (dynamic parameter that pulls your ad set name)
Using Meta's dynamic parameters like {{campaign.name}}, {{adset.name}}, and {{ad.name}} means your UTM data automatically reflects your naming conventions without manual updates every time you launch a new ad. This is why clean naming conventions matter: if your ad names are inconsistent or vague, your UTM data becomes equally difficult to interpret.
Once UTMs are in place, the comparison process in Google Analytics 4 is straightforward. Navigate to Traffic Acquisition or Campaigns reports, filter by your paid social source/medium, and compare the session and conversion data to what Meta Ads Manager reports for the same period.
The numbers will not match, and that's expected. Meta counts conversions based on ad interactions using its attribution model. GA4 counts sessions and conversions based on last-click or data-driven attribution by default. The platforms are measuring different things using different methodologies. For a broader view of the tools available, check out our roundup of the best Facebook Ads analytics platforms that can help you cross-reference data more effectively.
What you're looking for is a reasonable and stable variance. If Meta reports 100 purchases and GA4 reports 70 to 85, that's a typical range given modeled conversions and attribution model differences. If Meta reports 100 and GA4 reports 12, something is broken, either in your pixel, your UTM setup, or your GA4 configuration.
UTM data also gives you something Meta's platform reporting doesn't: the ability to see which specific creatives and audiences are driving behavior on your site after the click. Which landing pages are converting? Which ad variants have the highest engagement-to-purchase rate? This granular data helps you understand not just what Meta is crediting but what's actually driving results on your end.
Success indicator: Every active ad has UTM parameters applied, your naming conventions are consistent, and your Meta-to-GA4 variance is stable and within an explainable range.
Step 5: Verify Your Domain and Configure Aggregated Event Measurement
Domain verification and Aggregated Event Measurement (AEM) are two of the most overlooked settings in Meta's tracking ecosystem, and missing either one can silently cost you significant attribution data.
Domain verification tells Meta which Business Manager account owns a particular domain. Without it, Meta cannot reliably attribute events from that domain, and your AEM configuration won't work properly. Verification is done through Meta Business Manager under Brand Safety and Domains. You'll add your domain and then verify ownership via one of three methods: adding a DNS TXT record to your domain registrar, uploading an HTML file to your web server, or adding a meta-tag to your website's head section.
Once your domain is verified, you can configure Aggregated Event Measurement. AEM is Meta's system for tracking conversions from iOS users who have opted out of tracking. Because these users cannot be individually tracked, Meta limits each domain to eight prioritized conversion events for this audience segment. Only those eight events, in the order you rank them, will be used for optimization and reporting for opted-out iOS users.
To configure AEM, go to Events Manager, select your pixel, and navigate to the Aggregated Event Measurement section. You'll see a list of your configured events and the ability to rank them by priority, from 1 (highest) to 8 (lowest). Understanding how to optimize these events is closely tied to your broader Facebook campaign optimization strategy.
The ranking matters significantly. Meta will only report and optimize for the highest-priority event that a user triggers. If a user completes a purchase, but Purchase is ranked below Lead in your priority list, Meta will report the Lead event and ignore the Purchase. This is a common pitfall that causes marketers to undercount their most valuable conversions while overcounting lower-value ones.
The correct approach is to rank your events in order of business value, with your most important conversion at position 1. For most e-commerce advertisers, that means:
1. Purchase
2. InitiateCheckout
3. AddToCart
4. ViewContent
For lead generation advertisers, Lead or CompleteRegistration should sit at position 1. The remaining slots can be filled with funnel events that help Meta optimize toward users most likely to complete your top-priority action.
Success indicator: Your domain shows as verified in Business Manager, and your AEM event priority list is configured with your highest-value conversion event at position 1, followed by funnel events in descending order of business value.
Step 6: Build a Reporting Framework That Validates Your Real Results
The final step is creating a reporting system that doesn't rely solely on any single platform's numbers. Given everything you've learned about modeled conversions, attribution windows, and cross-platform discrepancies, putting all your trust in Meta Ads Manager alone is a recipe for poor decisions.
The most practical approach is a simple reconciliation process that runs weekly. Pull three data points for the same time period:
Meta-reported conversions: What Ads Manager shows for your chosen attribution window.
Analytics conversions: What GA4 or your analytics platform shows attributed to your Meta campaigns via UTM data.
Backend actuals: Real orders, leads, or revenue from your CRM, e-commerce platform, or backend database. This is your ground truth.
Track these three numbers side by side in a simple spreadsheet. Over time, you'll see a pattern in how they relate to each other. Maybe Meta consistently reports 20 to 30 percent more conversions than your backend actuals due to view-through attribution and modeled data. Once you know that ratio, you can apply it as a discount factor when evaluating Meta's reported ROAS. For a centralized view of all these metrics, a dedicated Facebook ad performance tracking dashboard can streamline this entire process.
This is also where Marketing Efficiency Ratio (MER) becomes useful. MER is calculated as total revenue divided by total ad spend across all channels. It's a platform-agnostic metric that tells you whether your overall advertising investment is generating a positive return, regardless of how individual platforms attribute credit. Many performance marketers track MER alongside platform-reported ROAS to get a more honest picture of campaign health.
For a second layer of validation within your Meta campaigns, AdStellar's AI Insights feature surfaces leaderboard rankings for your creatives, headlines, copy, audiences, and landing pages based on real metrics like ROAS, CPA, and CTR. Rather than manually digging through Ads Manager breakdowns, you get a clear ranked view of what's actually performing against your goals. Set your benchmarks and AdStellar scores every element against them, making it easy to identify winners without second-guessing the data.
AdStellar's Winners Hub extends this further by keeping your top-performing assets organized in one place with real performance data attached. When you're ready to scale what works, you can pull proven creatives, audiences, and copy directly into your next campaign rather than starting from scratch or relying on memory. Learn more about the value of reusing winning Facebook ad elements to compound your results over time.
Pair this with a weekly cadence for reviewing your reconciliation spreadsheet and you create an early warning system for tracking problems. A sudden divergence between Meta-reported and backend actuals often signals a pixel issue, a configuration change, or a tracking break that you can catch and fix before it compounds over weeks of bad data.
Success indicator: You have a weekly reporting process that compares Meta data, analytics data, and backend actuals. Your MER is tracked alongside platform ROAS, and you have a documented baseline variance that tells you when something is genuinely wrong versus normally different.
Your Attribution Tracking Checklist
Fixing facebook ad attribution tracking issues is not a one-time project. It's an ongoing discipline that requires regular auditing as platforms evolve, privacy rules tighten, and your campaigns change. Here's the quick checklist to keep your tracking healthy:
1. Pixel and CAPI both active, with high Event Match Quality scores above 6 in Events Manager
2. iOS and browser privacy impacts understood, with modeled conversions accepted as part of your reporting reality
3. Attribution windows consciously chosen and aligned to your actual sales cycle
4. UTM parameters on every active ad, with consistent naming conventions and regular GA4 cross-checks
5. Domain verified in Meta Business Manager and AEM events prioritized with your highest-value conversion at position 1
6. Weekly reconciliation comparing Meta-reported, analytics-reported, and backend actual conversions
With this system in place, you move from guessing to knowing. You can trust your data enough to make confident decisions about where to increase budget, which creatives to scale, and which campaigns to cut.
And when you pair reliable attribution with a platform that handles the creative and campaign side automatically, the leverage compounds. AdStellar generates scroll-stopping image ads, video ads, and UGC-style creatives from your product URL, builds complete Meta campaigns using AI that analyzes your historical performance data, and surfaces your winners with real-time leaderboard rankings so you always know what to scale next. No designers, no guesswork, no hours lost in Ads Manager.
If you're ready to spend less time troubleshooting and more time scaling what actually works, Start Free Trial With AdStellar and see how AI-powered insights complement your attribution strategy from day one.