Most Meta advertisers set up campaigns the same way: pick an objective, throw together some audiences, upload a few ads, and hit publish. Then they wonder why their costs spike, their data looks messy, and they can't figure out what's actually working.
The problem isn't your creative or your targeting—it's the foundation. A poorly structured campaign creates audience overlap, wastes budget on competing ad sets, and makes optimization nearly impossible. Meanwhile, a well-organized structure gives the algorithm clean data to work with, makes testing straightforward, and scales predictably.
This guide breaks down exactly how to structure Meta ads campaigns from scratch. You'll learn the three-level hierarchy Meta uses, how to organize ad sets that test cleanly without cannibalizing each other, and how to configure budgets that support the learning phase instead of fighting it.
Whether you're launching your first campaign or restructuring an account that's bleeding budget, you'll walk away with a framework that works for any objective, any audience size, and any budget level.
Step 1: Understand Meta's Three-Level Campaign Hierarchy
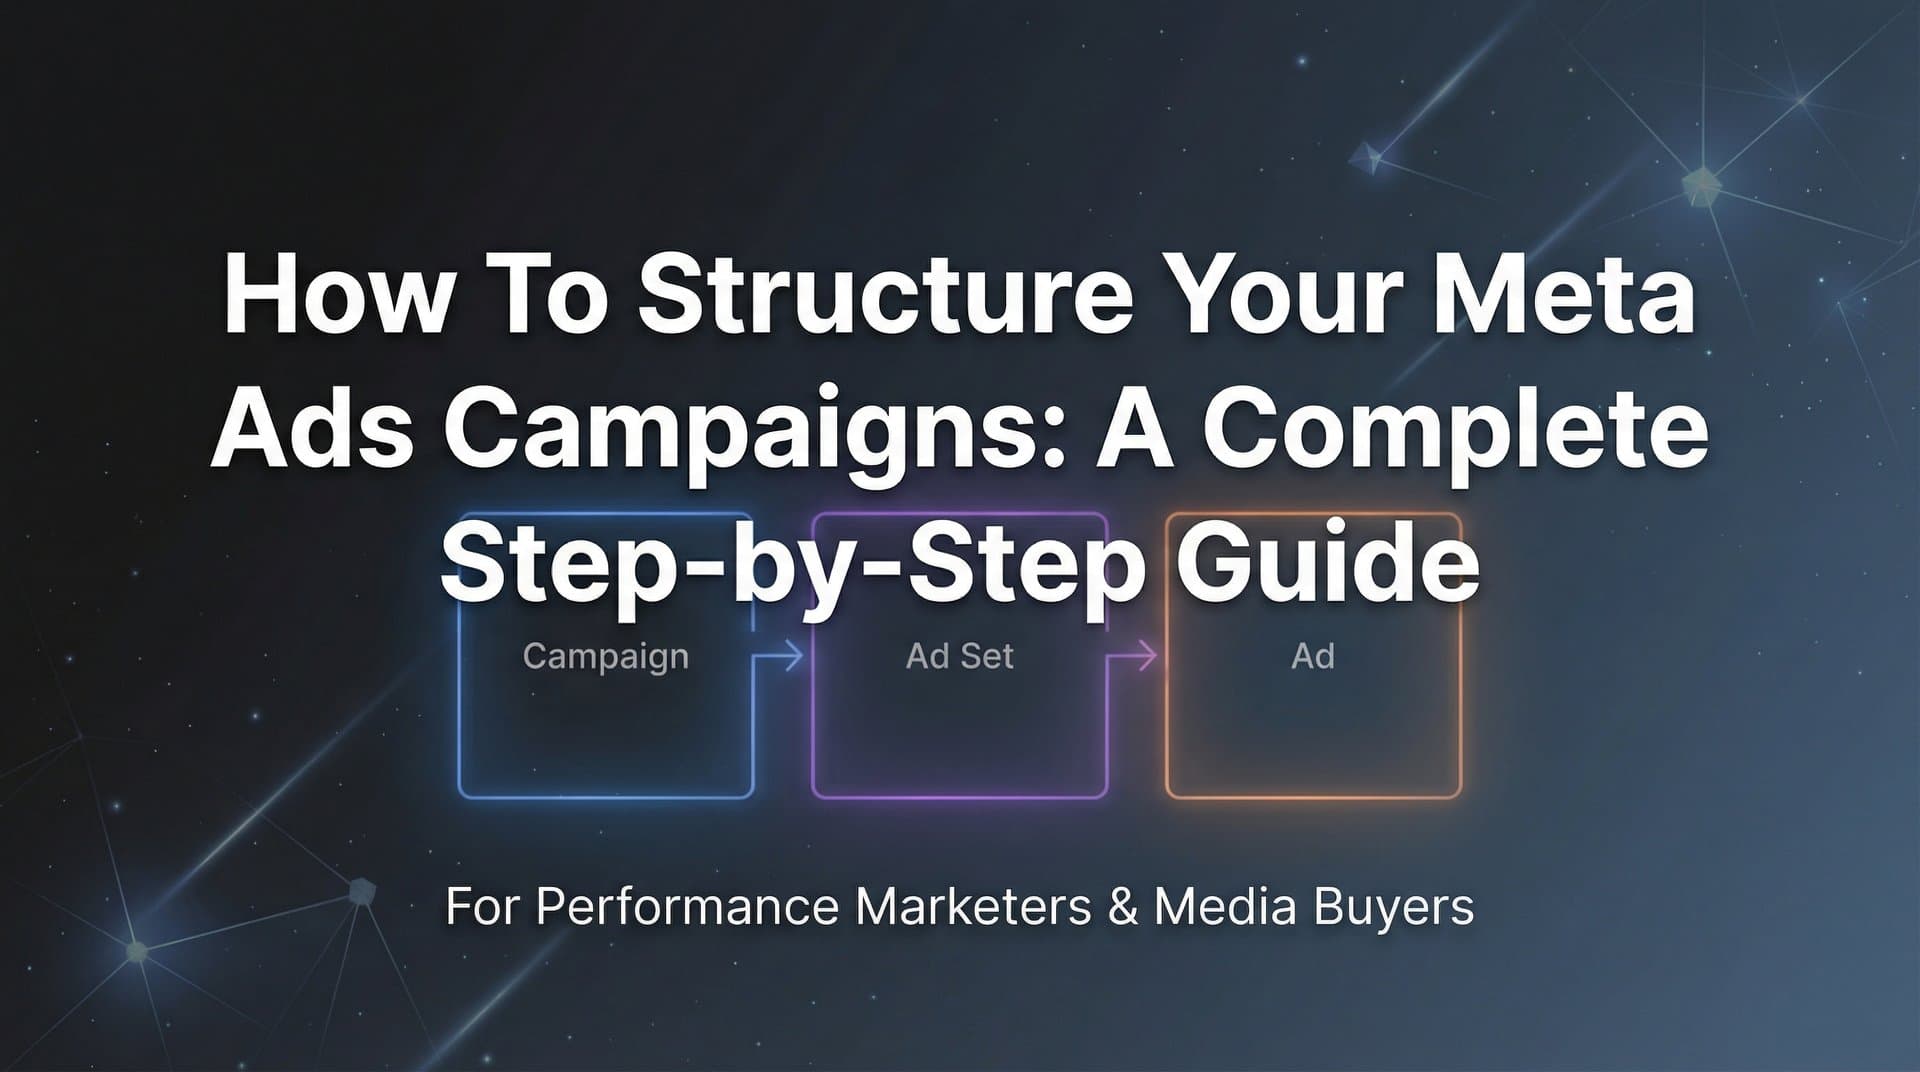
Meta's advertising platform operates on a strict three-tier structure: Campaign → Ad Set → Ad. Each level controls specific elements, and understanding what happens where prevents the most common structural mistakes.
At the Campaign level, you choose your objective—the single most important decision that determines how Meta's algorithm optimizes delivery. Select "Awareness" and you'll reach people likely to remember your brand. Choose "Conversions" and you'll reach people likely to take action on your website. Your objective can't be changed once the campaign launches, so getting this right from the start matters.
The Campaign level also determines whether you use Campaign Budget Optimization (CBO), where Meta distributes your budget across ad sets automatically, or leave budget control to individual ad sets. This decision affects how you structure everything below it.
At the Ad Set level, you define who sees your ads and when. This is where you build audiences, select placements, set schedules, and allocate budgets (if you're not using CBO). Each ad set represents a distinct test or audience segment. When you create multiple ad sets, they can compete against each other in Meta's auction system—which is why proper audience exclusions become critical.
The Ad level contains your creative assets: images, videos, headlines, body copy, and calls-to-action. Multiple ads within an ad set compete against each other during the learning phase, with Meta gradually showing the better performers more often. This is where your messaging lives, but the structure above determines who sees it and how efficiently your budget gets spent.
This hierarchy matters because structural problems at higher levels can't be fixed with better creative. If your campaign objective doesn't match your business goal, or your ad sets overlap and compete for the same audience, no amount of creative testing will solve the underlying inefficiency.
Think of it like building a house. The campaign is your foundation, ad sets are your rooms, and ads are your furniture. You can rearrange furniture all day, but if the foundation is cracked or the rooms are poorly laid out, you're fighting a losing battle. For a deeper dive into building this foundation correctly, explore our guide on Meta campaign structure that scales without wasting budget.
Step 2: Choose the Right Campaign Objective for Your Goal
Meta offers six primary objective categories, and each one trains the algorithm to optimize for different user behaviors. Choosing the wrong objective is like telling a delivery driver to optimize for speed when you actually care about fuel efficiency—you'll get results, just not the ones you wanted.
The Awareness objective shows your ads to people most likely to remember them. This works for brand building but delivers the least efficient direct response results. Use this when you're introducing a new brand or product to a market, not when you need immediate sales.
Traffic drives clicks to your website or app. The algorithm finds people likely to click, but it doesn't care whether they take action after clicking. This creates a common trap: lots of cheap clicks from users who bounce immediately. Traffic campaigns work for content distribution or when you have strong on-site conversion mechanisms, but they're rarely the right choice for e-commerce or lead generation.
Engagement optimizes for reactions, comments, shares, or event responses. This objective excels at building social proof on posts or growing event attendance, but it won't drive website conversions efficiently. The algorithm finds people who engage with content, not people who buy.
Leads collects contact information directly within Meta's platform through instant forms. This reduces friction compared to sending users to a landing page, making it effective for newsletter signups, quote requests, or consultation bookings. The tradeoff is less control over the user experience and potentially lower-quality leads since the barrier to entry is minimal.
App Promotion drives installs or in-app actions. If your business model centers on an app, this objective connects directly to app store optimization and tracks post-install events. For businesses without apps, it's irrelevant.
Sales (formerly Conversions) optimizes for purchases, add-to-carts, or other valuable website actions. This is the workhorse objective for e-commerce and most direct response campaigns. The algorithm finds people likely to complete your specified conversion event, making it the most efficient option when you have clear conversion tracking in place.
The most common mistake is choosing Traffic when you actually want Sales. Traffic campaigns deliver cheaper clicks, which looks good in surface-level metrics but produces worse return on ad spend because those clicks come from users less likely to convert. If your goal is revenue, choose Sales—even though the cost per click will be higher, the cost per actual customer will be lower.
Advantage+ campaigns represent Meta's automated approach, where the platform makes more decisions automatically. These can work well for advertisers with strong conversion tracking and sufficient budget, but they sacrifice control. Start with manual campaigns until you understand what works, then consider Advantage+ for scaling proven strategies. Our campaign planning process guide walks through how to make these strategic decisions systematically.
Step 3: Design Your Ad Set Structure for Clean Testing
Your ad set structure determines whether your tests produce clear, actionable insights or muddy, conflicting data. The golden rule: change one variable per ad set. When you test multiple variables simultaneously, you can't isolate what drove the performance difference.
Organize ad sets by audience temperature—cold, warm, and hot traffic. Cold audiences have never interacted with your brand. Warm audiences have engaged with your content or visited your website but haven't converted. Hot audiences are past customers or highly engaged users. These segments behave differently and deserve separate budgets and creative strategies.
Within each temperature category, create ad sets that test specific variables. One ad set might test interest targeting around "digital marketing" while another tests "social media advertising." One ad set targets a 1% lookalike audience while another tests a 3% lookalike. Each ad set represents a hypothesis you're testing.
Audience exclusions prevent your ad sets from competing against each other. If you're running both a cold prospecting ad set and a retargeting ad set, exclude your retargeting audience from the prospecting ad set. Otherwise, both ad sets bid against each other for the same users, driving up costs and confusing your attribution data.
Budget allocation follows two main approaches. Campaign Budget Optimization (CBO) gives Meta control to distribute your total budget across ad sets based on performance. This works well when you trust the algorithm and want automatic scaling toward winners. Ad Set Budget Optimization (ABO) gives you manual control over each ad set's budget, which is better for structured testing where you want equal spend across test variables.
For most testing scenarios, ABO provides clearer results. Set equal budgets across your test ad sets so each receives fair exposure during the learning phase. Once you identify winners, you can shift to CBO for scaling or manually increase budgets on top performers.
Naming conventions save hours of analysis time. Include key variables in every ad set name: date launched, audience type, targeting details, and any other distinguishing factors. Instead of "Ad Set 1," use "2026-02-11_Cold_Interest-DigitalMarketing_Ages25-45." When you're analyzing 50 ad sets three months later, descriptive names make filtering and comparison straightforward.
The typical advertiser creates too few ad sets, testing everything in one bucket and losing the ability to identify what works. The opposite mistake—creating dozens of micro-targeted ad sets—spreads budget too thin and prevents any ad set from exiting the learning phase. Start with 3-5 ad sets per campaign, each testing a distinct audience or strategy. If you're struggling with these structural decisions, our breakdown of Facebook campaign structure problems identifies the most common pitfalls.
Step 4: Configure Targeting and Placements Strategically
Audience targeting determines who enters your auction, while placements determine where your ads appear. Both decisions directly impact your cost per result and creative requirements.
Building cold audiences starts with interest targeting or lookalike audiences. Interest targeting reaches users based on their behaviors, pages they follow, and content they engage with. Layer multiple interests using "AND" logic to narrow your audience—someone interested in both "entrepreneurship" AND "marketing automation" is more specific than either interest alone. Avoid stacking too many interests, which creates audiences too small to gather meaningful data.
Lookalike audiences use your existing customer data to find similar users. A 1% lookalike represents the closest match to your source audience, while a 10% lookalike casts a wider net with less similarity. Start with 1-3% lookalikes for prospecting, then expand to larger percentages as you scale. The quality of your source audience matters—build lookalikes from your best customers, not just anyone who visited your website.
Custom audiences enable retargeting based on specific actions: website visitors, video viewers, Instagram engagers, or email list subscribers. Segment these by recency and action depth. Someone who visited your pricing page yesterday is more valuable than someone who read a blog post six months ago. Create separate ad sets for each segment with messaging that matches their familiarity level.
Audience size affects delivery and learning speed. Meta recommends at least 1 million users for cold prospecting and 1,000 users minimum for retargeting. Audiences below these thresholds limit Meta's optimization ability and increase costs. Audiences above 10 million for prospecting typically indicate targeting that's too broad, making it harder for the algorithm to find your ideal customer profile. For a comprehensive approach to building these audiences effectively, our Meta ads targeting strategy guide covers advanced segmentation techniques.
Placement decisions determine where your ads appear: Facebook Feed, Instagram Stories, Reels, Audience Network, and Messenger. Advantage+ placements let Meta automatically distribute your ads across all available placements based on performance. This typically delivers the lowest cost per result because the algorithm finds the most efficient inventory.
Manual placement selection gives you control but requires more creative variations. An ad optimized for Facebook Feed (1:1 ratio) won't perform well in Instagram Stories (9:16 ratio). If you select placements manually, you need creative assets sized appropriately for each surface. For most advertisers, Advantage+ placements perform better unless you have specific creative that only works in certain formats.
Placement asset customization lets you upload different creative for different placements while keeping everything in one ad. This gives you the efficiency of Advantage+ placements with the creative control of manual selection—the best of both approaches when you have the resources to create multiple asset versions.
Step 5: Organize Your Ads for Effective Creative Testing
The number of ads you run per ad set directly impacts learning speed and test clarity. Too few ads means you're not testing enough variables. Too many ads spreads delivery too thin and extends the learning phase unnecessarily.
The optimal range is 3-5 ads per ad set. This gives the algorithm enough options to identify patterns while ensuring each ad receives sufficient delivery to gather meaningful data. During the learning phase, Meta shows all ads somewhat evenly, then gradually shifts delivery toward better performers. With 3-5 ads, this process completes faster than with 10+ ads competing for the same impressions.
Structure your creative tests around one variable at a time. If you're testing hooks, keep the offer and format consistent while varying only the opening line or visual. If you're testing formats, keep the messaging consistent while trying image ads versus video ads versus carousel ads. When multiple variables change simultaneously, you can't determine which element drove the performance difference.
Dynamic creative automates this testing process by letting you upload multiple headlines, primary texts, images, and calls-to-action. Meta then automatically combines these elements and tests different variations. This accelerates learning but provides less granular control over which specific combinations get tested. Dynamic creative works well for advertisers who want speed over precision, or when you're testing many small variations of similar elements.
Manual ad variations give you complete control over what gets tested. You create each ad individually with specific combinations of creative elements. This takes more setup time but ensures you're testing exactly what you intended. For strategic tests—like comparing different value propositions or messaging angles—manual variations provide clearer insights.
Creative diversity matters, but there's a limit. The algorithm performs best when ads within an ad set are related variations, not completely different concepts. Testing "20% off" versus "Free shipping" makes sense in one ad set. Testing "20% off" versus a brand awareness video versus a customer testimonial creates too much variance—split those into separate ad sets.
Track which creative elements drive performance for future campaigns. When a specific hook, image style, or offer outperforms others, document it. Over time, you'll build a library of proven elements that can be recombined in new ways. Streamlining this process through Meta ads creative automation can help you systematically identify and scale winning creative patterns.
Step 6: Set Budgets and Schedules That Support Learning
Budget allocation determines whether your campaigns exit the learning phase and reach stable performance. Set budgets too low and your campaigns never gather enough data to optimize effectively. Set them too high too fast and you waste money during the learning period when performance is typically worst.
Meta's learning phase requires approximately 50 optimization events per ad set per week. For a conversion campaign, that means 50 purchases. If your conversion rate is 2% and your cost per click is $1, you need roughly $2,500 per week per ad set to exit learning ($1 CPC ÷ 2% = $50 per conversion × 50 conversions). This math explains why campaigns with expensive products or low conversion rates struggle—the minimum viable budget becomes prohibitively high.
Daily budgets provide consistent spend and make performance tracking easier. Set your daily budget at one-seventh of your weekly target. The downside is that Meta stops delivery once the daily budget is hit, potentially missing high-performing hours. Daily budgets work best for consistent, ongoing campaigns where you want predictable spend.
Lifetime budgets give Meta flexibility to spend more on high-performing days and less on low-performing days. This typically delivers better overall results because the algorithm can capitalize on opportunities. The tradeoff is less predictable daily spend. Lifetime budgets work well for campaigns with specific start and end dates, like product launches or seasonal promotions.
Avoid the learning phase trap by maintaining consistent budgets. When you change an ad set's budget by more than 20% in a single day, Meta resets the learning phase. This means all the optimization data gathered up to that point gets partially discarded, and the algorithm starts over. If you need to scale, increase budgets gradually—no more than 20% every 3-4 days. Understanding the nuances of Meta ads budget allocation issues can prevent thousands in wasted spend.
Scheduling considerations depend on your business model. E-commerce campaigns typically run continuously with lifetime budgets, allowing Meta to optimize delivery timing automatically. Local businesses or B2B campaigns might benefit from dayparting—showing ads only during business hours or when your sales team is available to respond to leads. Set schedules at the ad set level, not the campaign level, so different audience segments can run on different schedules if needed.
Budget allocation across ad sets follows your testing priorities. If you're running three ad sets to test different audiences, equal budgets ensure fair comparison. If you're running one prospecting ad set and one retargeting ad set with different objectives, allocate budgets based on expected volume and value—retargeting audiences are smaller but typically convert at higher rates and deserve proportional investment.
Step 7: Review, Launch, and Monitor Your Structure
The minutes before you launch determine whether your carefully planned structure actually works. A pre-launch checklist catches the structural errors that waste budget and corrupt data.
Verify your Meta Pixel and Conversions API are firing correctly. Open your website, trigger the conversion event you're optimizing for, and confirm it appears in Meta's Events Manager. The Conversions API has become essential as browser-based tracking becomes less reliable—it sends conversion data directly from your server to Meta, bypassing browser restrictions. If you're only using the pixel, you're likely missing 20-30% of conversions, which means the algorithm is optimizing on incomplete data. Our Meta ads API integration guide walks through the technical setup step by step.
Check your UTM parameters if you're tracking campaigns in Google Analytics or other platforms. Consistent UTM tagging lets you compare Meta's reported performance against your own analytics. Use a standardized format: utm_source=meta, utm_medium=paid-social, utm_campaign=[campaign-name], utm_content=[ad-set-name].
Review audience exclusions across all ad sets. Your retargeting ad sets should exclude converters (people who already bought). Your prospecting ad sets should exclude all warm and hot audiences. Your warm audience ad sets should exclude hot audiences. Missing exclusions create audience overlap where your ad sets bid against each other, inflating costs and making attribution messy.
Confirm your campaign objective matches your actual business goal. If you want purchases, you should be using the Sales objective with the Purchase event. If you selected Traffic by mistake, your campaign will optimize for clicks instead of conversions—a structural error that can't be fixed after launch without starting over.
Double-check your budget settings. Verify you're using the budget type (daily vs. lifetime) you intended. Confirm your campaign-level budget optimization setting matches your strategy. Make sure individual ad set budgets are sufficient to exit the learning phase based on your expected conversion rate and cost per result.
In the first 48-72 hours after launch, monitor key structural indicators rather than final performance metrics. Check that all ad sets are delivering (not stuck in "Learning Limited" due to insufficient budget). Verify that your ads are appearing in the placements you selected. Confirm your cost per result is within a reasonable range of your target—if it's 3-5x higher than expected, you may have a targeting or creative issue that needs immediate attention. Using a dedicated Meta ads dashboard makes monitoring these early signals much more efficient.
Resist the urge to make changes during the learning phase. The algorithm needs time to gather data and optimize. Most campaigns need 3-7 days to exit learning, depending on conversion volume. Making frequent changes restarts this process, extending the time until you reach stable performance.
When you do need to make changes, edit at the appropriate level. If your creative isn't working, change ads. If your audience isn't responding, adjust ad set targeting. If your objective was wrong, you need a new campaign—objectives can't be changed after launch.
As your campaigns scale, maintaining structural discipline becomes harder but more important. Tools like AdStellar AI can automate structural decisions—from audience segmentation to budget allocation—analyzing your performance data to recommend optimal structures. The AI agents handle the technical setup while you focus on strategic decisions and creative development.
Putting It All Together
A well-structured Meta ads campaign isn't complicated—it just requires intentional decisions at each level of the hierarchy. Your campaign objective determines how Meta optimizes delivery. Your ad set structure determines whether your tests produce clear insights. Your ad organization determines how quickly the algorithm learns what works.
Here's your quick reference checklist: Verify your objective matches your actual goal (Sales for purchases, not Traffic). Organize ad sets by distinct audience segments with proper exclusions to prevent overlap. Limit ads per ad set to 3-5 variations so each receives sufficient delivery. Set budgets that allow for learning phase completion—roughly 50 optimization events per week. Use consistent naming conventions that include date, audience type, and key variables for easy analysis.
The most common structural mistakes are choosing the wrong objective, creating overlapping audiences without exclusions, spreading budget across too many ad sets, and making changes too frequently during the learning phase. Each of these undermines the algorithm's ability to optimize effectively, resulting in higher costs and unclear performance data.
Start with one well-structured campaign following this framework. Measure the results over a complete learning phase—typically 7-14 days depending on conversion volume. Document what worked and what didn't. Use that campaign as your template for scaling, replicating the structure while testing new audiences or creative angles.
As your account grows, maintaining this structural discipline manually becomes time-intensive. You're juggling dozens of campaigns, hundreds of ad sets, and constantly making budget and targeting decisions. This is where automation provides leverage. Start Free Trial With AdStellar AI and be among the first to launch and scale your ad campaigns 10× faster with our intelligent platform that automatically builds and tests winning ads based on real performance data. The seven specialized AI agents handle campaign structure, audience segmentation, budget allocation, and creative testing—so you can focus on strategy instead of manual setup.
The difference between campaigns that scale profitably and campaigns that burn through budgets often comes down to structure. Get the foundation right, and optimization becomes straightforward. Skip these structural fundamentals, and no amount of creative testing or budget increases will fix the underlying inefficiency.


