Meta ad performance has quietly degraded for many advertisers over the past few years, and the culprit is not your creative or your targeting. Browser privacy updates, iOS permission changes, and the slow death of third-party cookies have all chipped away at what your Facebook Pixel can actually see. Events get missed. Audiences shrink. Attribution gaps make your ROAS look worse than it really is.
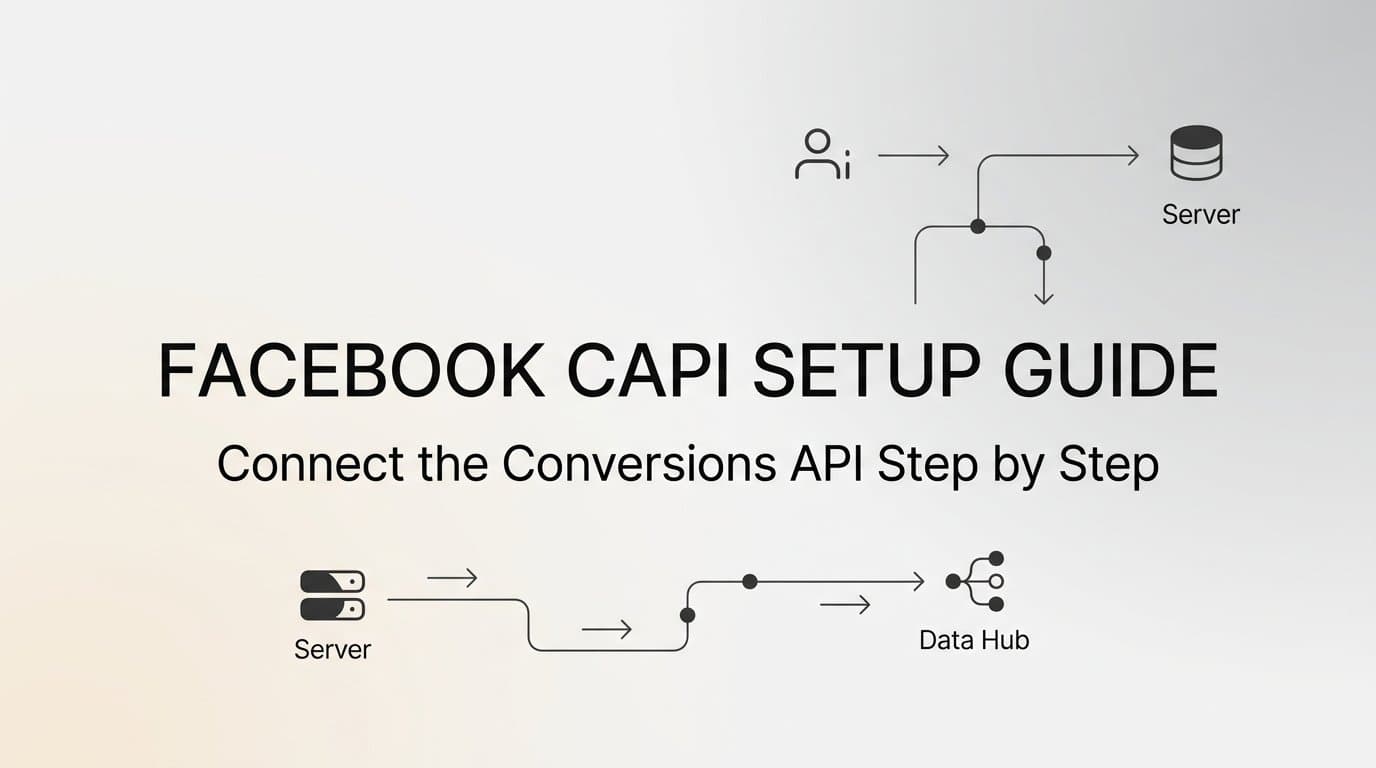
The Conversions API (CAPI) is Meta's answer to this problem. Unlike the Pixel, which fires from inside a user's browser and is therefore subject to all of those restrictions, CAPI sends conversion data directly from your server to Meta's servers. Browser blockers cannot touch it. iOS settings cannot interfere with it. The data pipeline is cleaner, more complete, and far more reliable.
The downstream benefits are real: better event attribution, stronger custom audiences built on more complete data, and ad delivery that optimizes toward actual conversions rather than the incomplete picture your browser-only Pixel provides.
This guide walks you through the full Facebook CAPI setup process from beginning to end. You will create a dataset, generate an access token, choose the right integration method for your platform, configure customer information parameters, and verify that everything is working before your campaigns depend on it.
No developer background is required for the most common setup paths. If you are running Shopify, WooCommerce, or another major e-commerce platform, you can complete most of this guide without writing a single line of code. For custom-built sites, we will flag exactly where a developer becomes useful.
By the end of this guide, you will have server-side tracking running in parallel with your Pixel, giving Meta the signal quality it needs to find your best customers and spend your budget more efficiently. Let's get into it.
Step 1: Understand What You Need Before You Start
Before touching Events Manager, take five minutes to confirm you have everything in place. Skipping this step is the most common reason people get stuck halfway through setup.
Business Manager Admin Access: You need admin-level access to a Meta Business Manager account. Not editor access, not advertiser access. Admin. This is required to generate the access token that authenticates your server's requests to Meta. If you do not have admin access, contact whoever manages your Business Manager account before proceeding.
An Active Ad Account: Your dataset needs to be assigned to an ad account. Make sure your ad account is active and in good standing inside Business Manager.
Know Your Platform: The integration method you choose depends entirely on what your website runs on. Identify this now because it determines how much technical work is ahead of you.
There are three integration paths available:
1. Native Platform Integrations are available for Shopify, WooCommerce, BigCommerce, and other major platforms. Meta has official apps and plugins for each. This is the fastest path and requires no coding. If your site runs on one of these platforms, this is where you should start.
2. Partner Integrations via Tag Management use tools like Google Tag Manager with Meta's official GTM template. This is a good middle ground for marketers who are comfortable in GTM but do not want to write custom server code.
3. Direct API Integration involves a developer sending HTTP POST requests directly to Meta's Graph API. This path gives you the most control and is the right choice for custom-built platforms or complex event configurations.
Know Your Key Conversion Events: Before setup, decide which events matter most to your campaigns. Purchases and leads are the priority for most advertisers. AddToCart, InitiateCheckout, ViewContent, and PageView are also worth including. Having this list ready will save time when you configure your integration.
Existing Pixel or Starting Fresh: If you already have a Facebook Pixel running on your site, you will use it directly. Meta has rebranded Pixels as "Datasets" in their current interface, but functionally they are the same thing. If you do not have one yet, you will create it in the next step.
Step 2: Create or Locate Your Dataset in Events Manager
The Dataset is the central hub that connects your server-side events to your Meta ad account. Everything flows through it.
Navigate to Meta Events Manager at business.facebook.com/events_manager. Make sure you are logged in with the account that has admin access to your Business Manager.
If you already have a Pixel set up, you will see it listed here. Meta has transitioned from calling these "Pixels" to calling them "Datasets" in their interface, but the underlying functionality is the same. Your existing Pixel ID is now your Dataset ID. You can use it directly for CAPI without creating anything new.
If you need to create a new dataset, follow these steps:
1. Click Connect Data Sources in the left navigation panel.
2. Select Web as your data source type.
3. Give your dataset a clear, recognizable name. Use something that identifies the website or brand it belongs to, especially if you manage multiple accounts.
4. Assign the dataset to your Business Manager account and the correct ad account. This step matters more than it looks. If the dataset is assigned to the wrong ad account, your conversion events will not attribute to the right campaigns.
Once created, locate your Dataset ID (sometimes still labeled as Pixel ID in parts of the interface). You will find it displayed prominently at the top of your dataset's overview page. Copy it and save it somewhere accessible because you will need it when you configure your integration in the next steps.
A quick note on the terminology shift: throughout this guide, "Dataset ID" and "Pixel ID" refer to the same number. Some integration tools and documentation still use "Pixel ID," so do not be confused if you see both terms.
Success indicator: Your dataset appears in Events Manager with a green status indicator and your ad account is listed under Connected Assets. If the ad account is missing from Connected Assets, go back and assign it before moving forward.
Step 3: Generate Your Conversions API Access Token
The access token is what proves to Meta that your server is authorized to send events on behalf of your account. Think of it as the password that unlocks the API connection.
Inside Events Manager, click on your dataset to open it. Navigate to the Settings tab at the top of the page.
Scroll down until you reach the Conversions API section. You will see a button labeled Generate Access Token. Click it.
Meta will generate a long string of characters. This is your access token. Copy it immediately because depending on your browser and session, you may not be able to retrieve it again without regenerating a new one.
How you store this token matters. Here are the rules:
Store it securely: Use a password manager, an environment variable in your server configuration, or a secrets manager if you are working in a cloud environment. The token should never be stored in a plain text file or a spreadsheet that multiple people can access.
Never hardcode it in public code: If you or your developer is writing a custom integration, the token must not appear in any code that gets committed to a public GitHub repository or shared in a client-accessible file. This is a serious security risk that exposes your ad account to unauthorized use.
Understand token behavior: Tokens generated through Events Manager do not expire by default, but they can be revoked manually. If you ever need to regenerate a token, every integration using the old token will break immediately and must be updated with the new value.
For larger organizations or agency setups, Meta also supports System User tokens, which you generate through Business Manager rather than Events Manager. System User tokens offer more granular permission control and are easier to manage across multiple team members. If you are setting up CAPI for an enterprise account or managing multiple clients, this is worth exploring in your Business Manager settings under System Users.
Once your token is saved securely, you are ready to connect your server to Meta.
Step 4: Choose and Implement Your Integration Method
This is where the setup diverges based on your platform. Pick the method that matches your technical setup and follow the instructions for that path.
Method A: Native Platform Integration (Shopify, WooCommerce, BigCommerce)
If your store runs on a major e-commerce platform, this is your fastest route to CAPI. Meta maintains official channel apps and plugins for Shopify, WooCommerce, BigCommerce, and several others.
For Shopify, install the Meta channel app from the Shopify App Store. Once installed, connect it to your Business Manager, paste your Dataset ID, and enter your access token when prompted. The app will present a list of events to enable. Turn on server-side events with the provided toggle. That single toggle activates CAPI for Purchase, AddToCart, InitiateCheckout, and other standard events automatically.
WooCommerce and BigCommerce follow a similar pattern through their respective Meta plugins. The configuration screens vary slightly but the inputs are the same: Dataset ID, access token, event selection, and the server-side toggle.
No coding required. The platform handles PII hashing, event formatting, and deduplication logic behind the scenes.
Method B: Google Tag Manager Partner Integration
If your site is not on a native-supported platform but you are already using GTM, Meta provides an official template in the GTM Community Template Gallery.
Inside GTM, navigate to Templates and search for the Meta Conversions API tag. Add the template to your workspace, then configure a new tag using it. You will enter your access token and Dataset ID, then map your existing dataLayer variables to the corresponding Meta event parameters (event name, value, currency, email, etc.).
This method requires comfort with GTM's interface and some familiarity with how your dataLayer is structured. It is not a coding task, but it is more hands-on than a native platform integration.
Method C: Direct API Integration
For custom-built sites or situations where you need precise control over what gets sent and when, a developer sends HTTP POST requests directly to Meta's Graph API endpoint. The request goes to graph.facebook.com/v[version]/[dataset-id]/events with your access token included in the request and your event payload in the body.
This method requires developer involvement but gives you complete control over event parameters, timing, and data structure.
Deduplication: The Step Everyone Skips
Regardless of which method you choose, deduplication is non-negotiable when running both Pixel and CAPI simultaneously.
Without deduplication, Meta counts the same conversion event twice: once from your browser Pixel and once from your server. This inflates your event counts, distorts your audience sizes, and causes your campaigns to optimize incorrectly.
The fix is straightforward. Pass an identical event_id value from both your Pixel and your CAPI integration for the same event. Meta matches events with the same event_id, event_name, and timestamp and counts them as a single conversion. Native platform integrations typically handle this automatically. For GTM and direct API setups, you need to generate a unique event_id on your server and pass it through both channels.
Step 5: Add Required Customer Information Parameters
CAPI's ability to attribute events to real Meta users depends on how much customer information you include with each event. This is measured through a score called Event Match Quality (EMQ), displayed in Events Manager on a scale of 0 to 10.
The more customer information you include, the higher your EMQ score. A higher score means Meta can match more of your events to actual user accounts, which improves attribution accuracy and campaign optimization. Meta publicly documents that including email, phone number, and browser cookie values produces the strongest match rates.
Here are the key parameters to include when available:
Email (em): The customer's email address. This is the single most impactful parameter for match quality.
Phone Number (ph): Include country code. Even partial phone data improves matching.
First Name (fn) and Last Name (ln): Lowercase, no punctuation before hashing.
Location Data: City (ct), state (st), zip code (zp), and country (co) all contribute to matching accuracy.
Client IP Address (client_ip_address) and User Agent (client_user_agent): These are captured server-side and help Meta confirm the device context of the event.
fbp and fbc values: The fbp parameter comes from the _fbp cookie stored in the user's browser. The fbc parameter comes from the fbclid URL parameter appended to your ad URLs. Both are highly valuable for matching events back to specific ad clicks and user profiles. Pull these from your server session or pass them through your dataLayer.
All personally identifiable information must be hashed using SHA-256 before it is sent to Meta. This is a hard requirement in Meta's documentation. Most native platform integrations and the GTM template handle hashing automatically. If you are building a direct API integration, your developer needs to apply SHA-256 hashing to each PII field before including it in the request payload.
A quick note on privacy: you are sending hashed data, not raw personal information. Meta cannot reverse a SHA-256 hash to recover the original value. That said, you should review your privacy policy to ensure it discloses that you share event data with third-party advertising platforms as part of your ad measurement process.
Success indicator: After your integration is live and events are flowing, check your Event Match Quality score in Events Manager. A score above 6 out of 10 is considered strong by Meta's standards. If your score is lower, look at which parameters are missing and add them where possible.
Step 6: Test and Verify Your Events Are Firing Correctly
Do not assume your integration is working just because you completed the setup. Verify it before your live campaigns start depending on this data.
Inside Events Manager, open your dataset and navigate to the Test Events tab. You will see a field containing a Test Event Code, which looks something like TEST12345.
Add this test code to your integration configuration. Where exactly you add it depends on your method: native platform integrations typically have a field for it in their settings panel, GTM setups include it as a tag parameter, and direct API integrations pass it as a field in the event payload.
Once the test code is active, trigger real actions on your website. Add a product to your cart. Go through the checkout flow. Complete a test purchase if you can. Watch the Test Events panel in real time as events appear.
Here is what you are looking for in each event row:
Browser and Server sources both listed: Each event should show both a Browser source (from your Pixel) and a Server source (from CAPI). If you only see one source, either your Pixel or your CAPI integration is not firing for that event.
Deduplication working: If both sources appear but the event is only counted once in the total, deduplication is functioning correctly. If you see the event counted twice, your event_id setup needs attention.
Event parameters populated: Click into individual events to see which parameters were received. Confirm that customer information fields are present and that values are showing as hashed strings.
After testing, open the Diagnostics tab in Events Manager. This tab surfaces warnings about missing parameters, low match quality, duplicate event detection, and other configuration issues. Work through any warnings before going live.
Once you have confirmed that events are firing correctly from both sources, remove the Test Event Code from your integration configuration. This step is critical. Leaving the test code active in production means your events will continue routing to the test view instead of your actual reporting data. Campaigns will run but your event data will appear missing or incomplete in Ads Manager.
Putting It All Together: Your CAPI Setup Checklist
Before you call this setup complete, run through this checklist to make sure nothing was missed:
1. Business Manager admin access confirmed
2. Dataset created in Events Manager and assigned to the correct ad account
3. Dataset ID copied and saved
4. Access token generated and stored securely (not hardcoded, not in a public repo)
5. Integration method chosen and implemented (native platform, GTM, or direct API)
6. Customer information parameters included and hashed with SHA-256
7. fbp and fbc values being passed where available
8. Deduplication event_id configured and matching between Pixel and CAPI
9. Test events verified in the Test Events panel with both Browser and Server sources showing
10. Test Event Code removed before going live
One important timing note: CAPI data typically takes between 24 and 72 hours to fully populate in Ads Manager reporting. Do not panic if your numbers look incomplete in the first day or two. Give it time to stabilize before drawing conclusions about performance.
Once the data starts flowing, the downstream effects become visible. Your custom audiences will become more complete as Meta matches more events to actual user profiles. Your campaign optimization will improve as the algorithm receives stronger, more consistent conversion signals. Attribution will look more accurate because fewer conversions are falling through the cracks.
This is also where the quality of your CAPI data starts to compound. Tools like AdStellar are built to work with strong performance signals. AdStellar's AI Campaign Builder analyzes your actual conversion data to rank creatives, headlines, and audiences by real metrics like ROAS and CPA. The stronger your signal quality coming through CAPI, the better those rankings get. Better data in means better campaigns out.
With your CAPI setup running cleanly, you have the foundation in place to build and scale Meta campaigns with confidence. Start Free Trial With AdStellar and put that stronger conversion data to work, launching and scaling AI-powered Meta campaigns that optimize on the complete picture of your performance.