The majority of Facebook advertisers are running on instinct. They put together a creative that feels right, set a budget, and hope the algorithm does the rest. When results disappoint, they tweak the visual, change the headline, swap the audience, and try again. The cycle repeats without ever producing a clear answer about what actually moved the needle.
This is not a creativity problem. It is a process problem.
Creative testing on Facebook is the discipline of running controlled experiments to compare ad variations against each other, using real performance data to determine which elements resonate with your audience. When done correctly, it removes guesswork from your media buying decisions and gives you a repeatable system for identifying and scaling winners.
The question of how to test ad creatives on Facebook comes up constantly among media buyers, and for good reason. The answer is not just "run more ads." It is about structure: isolating variables, measuring the right metrics, and building institutional knowledge that compounds over time.
This guide walks you through the complete process, from defining what you are testing and why, to building your variations, setting up the test correctly in Ads Manager, interpreting the data, and feeding your learnings back into future campaigns. Whether you are a solo media buyer or a performance marketer running dozens of campaigns simultaneously, these steps apply directly to your workflow.
By the end, you will have a clear, actionable system for creative testing that continuously improves your Facebook ad performance, not just for the current campaign, but for every campaign you run after it.
Step 1: Define What You Are Testing and Why
Before you build a single creative, you need to answer one question: what specific variable are you testing? This sounds obvious, but it is where most advertisers go wrong. They launch multiple ads with different visuals, different copy, different headlines, and different hooks, then try to figure out why one performed better. With that many moving parts, the data tells you nothing useful.
The rule is simple: one variable per test.
Choose from one of these primary variables for each test round:
Creative format: Image versus video versus UGC-style content. Format testing is often the highest-leverage starting point, especially if you have not established a baseline for what your audience responds to.
Visual style: Lifestyle photography versus product-only versus text-overlay heavy versus illustrated. Same format, different aesthetic treatment.
Hook or opening: For video ads, the first three seconds determine whether someone keeps watching or scrolls past. Testing different hooks is one of the most impactful tests you can run.
Headline or primary text: Emotional versus functional, problem-focused versus benefit-focused, short versus long.
Call to action: "Shop Now" versus "Learn More" versus "Get Yours Today."
Once you have chosen your variable, write a hypothesis before you launch. For example: "A video ad with a problem-focused hook will generate a lower CPA than a product-only image ad for this audience." A clear hypothesis keeps your analysis honest and prevents you from retrofitting a story onto the data after the fact.
Your choice of variable should also connect to your current bottleneck. If your click-through rate is low, the problem is likely your hook or visual. Test those. If clicks are strong but conversions are weak, the issue is downstream, and you should focus on offer clarity and landing page alignment in your ad copy instead.
The most common mistake at this stage is testing too many things at once. Keep it focused. A clean test with a clear variable produces actionable results. A messy test produces noise.
Step 2: Build Your Creative Variations
With your variable defined and your hypothesis written, it is time to build the ads. The goal here is to create enough variations to generate meaningful signal, while keeping everything outside your test variable consistent across all ads.
Aim for at least three to five variations of the element you are testing. Two is rarely enough to identify a pattern. Five gives you a much clearer picture of what is working and why.
Here is how to approach variation building by format:
Image ads: Test different visual styles within the same format. Lifestyle photography, clean product-only shots, text-overlay heavy designs, and UGC-style images each carry a different psychological weight. Keep the headline and primary copy identical across all variations so the visual is the only thing changing.
Video ads: Focus your testing on the opening hook. The first three seconds are where most viewers decide whether to keep watching or scroll. Create multiple versions of the same video with different opening frames, different first lines of dialogue, or different visual treatments in the opening shot. The rest of the video can remain the same.
Copy or headline tests: Keep the creative identical and swap only the text element you are testing. Run the same visual with three different headlines to isolate the impact of messaging.
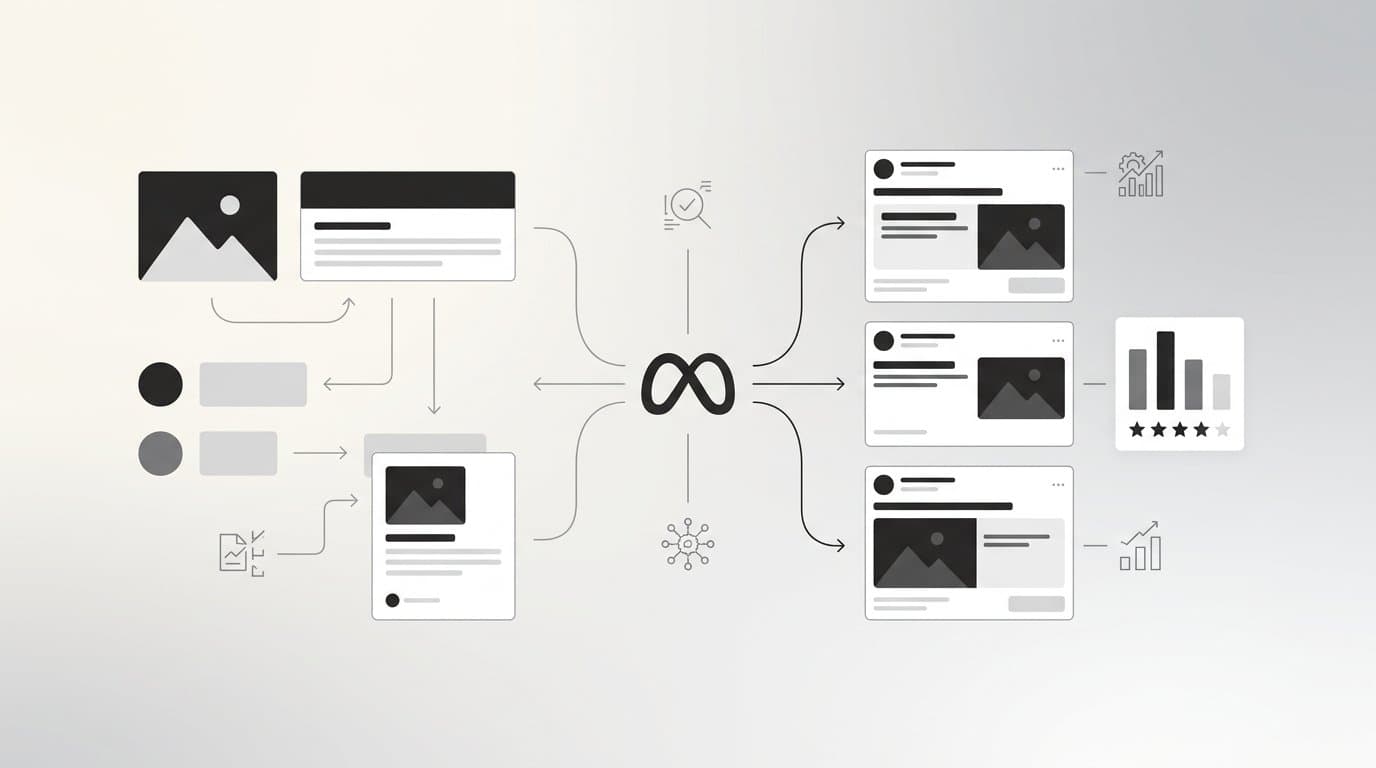
One practical challenge here is production volume. Creating five high-quality creative variations traditionally requires a designer, a video editor, and significant turnaround time. This is where tools like AdStellar change the equation. You can generate multiple creative variations from a product URL or brief, including image ads, video ads, and UGC-style avatar content, without needing a designer or video editor. You can also clone competitor ads from the Meta Ad Library and refine any creative through chat-based editing. What used to take days can be done in minutes.
Regardless of how you build your creatives, establish a clear naming convention before you launch. Something like "TEST01_VideoHook_ProblemFocus" or "TEST01_Image_Lifestyle" makes it easy to identify each variation in reporting without having to open every ad individually. This becomes especially important as your testing volume grows.
One final check before moving to setup: confirm that every non-tested element is identical across all variations. Same audience targeting, same budget allocation, same primary copy if you are testing visuals. Any inconsistency here contaminates your results.
Step 3: Structure Your Test in Facebook Ads Manager
How you set up your test in Ads Manager matters as much as what you are testing. The structure determines whether your data is clean and comparable or muddied by confounding variables.
The most practical approach for most advertisers is a single ad set with multiple ads. This means all your creative variations are running against the same audience, with the same budget, at the same time. Facebook's delivery system will naturally begin allocating more impressions to better-performing ads over time, but you will still get comparative data across all variations during the early phase of the test.
Alternatively, Facebook's built-in A/B test feature provides more controlled split testing with statistical confidence scores. This structure splits your audience into separate groups and ensures each variation is shown only to its assigned segment, eliminating overlap. It is more rigorous but also more complex to set up. For advertisers who want clean statistical confidence, it is worth the extra steps.
Set your campaign objective based on your actual goal. If you are testing purchase-focused creatives, use a conversion campaign. If you are testing top-of-funnel awareness content, a traffic objective is more appropriate. Misaligning your objective with your test goal produces misleading data.
On budget: allocate enough daily spend to generate meaningful data within your test window. A widely cited industry guideline is to aim for at least 50 conversion events per variation before drawing conclusions. Calculate backwards from your expected CPA to determine what daily budget gets you there within your test window.
Set your test duration upfront and commit to it. Most creative tests need a minimum of seven days. This accounts for Facebook's learning phase, where the delivery system is still optimizing, and smooths out day-of-week variation in user behavior. A test that only runs Monday through Wednesday will not reflect your true performance across the full week.
One critical rule: do not edit your ads or budgets during the test. Any significant change resets Facebook's learning phase and corrupts your data. If a variation is clearly underperforming early, resist the urge to pause it prematurely. Let the test run its full duration.
Before you launch, confirm your Meta Pixel is firing correctly on your conversion pages. If your pixel is not tracking accurately, your conversion data will be unreliable, and your test results will be meaningless. Understanding what the Meta Pixel is tracking and verifying it before launch is a non-negotiable prerequisite for any conversion-focused test.
Step 4: Choose the Right Metrics to Evaluate Performance
Once your test is live, the temptation is to check results constantly and start drawing conclusions early. Resist that. But when the time does come to evaluate, you need to know exactly which numbers matter and which ones are distractions.
Your primary metrics should align directly with your campaign objective:
Conversion campaigns: CPA (cost per acquisition) and ROAS (return on ad spend) are your core evaluation metrics. These tell you the most about which creative is actually driving business results.
Traffic campaigns: CTR (click-through rate) and CPC (cost per click) are your primary signals. Landing page view rate adds useful context about whether clicks are turning into actual page visits.
Awareness campaigns: CPM (cost per thousand impressions), reach, and frequency give you a picture of how efficiently your creative is being delivered to your target audience.
Secondary metrics help you understand the story behind your primary numbers. For video ads, hook rate (the percentage of viewers who watch past the three-second mark) tells you whether your opening is capturing attention. Video completion rate tells you whether viewers are staying engaged through the full ad. For any format, link click-through rate helps you separate delivery performance from engagement performance.
Do not optimize for vanity metrics. A creative with high reach and low conversion rate is not a winner. Impressions and likes do not pay for customer acquisition.
Set your benchmarks before the test starts. Know what a good CPA looks like for your account. Know what ROAS you need to be profitable. If you are unfamiliar with how ROAS is calculated or what a healthy number looks like for your specific business model, get clear on this before you try to interpret test results. Evaluating performance without a benchmark is like grading a test without an answer key.
One common pitfall: declaring a winner too early. It can be tempting to pause underperformers when one variation jumps ahead in the first two days. But early leads often shift as the learning phase stabilizes. Wait for your full test window and your minimum conversion threshold before making any decisions.
Step 5: Analyze Results and Identify Your Winners
Your test window has closed. Now comes the part that separates systematic advertisers from everyone else: honest, structured analysis.
Start with your primary metric. Rank your variations by CPA, ROAS, or CTR depending on your objective. The top performer is your candidate for a winner, but do not stop there.
Use your secondary metrics to understand why a creative performed the way it did. If your winning video ad had a significantly higher hook rate than the others, that tells you the opening was the key differentiator. If your winning image ad had a higher CTR but only a marginally better CPA, the creative was better at driving clicks but the difference in conversion efficiency was smaller. These nuances matter for your next round of tests.
Look for patterns across your variations, not just individual winners. If all three video ads outperformed all two image ads, that is a format insight: your audience responds better to video. If one specific hook style outperformed three others, that is a messaging insight: a particular framing of the problem or benefit resonates more strongly. These patterns are more valuable than any single winning ad because they guide your entire creative strategy going forward.
Tools like AdStellar's AI Insights feature make this analysis significantly faster. Leaderboards rank your creatives, headlines, copy, audiences, and landing pages by real metrics like ROAS, CPA, and CTR against your benchmarks. Instead of manually pulling data from multiple Ads Manager reports and building your own comparison spreadsheet, you get a clear ranked view of what is working and why.
Document everything. Record which element won, by how much, what your hypothesis was, and whether the result confirmed or contradicted it. This documentation builds institutional knowledge that makes every future test smarter. A team that tracks its testing history can avoid repeating failed experiments and build systematically on what works.
Do not discard the losers. A creative that underperformed in this test still gives you information. Understanding why it did not work helps you refine your next hypothesis. Maybe the visual was strong but the hook was weak. Maybe the format was right but the audience was wrong. Every result, positive or negative, is data.
One metric to watch alongside your primary results is frequency. A creative might show strong early performance but fatigue quickly as your audience sees it repeatedly. If frequency is rising and performance is declining, that is a signal to refresh, not a reason to question your original winner selection.
Step 6: Scale Winners and Feed Learnings Back Into Your System
Identifying a winner is only half the work. What you do with that winner determines whether your testing effort translates into real business impact.
When scaling a winning creative, increase its budget gradually. Large sudden jumps in spend can disrupt delivery and push the ad back into a learning phase, which temporarily reduces efficiency. A measured increase, typically no more than doubling spend every few days, allows the algorithm to scale delivery without significant disruption.
Add your winning creatives, headlines, and audiences to a centralized library immediately. This is where AdStellar's Winners Hub becomes a significant operational advantage. It stores your best-performing creatives with real performance data attached, so when you are building your next campaign, you can select any winner and add it directly without hunting through old accounts or spreadsheets. Your institutional knowledge becomes instantly accessible rather than buried in historical data.
Use your winning elements to inform the next round of tests rather than starting from scratch. If a problem-focused hook won this round, your next test should explore variations of that hook style: different problem framings, different emotional tones, different visual treatments of the same core message. This approach compounds your learnings rather than resetting them with every new test.
Know when to refresh a creative. Even the strongest performers eventually fatigue as audiences see them repeatedly. Monitor frequency alongside performance metrics. When frequency climbs and CPA rises or CTR drops, that is your signal to introduce fresh variations. The goal is to stay ahead of fatigue rather than react to it after performance has already declined significantly.
Build a testing cadence into your workflow. Creative testing is not a one-time project you complete and move on from. It is an ongoing process that compounds over time. Each test adds to your understanding of your audience. Each winner gives you a stronger foundation for the next campaign. Each losing variation teaches you something that prevents a future mistake. The advertisers who consistently outperform their competitors are typically the ones who have built the most robust testing history, not the ones who found one great creative and stopped there.
Connect your testing process to your broader campaign strategy. New winning creatives feed into campaign launches. Campaign launches generate new data. New data produces better future tests. When this loop is running consistently, your ad performance improves continuously rather than in isolated bursts.
Your Creative Testing Checklist
Before you wrap up any creative test, run through these six steps to confirm you have done it right:
1. Define your variable: One element per test, a clear hypothesis written before launch, and a direct connection to your current performance bottleneck.
2. Build your variations: Three to five variations minimum, all non-tested elements held constant, clear naming conventions applied, and production completed efficiently using tools like AdStellar's AI Ad Creative feature.
3. Structure the test correctly: Single ad set or A/B test feature, correct campaign objective, sufficient budget for meaningful data, seven-day minimum duration, and no edits during the test window.
4. Measure the right metrics: Primary metrics aligned to your objective, secondary metrics used to diagnose performance, benchmarks set before the test begins, and no early winner declarations.
5. Analyze honestly: Full test window observed, patterns identified across variations, findings documented, and losers analyzed for learnings rather than discarded.
6. Scale and iterate: Budget scaled gradually, winners added to your centralized library, next test informed by current learnings, and frequency monitored to catch fatigue early.
The compounding effect of this process is real. Each test makes the next one smarter. Your winner library grows. Your hypotheses get sharper. Your audience understanding deepens. Over time, this is what separates advertisers who consistently improve from those who remain stuck in the guessing cycle.
The most time-intensive parts of this process, generating multiple creative variations, setting up tests at scale, and ranking winners across campaigns, are exactly what AdStellar is built to compress. From generating image ads, video ads, and UGC-style creatives in minutes to automatically ranking performers by ROAS, CPA, and CTR, it handles the execution so you can focus on the strategy. Start Free Trial With AdStellar and see how much faster your creative testing process can move when the operational lift is handled for you.