Most Instagram ad teams spend the majority of their production time on creative work, not strategy. Briefing designers, waiting on revisions, testing a handful of variations, and repeating the cycle every few weeks is slow, expensive, and leaves real performance on the table.
The problem is not effort. It is the absence of a system. When creative production is reactive, every campaign feels like starting from scratch. You end up with a handful of ads based on gut instinct rather than a structured process that generates volume, tests systematically, and compounds results over time.
A structured Instagram ad creative generation workflow changes that entirely. Instead of reacting to creative bottlenecks, you build a repeatable process that produces scroll-stopping ads at scale, tests every variation automatically, and surfaces winners without manual guesswork.
This guide walks you through a complete workflow, from gathering your inputs to analyzing what actually converts. Whether you manage ads for a single brand or run campaigns across multiple client accounts, these steps will help you move faster, test smarter, and get more from every dollar you spend.
By the end, you will have a workflow you can run repeatedly, one that gets sharper with every campaign cycle because each round produces better inputs for the next.
Step 1: Define Your Creative Brief Before You Build Anything
The single most common reason Instagram ad creatives underperform has nothing to do with design quality. It is the absence of a clear brief. When you skip this step, you end up with ads that look polished but do not convert because they are not anchored to a specific audience, offer, or desired action.
Start by establishing your campaign goal. Awareness, traffic, conversions, and retargeting campaigns each require a different creative approach. An awareness ad needs to stop the scroll and introduce the brand. A retargeting ad needs to address hesitation and push toward a decision. Your goal shapes every creative decision that follows, so get this right before anything else.
Next, identify your target audience segment with as much specificity as possible. Generic audiences produce generic ads. Define who you are speaking to, what problem they have, and what they need to believe in order to take action. The more clearly you can articulate this, the more precisely your creatives can speak to it.
Decide on your creative formats upfront. Instagram rewards format variety across placements. Static image ads, video ads, and UGC-style avatar content each reach users differently and perform differently depending on where they appear. Plan for more than one format from the beginning rather than defaulting to whatever is easiest to produce.
Document your brand constraints before you start generating. This includes your color palette, tone of voice, any language that is off-limits, and the specific offer details you need to communicate, such as pricing, discount codes, or promotional windows. These constraints are not limitations. They are guardrails that keep your creative consistent and on-brand at scale.
Common pitfall: Jumping straight into creative generation without completing this step. The brief takes 20 to 30 minutes to write and saves hours of rework downstream.
Success indicator: You can summarize your campaign in one sentence that includes the audience, the offer, and the desired action. If you cannot do that, the brief is not ready.
Step 2: Gather Your Creative Inputs and Competitive Intelligence
A well-defined brief tells you what to say. This step gives you the raw material to say it effectively. Before you generate a single creative, you need two things: your own assets and an understanding of what is already working in your competitive landscape.
Start by collecting your internal inputs. This includes your product URL, existing brand assets such as product images or video clips, top-performing ad copy from previous campaigns, headline variations you want to test, and your landing page URL. These become the foundation for AI-assisted creative generation. The better your inputs, the stronger your outputs.
Then turn to competitive research. The Meta Ad Library is a free resource that shows you what ads competitors are currently running across Facebook and Instagram. Look for patterns in their hooks, visual formats, and offer framing. Pay particular attention to ads that appear to have been running for a long time. Longevity in a paid campaign typically signals that the ad is generating returns, otherwise the advertiser would have turned it off.
With a platform like AdStellar, you can clone competitor ads directly from the Meta Ad Library and use them as a starting point for your own creative generation. Rather than manually recreating what you observe, you can pull it directly into your creative workflow and adapt it. This shortcut compresses hours of research into minutes.
If you have run campaigns before, audit your Winners Hub. Your past top performers are the most valuable inputs you have because they already proved themselves with your specific audience. Look at which creative angles, headlines, and formats drove your best results. These patterns should directly inform what you generate next.
Key inputs to collect before moving forward:
Product assets: Images, video clips, or your product URL for AI generation.
Copy variations: At least three to five headline options and two to three primary text variations.
Competitive reference: Two to three competitor ads that appear to be performing well.
Historical winners: Your top-performing creatives from previous campaigns, if available.
Success indicator: You have at least three distinct creative angles identified before you start generating, each targeting a different pain point or benefit. If all three angles are essentially the same message reworded, dig deeper.
Step 3: Generate Your Ad Creatives Across Multiple Formats
This is where the workflow starts to produce real output. With your brief defined and your inputs gathered, you are ready to generate creatives across multiple formats simultaneously.
The goal at this stage is volume and variety, not perfection. Instagram performance marketers consistently find that testing multiple formats gives you more data and more opportunity to find what resonates with a specific audience. Static image ads, video ads, and UGC-style avatar content each behave differently in the feed and in stories. Running all three from the start means you are not leaving performance on the table by defaulting to a single format.
In AdStellar's AI Creative Hub, you can generate creatives directly from a product URL, clone competitor ads from the Meta Ad Library, or let AI build from scratch using your brand inputs. Once a creative is generated, chat-based editing lets you refine it without starting over. You can adjust the hook, swap the visual style, or change the call to action while preserving the core of what you built. This is significantly faster than briefing a designer and waiting for revisions.
Generate multiple variations of each format with different hooks, visual treatments, and calls to action. For image ads, test different background styles, text overlay approaches, and product presentations. For video ads, vary the opening frame and the pacing of the message. For UGC-style avatar ads, focus each script on a single problem and its solution. These formats work particularly well for direct-response campaigns where authenticity and relatability drive trust.
One of the most common mistakes at this stage is over-editing before launching. Many marketers kill potentially strong creatives by polishing them based on gut feel rather than data. Your job here is to review for brand compliance, confirm the offer details are accurate, and move forward. The market will tell you what works. Your instincts are a starting point, not a final verdict.
Practical tip: Label each creative with a short descriptor that captures its key variable. For example, "hook-pain-point-video" or "image-social-proof-offer." This makes it much easier to identify patterns when you review performance data later.
Success indicator: You have at least six to ten creative variations across two or more formats, each with a distinct hook or visual angle. If your variations all look and feel the same, you are not generating enough diversity to learn from the test.
Step 4: Build Your Campaign Structure for Systematic Testing
Creative quality alone does not determine performance. The combination of creative, copy, audience targeting, and campaign structure all contribute to what you see in your results. Before you launch, you need to set up your campaign in a way that makes the data readable.
The core principle here is isolation. Structure your campaign so that creative variations are tested at the ad level while audiences and budgets remain consistent at the ad set level. This way, when one creative outperforms another, you know the creative is the variable driving the difference, not a targeting or budget discrepancy. Clean structure produces clean data, and clean data produces confident decisions.
AdStellar's AI Campaign Builder takes a significant amount of this work off your plate. It analyzes your historical campaign data, ranks every creative, headline, and audience by past performance, and builds complete Meta ad campaigns in minutes. Every decision comes with a transparent rationale so you understand the strategy behind the structure, not just the output. The AI gets smarter with each campaign cycle as it accumulates more performance data to learn from.
Pair each creative with AI-optimized headlines and ad copy before launching. A strong creative paired with weak copy will underperform its potential. Treat the headline and primary text as part of the creative unit, not as an afterthought.
Use Bulk Ad Launch to create hundreds of ad variations by mixing multiple creatives, headlines, audiences, and copy combinations at both the ad set and ad level. Launching bulk ad variations to Meta in clicks rather than hours means what would take a team a full day to set up manually can be completed in a fraction of the time.
If you are using Cometly for attribution tracking, confirm your pixel and conversion events are firing correctly before any spend begins. Launching without verified attribution means you will be making decisions with incomplete data, which undermines the entire point of systematic testing.
Success indicator: Your campaign is structured so that each creative variation can be evaluated independently, with consistent targeting and budget across the test. If you cannot isolate what changed between two ad sets, your structure needs to be simplified.
Step 5: Launch, Monitor Early Signals, and Avoid Premature Decisions
The campaign is live. Now comes the part that separates disciplined advertisers from reactive ones: patience combined with structured monitoring.
Resist the urge to make changes in the first 48 to 72 hours after launch. Meta's delivery system runs a learning phase during which it is actively figuring out who to show your ads to and when. Making edits during this window resets the learning phase and wastes budget. Unless you see something clearly broken, such as a tracking error or an ad that violates policy, let the campaign run.
That said, monitoring early signals is still valuable. CTR and cost per link click can surface creatives that are significantly underperforming even before you have enough data for full statistical significance. If one creative has a CTR that is dramatically lower than the others after a reasonable number of impressions, you can pause it early without waiting for the full learning phase to complete. The key is distinguishing between "needs more time" and "clearly not working."
Use AdStellar's AI Insights leaderboard to track how each creative, headline, audience, and landing page is ranking against your target goals. Leaderboards rank by real metrics including ROAS, CPA, and CTR, so you can see what is actually working rather than relying on a subjective read of the numbers. Set your goal-based benchmarks before launch so you have a clear threshold for what counts as a winner versus what needs to be paused. AdStellar's AI scoring evaluates every element against your defined benchmarks automatically.
One common mistake is judging video ads on the same timeline as static image ads. Video ads typically need more impressions to accumulate meaningful comparison data because they require users to engage with the content over time. Give video creatives additional runway before drawing conclusions.
What to watch in the first week:
CTR: A strong early signal for creative relevance and hook effectiveness.
Cost per link click: Tells you whether you are paying a reasonable price to move people toward your landing page.
Frequency: If frequency climbs quickly, your audience may be too narrow for the number of creatives you are running.
Success indicator: After the learning phase, you can identify at least two or three creatives that are outperforming your benchmarks on your primary KPI. These are your early winners and the focus of your next decision.
Step 6: Identify Winners and Feed Them Back Into Your Workflow
This is where the workflow starts to compound. Once you have clear performance data, the goal is not just to pause underperformers. It is to extract everything you can from your winners and use that intelligence to make the next campaign cycle faster and more effective.
Start by moving your top-performing creatives into your Winners Hub. This is your library of proven assets organized by real performance data, not assumptions or gut feel. Having a centralized repository of what has already worked means you never start from scratch. Every future campaign can draw from a growing pool of validated creative elements.
Then analyze what the winners have in common. Look beyond surface-level observations. Is it the hook style that is driving engagement? The format? The way the offer is framed? The visual approach? These patterns become the creative brief for your next generation cycle. Over time, you build a compounding understanding of what your specific audience responds to, and that knowledge is far more valuable than any single winning ad.
In AdStellar, you can select any winner from the Winners Hub and instantly add it to a new campaign. You are not rebuilding from scratch. You are scaling what has already proven itself, which is significantly lower risk than launching a new campaign built entirely on untested creative.
Before generating a fresh batch of creatives, scale budgets on your proven winners first. A known winner with more budget behind it will typically outperform an untested creative at any budget level. Once your winners start to show signs of fatigue, that is the signal to introduce the next generation of creatives built on the patterns you identified.
Retire underperformers, but do not discard the lessons. Document why each creative did not work. Was the hook weak? Did the offer not resonate? Was the format wrong for the placement? This institutional knowledge makes every future campaign more efficient because you are not repeating the same experiments. Understanding how to beat ad fatigue is what separates teams that plateau from those that keep compounding results.
Success indicator: Your Winners Hub is populated with at least five to ten proven creatives that you can deploy in future campaigns. When you sit down to brief your next creative cycle, you are starting from a position of knowledge rather than guesswork.
Putting It All Together: Your Repeatable Creative Workflow
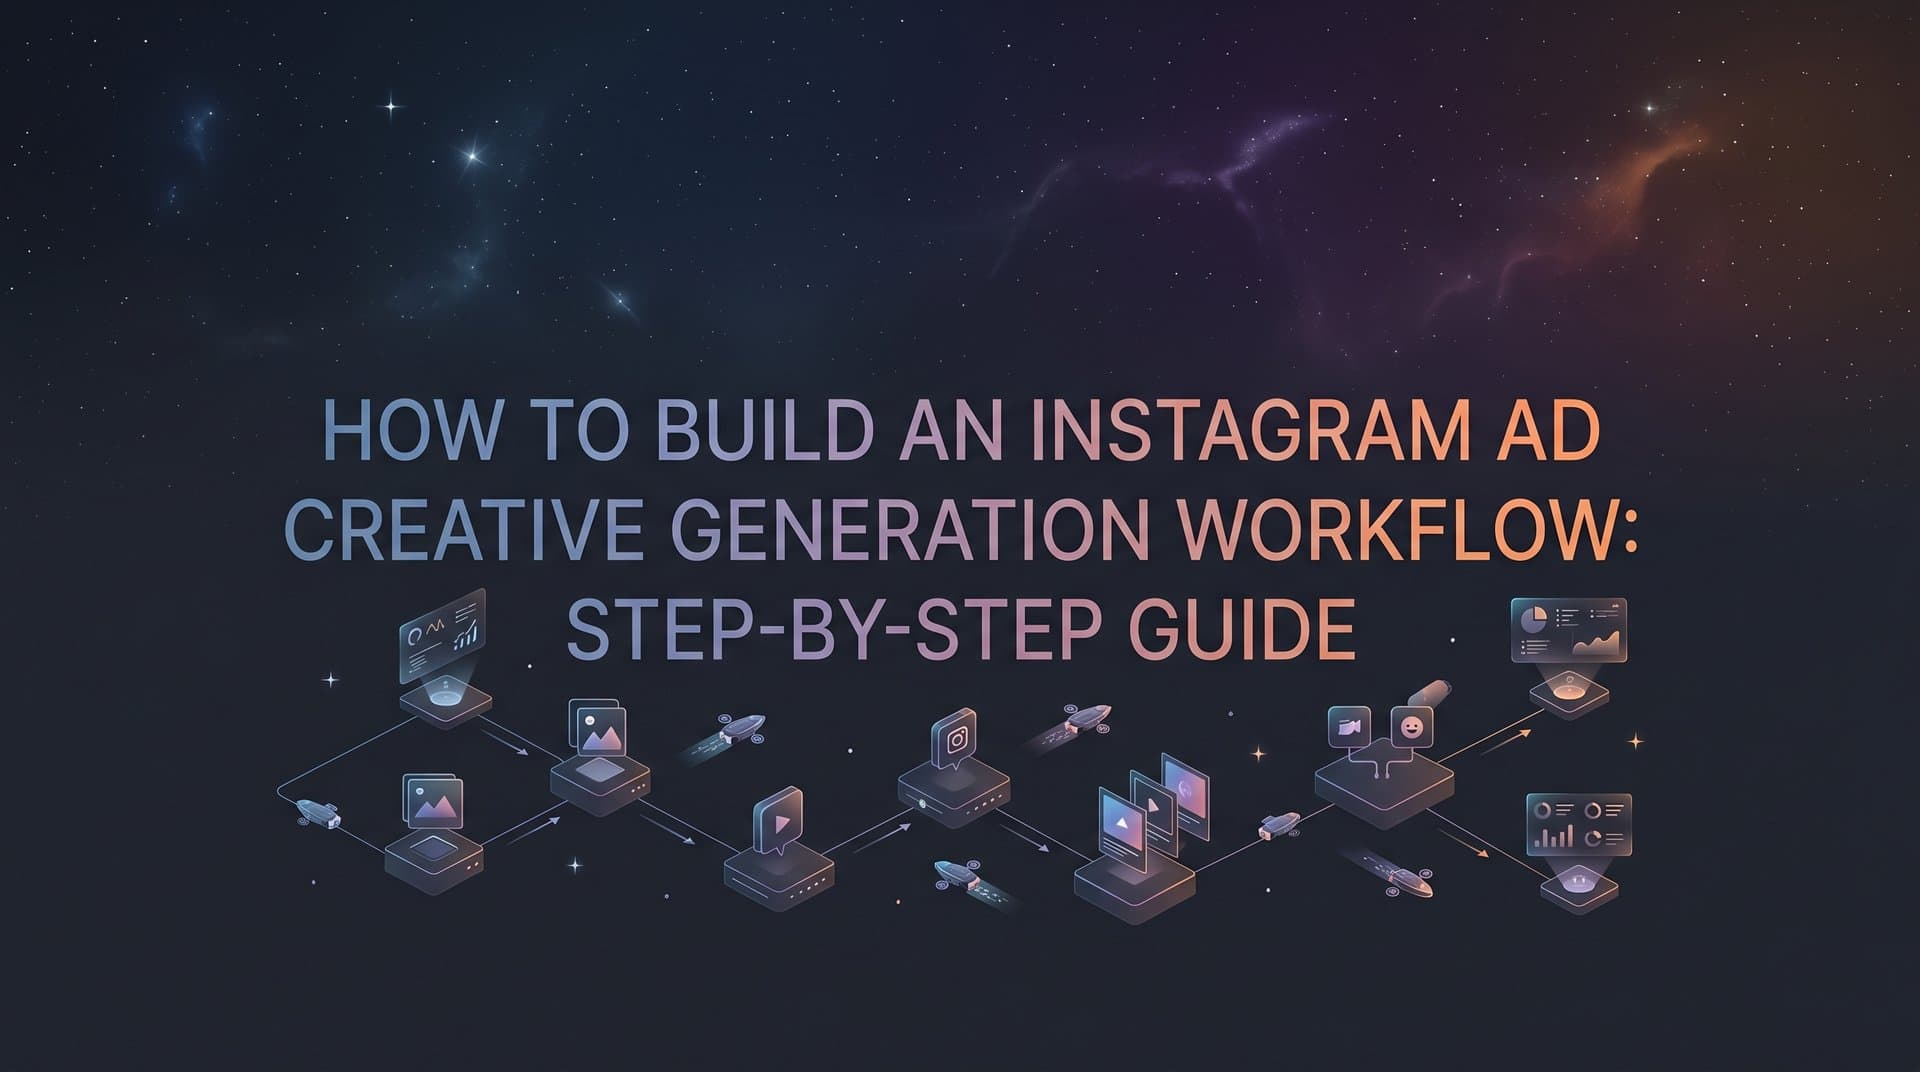
Here is the workflow as a repeatable loop: define your brief, gather inputs and competitive intelligence, generate creatives across multiple formats, build your campaign structure for clean testing, launch and monitor with discipline, and then identify winners and feed them back into the next cycle.
The power of this workflow is not in any single step. It is in the compounding effect of running it consistently. Each cycle adds proven assets to your Winners Hub, sharpens your AI's understanding of what works for your audience, and reduces the time and cost of the next campaign. The first cycle takes the most effort. By the fifth or sixth cycle, you are building on a foundation of real performance data and the process accelerates.
Quick checklist before you launch your next campaign:
Creative brief complete: Audience, offer, goal, and brand constraints documented.
Competitive research done: Meta Ad Library reviewed, at least three creative angles identified.
Multiple formats generated: Image ads, video ads, and UGC-style creatives in the mix.
Campaign structured for clean testing: Creative variations isolated at the ad level.
Launch parameters set: Attribution verified, benchmarks defined, learning phase respected.
Winners documented and saved: Top performers moved to Winners Hub with patterns noted for the next brief.
The goal is not to run one great campaign. It is to build a system that makes every campaign better than the last. Consistent creative testing compounds into long-term ROAS gains because you are always building on what you know works rather than starting from zero.
If you want to run this entire workflow without needing designers, video editors, or multiple disconnected tools, Start Free Trial With AdStellar and take the platform through a complete campaign cycle. The Hobby plan starts at $49 per month, with Pro at $129 per month and Ultra at $499 per month. The 7-day free trial gives you enough time to generate creatives, build a campaign, and start seeing real performance data. One platform from creative to conversion.