Most Meta advertisers are flying blind. They launch campaigns, watch the spend counter tick up, and hope something good happens. Maybe a few conversions trickle in. Maybe costs stay reasonable. Maybe not.
The difference between profitable Meta advertising and burning cash comes down to one thing: knowing exactly what's working and what isn't. Not gut feelings. Not assumptions based on vanity metrics. Real data that connects every dollar spent to actual business results.
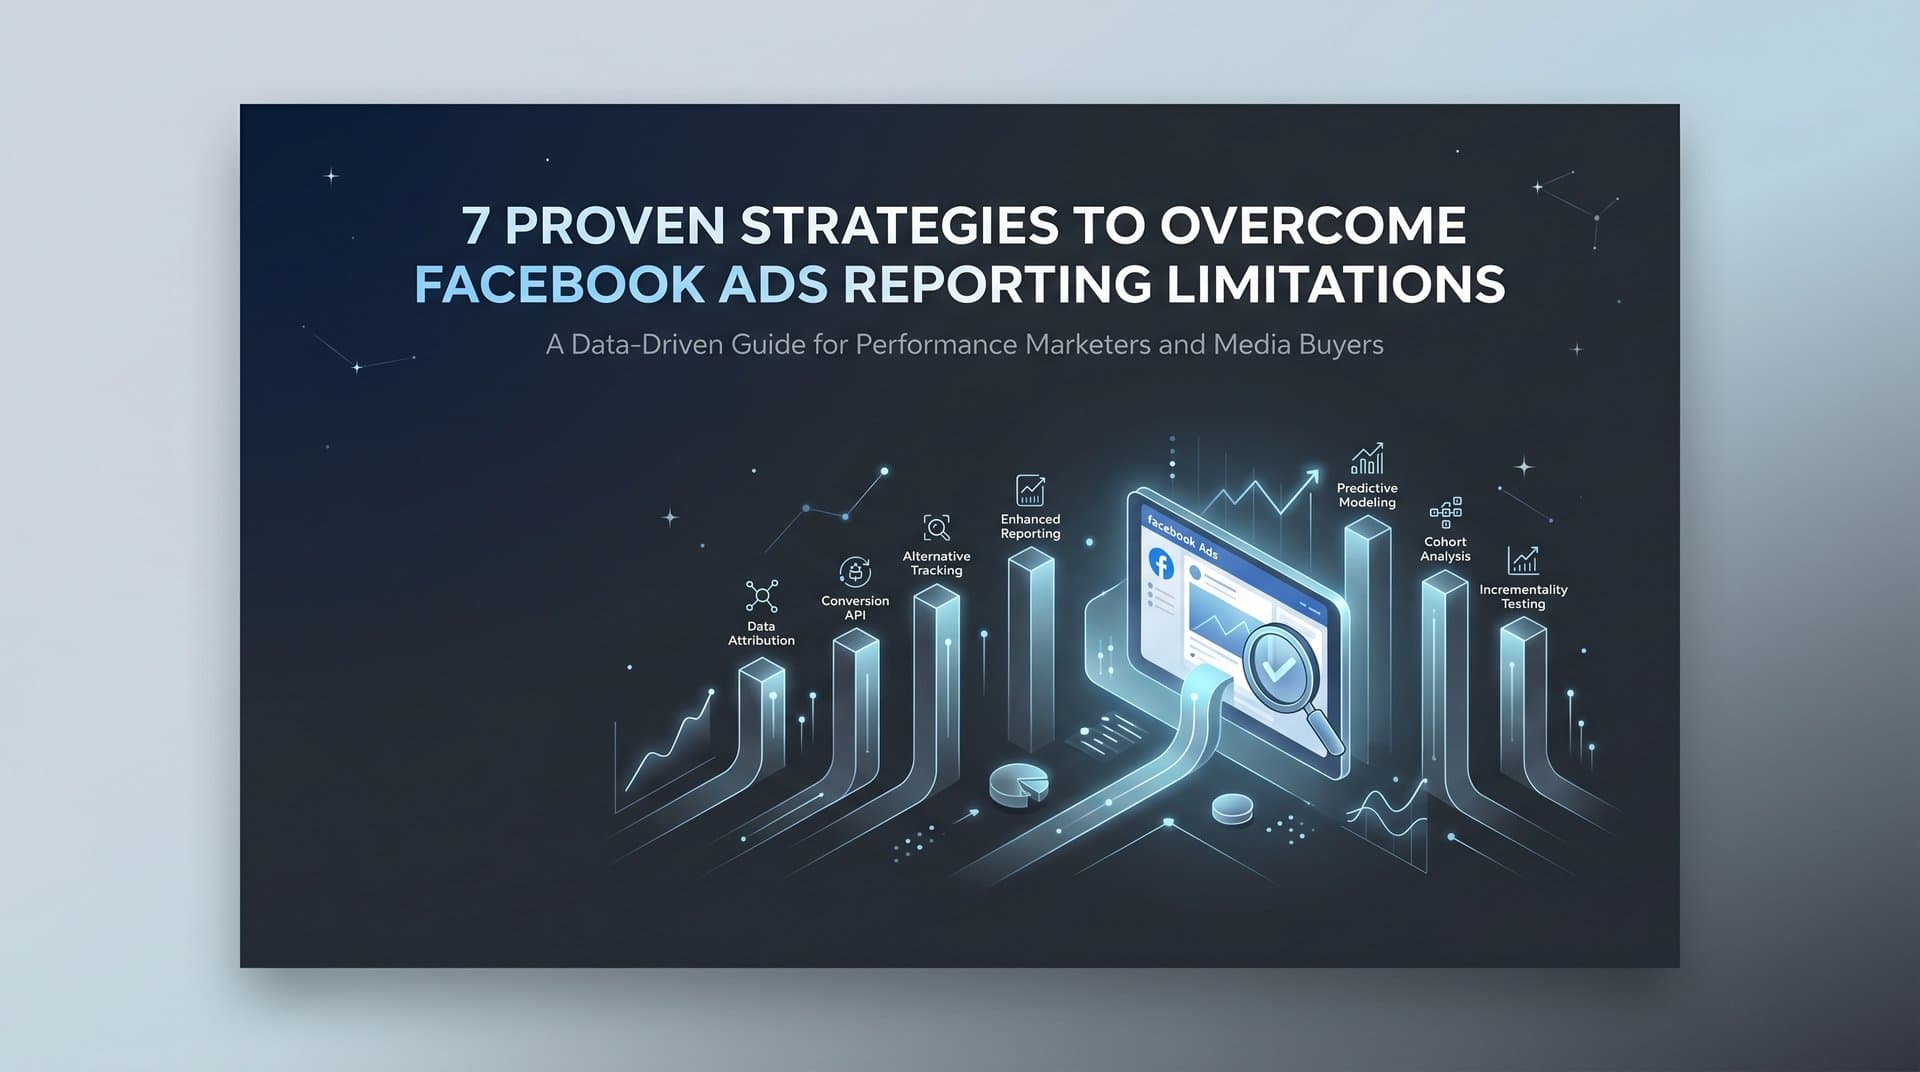
The challenge? Meta's advertising ecosystem has become increasingly complex. iOS privacy changes disrupted tracking. Browser restrictions limit data collection. Multiple attribution windows create confusion. And the sheer volume of metrics in Ads Manager can overwhelm even experienced marketers.
This guide cuts through that complexity. You'll build a complete Meta ads performance tracking system from the ground up, one that captures accurate data, surfaces actionable insights, and gives you the confidence to scale what works while killing what doesn't.
By the time you finish implementing these steps, you'll know which creatives drive conversions, which audiences deliver the best ROAS, and exactly where to allocate your next budget increase. No more wondering. Just clear answers backed by solid data.
Step 1: Configure Your Meta Pixel and Conversions API
Your tracking foundation starts with two complementary systems working together: the Meta Pixel and the Conversions API. Think of them as a safety net with two layers. When one misses data, the other catches it.
The Meta Pixel is a piece of JavaScript code that lives on your website. It fires when visitors take actions, sending that data back to Meta. But here's the problem: browser-based tracking has holes. Ad blockers strip it out. Privacy features block it. iOS restrictions limit it.
That's where the Conversions API comes in. It sends data directly from your server to Meta, bypassing browser restrictions entirely. Together, these two systems give you the most complete picture possible of how people interact with your ads. Understanding the full scope of attribution tracking setup is essential for accurate measurement.
Installing the Meta Pixel: Head to Events Manager in your Meta Business Suite and create your pixel. You'll get a base code snippet that needs to go in the header section of every page on your site. If you're using Google Tag Manager, create a new tag with the pixel code and set it to fire on all pages. If you're on Shopify, WooCommerce, or another major platform, use their native Meta integration to simplify installation.
Setting Up Conversions API: This requires server-side implementation. Most e-commerce platforms now offer built-in Conversions API integrations through their Meta app. For custom setups, you'll need developer help to configure your server to send event data to Meta's Graph API endpoint. The key is matching events between your pixel and Conversions API using the same event names and parameters.
Verification is Critical: Install the Meta Pixel Helper Chrome extension and visit your website. The extension icon will light up green when your pixel fires correctly. Click it to see which events are tracking. You should see PageView events on every page, and specific events like ViewContent, AddToCart, and Purchase on relevant pages.
Test a complete customer journey yourself. Add a product to cart, proceed to checkout, complete a purchase. Check Events Manager to confirm every event appeared. Look for both browser and server events. If you see duplicates, your event deduplication isn't configured properly. Each event needs a unique event_id shared between browser and server implementations so Meta can recognize them as the same action.
Common Setup Mistakes: Don't just install the pixel and assume it's working. Many advertisers discover months later that their Purchase event never fired, or their Conversions API wasn't sending data. Verify everything before spending a dollar on ads.
Step 2: Define and Prioritize Your Conversion Events
Not all conversions are created equal. A newsletter signup has different value than a $500 purchase. Your tracking system needs to reflect those differences.
Start by mapping your complete customer journey. What actions do people take between seeing your ad and becoming a customer? For e-commerce, it might be: ViewContent → AddToCart → InitiateCheckout → Purchase. For lead generation: ViewContent → Lead → Schedule → Sale.
Meta offers standard events for common actions: Purchase, Lead, AddToCart, InitiateCheckout, ViewContent, Search, and more. Use these whenever possible because they're optimized for Meta's algorithm and enable automatic features like dynamic ads. A comprehensive breakdown of performance metrics helps you understand which events matter most.
But sometimes you need custom events for actions unique to your business. Maybe you want to track "Video Watched 75%" or "Pricing Page Viewed" or "Demo Requested." Custom events give you that flexibility. Just keep the naming consistent and logical.
Aggregated Event Measurement Changes Everything: Due to iOS privacy changes, Meta limits you to eight prioritized conversion events per domain. This forces you to choose what matters most. You can't track everything equally anymore.
Prioritize events based on business value. Your top priority should almost always be Purchase or Lead, the events that directly generate revenue. Next come events that strongly indicate purchase intent, like InitiateCheckout or AddToCart. Lower priorities go to top-of-funnel events like ViewContent.
Configure these priorities in Events Manager under Aggregated Event Measurement. The order matters because when tracking is limited, Meta will prioritize higher-ranked events. Get this wrong and you might lose visibility into your most important conversions.
Assign Conversion Values: Every event should have a value attached. For purchases, this is straightforward, use the actual transaction amount. For leads, estimate the average customer lifetime value. Even for micro-conversions like AddToCart, assign a value based on how often those actions lead to purchases.
These values enable ROAS tracking and value-based optimization. When you tell Meta's algorithm that a Purchase event is worth $100 and an AddToCart is worth $15, it can make smarter decisions about which audiences and placements to prioritize.
Document everything. Create a simple spreadsheet listing every event you track, its priority level, its assigned value, and what triggers it. This becomes your team's reference guide and ensures everyone interprets data the same way.
Step 3: Build Your Campaign Structure for Clean Data
Messy campaign structure creates messy data. When you can't tell which variable drove performance changes, optimization becomes impossible.
The solution is a consistent naming convention that encodes critical information right into your campaign names. A structure like [Date]_[Objective]_[Audience]_[Creative Type] instantly tells you what you're looking at. Following proper campaign naming conventions makes analysis significantly easier.
For example: "2026-04_Conversions_RetargetCart_VideoAds" immediately communicates this is an April 2026 conversions campaign targeting cart abandoners with video creatives. No need to click into the campaign to understand its purpose.
This naming discipline pays off when you're analyzing performance across dozens or hundreds of campaigns. You can filter, sort, and compare apples to apples. Want to see how all your video ad campaigns performed in Q1? Easy. Curious whether your lookalike audiences outperform interest targeting? Simple search.
Structure for Isolation: Each campaign should test one primary variable. If you want to know whether video or image ads perform better, create separate campaigns for each. If you're testing three different audiences, give each its own ad set within the campaign. Our campaign structure guide covers this in detail.
This isolation lets you definitively say "Video ads drove 40% lower CPA than image ads" rather than wondering whether audience differences or placement variations skewed the results.
Attribution Windows Matter: Meta offers several attribution windows: 1-day click, 7-day click, 1-day view, 7-day view. The default is 7-day click and 1-day view, meaning conversions count if they happen within seven days of clicking an ad or one day of viewing it.
Choose windows based on your sales cycle. If you sell impulse-buy products, 1-day click might be appropriate. If you have a longer consideration period, 7-day click captures more of your true impact. Just stay consistent so you're comparing like to like across campaigns.
UTM Parameters for Cross-Platform Tracking: Add UTM parameters to all your landing page URLs. Structure them as utm_source=facebook, utm_medium=paid_social, utm_campaign=[campaign_name]. This lets Google Analytics 4 track the same traffic, giving you a second data source to validate Meta's reporting and understand post-click behavior.
Step 4: Create Custom Dashboards and Reports
Meta Ads Manager shows you hundreds of metrics. Most of them don't matter. Your job is to surface the five to seven that actually drive decisions.
Start by creating custom columns that display only your critical metrics. Click "Columns" in Ads Manager, then "Customize Columns." Build a view that shows spend, impressions, link clicks, conversions, CPA, ROAS, CTR, and frequency. Name it something like "Performance Overview" and set it as your default view.
Now when you open Ads Manager, you immediately see what matters. No scrolling through irrelevant metrics. No mental overhead deciding what to look at. A well-designed performance tracking dashboard transforms how you analyze campaigns.
Automated Rules Save Time: Set up automated rules to alert you when campaigns hit important thresholds. Create a rule that notifies you when any ad set's CPA exceeds your target by 50%. Another when ROAS drops below your minimum threshold. Another when frequency climbs above 3, indicating potential ad fatigue.
These rules act as an early warning system. Instead of discovering problems during your weekly review, you catch them within hours and can take corrective action immediately.
Breakdown Reports Reveal Hidden Insights: The real optimization gold lives in breakdowns. Click "Breakdown" in Ads Manager and explore performance by placement, age, gender, device, and time of day. You'll discover patterns you'd never see in aggregate data.
Maybe your ads crush it on Instagram Stories but flop in the Facebook feed. Perhaps 25-34 year olds convert at half the cost of 35-44 year olds. Possibly mobile users have terrible conversion rates because your checkout isn't optimized for small screens. These insights come from breakdowns, not top-line metrics.
Schedule Regular Reports: Set up automated weekly and monthly reports that get emailed to your team. Weekly reports should focus on recent performance and quick wins. Monthly reports should zoom out to show trends, compare to previous periods, and track progress toward quarterly goals.
The act of creating scheduled reports forces you to define what success looks like and track it consistently. It also creates accountability and keeps everyone aligned on performance.
Step 5: Establish Your Key Performance Benchmarks
Without benchmarks, you're just staring at numbers with no context. Is a $12 CPA good or bad? Depends entirely on your business model, margins, and customer lifetime value.
Start with your unit economics. Calculate how much you can afford to spend to acquire a customer while maintaining profitability. If your average order value is $80 and your margin is 40%, you have $32 in gross profit. Subtract operating costs and desired profit margin, and you might land on a target CPA of $20.
That $20 becomes your benchmark. Campaigns performing below that threshold are winners worth scaling. Campaigns above it need optimization or should be paused. Implementing a campaign scoring system helps you quickly identify winners and losers.
ROAS Benchmarks: Return on ad spend is the flip side of CPA. If you're targeting a $20 CPA with an $80 average order value, that translates to a 4:1 ROAS (every dollar spent returns four dollars in revenue). Different businesses need different ROAS targets based on their margins and business model.
Secondary Benchmarks: Beyond CPA and ROAS, establish targets for CTR, CPM, and conversion rate. These leading indicators often predict CPA changes before they show up in conversion data. If your CTR drops from 2% to 1.2%, your CPA will likely rise soon after. Catching that early lets you refresh creative before performance tanks.
Create a simple scoring system that rates ads as "Winner," "Test," or "Loser" based on how they perform against benchmarks. Winners get scaled. Tests get more time or budget to prove themselves. Losers get paused or completely reworked.
Compare Against Historical Performance: Your own past campaigns are your best comparison point. Did last month's campaign achieve a $15 CPA? Then this month's $18 CPA represents a decline worth investigating. Set up comparison periods in Ads Manager to automatically show performance versus previous weeks, months, or quarters.
Document Everything: Write down your benchmarks and share them with your entire team. When everyone uses the same success criteria, decisions become faster and more consistent. No more debates about whether a campaign is performing well. Just check it against the documented benchmarks.
Step 6: Implement a Weekly Optimization Routine
Tracking data is useless if you don't act on it. The difference between advertisers who scale profitably and those who plateau comes down to consistent optimization routines.
Block time every week, same day, same time, for campaign review. Treat it like any other critical business meeting because it is. This is when you make decisions that directly impact revenue.
Review at Three Levels: Start at the campaign level. Which campaigns are hitting benchmarks? Which are struggling? Look for patterns. Are conversion campaigns outperforming traffic campaigns? Are certain campaign objectives consistently delivering better results?
Drop down to the ad set level. Which audiences are converting efficiently? Which are burning budget without results? This is where you'll find your biggest optimization opportunities. Often, one or two ad sets within a campaign drive 80% of the results while the rest waste money. A solid targeting strategy ensures you're reaching the right people.
Finally, analyze individual ads. Which creatives have the highest CTR? Which drive the most conversions? Which have high engagement but low conversion rates (indicating a messaging mismatch between ad and landing page)?
The Scale and Kill Decision: Every week, you should be scaling your winners and pausing your losers. Increase budgets on ad sets performing 20% or more below your target CPA. Pause ad sets that have spent at least three times your target CPA without delivering results.
But don't make these decisions based on a single day of data. Look at trends over at least three to seven days to account for normal fluctuation. A campaign that had one bad day might still be a strong performer overall.
Budget Reallocation: Take the budget from paused campaigns and reallocate it to winners. This compounds your results. Instead of spending $100/day across ten campaigns with mixed performance, you might end up spending $200/day across three campaigns that consistently deliver.
Document Your Learnings: Keep a running document of insights from each review. "Video ads featuring customer testimonials outperform product demos by 35%." "Lookalike audiences based on purchasers convert 2x better than interest targeting." "Adding urgency messaging improved CTR by 40%." Following a structured creative testing guide accelerates your learning process.
These documented learnings become your playbook for future campaigns. Instead of starting from scratch each time, you build on proven insights that compound over time.
Turning Data Into Growth
You now have the complete system for tracking Meta ads performance. Your pixel and Conversions API capture accurate data. Your conversion events map to your business goals. Your campaign structure isolates variables. Your custom dashboards surface key metrics. Your benchmarks define success. And your weekly routine turns insights into action.
This isn't a one-time setup. It's an ongoing process that gets more powerful with each campaign you run. Every test teaches you something. Every optimization compounds your results. Every documented learning strengthens your playbook.
Before you launch your next campaign, run through this quick checklist: Pixel verified and firing correctly on all key pages. Conversions API sending server-side events without duplication. Conversion events prioritized in Aggregated Event Measurement. Campaign naming convention documented and followed. Custom columns showing your critical metrics. Target benchmarks defined for CPA and ROAS. Weekly review time blocked on your calendar.
When all these pieces work together, you stop wondering whether your ads are working and start knowing exactly which elements drive results. That confidence lets you scale aggressively when you find winners and cut losses quickly when something isn't working.
Platforms like AdStellar can accelerate this entire process by automatically surfacing your top performing creatives, headlines, and audiences through AI-powered leaderboards. Instead of manually analyzing breakdowns and building custom reports, AdStellar scores every element against your goals and shows you exactly what's winning. You spend less time digging through data and more time scaling the campaigns that actually drive revenue.
The advertisers who win on Meta aren't the ones with the biggest budgets. They're the ones with the best data and the discipline to act on it consistently. Now you have both. Start Free Trial With AdStellar and be among the first to launch and scale your ad campaigns 10× faster with our intelligent platform that automatically builds and tests winning ads based on real performance data.