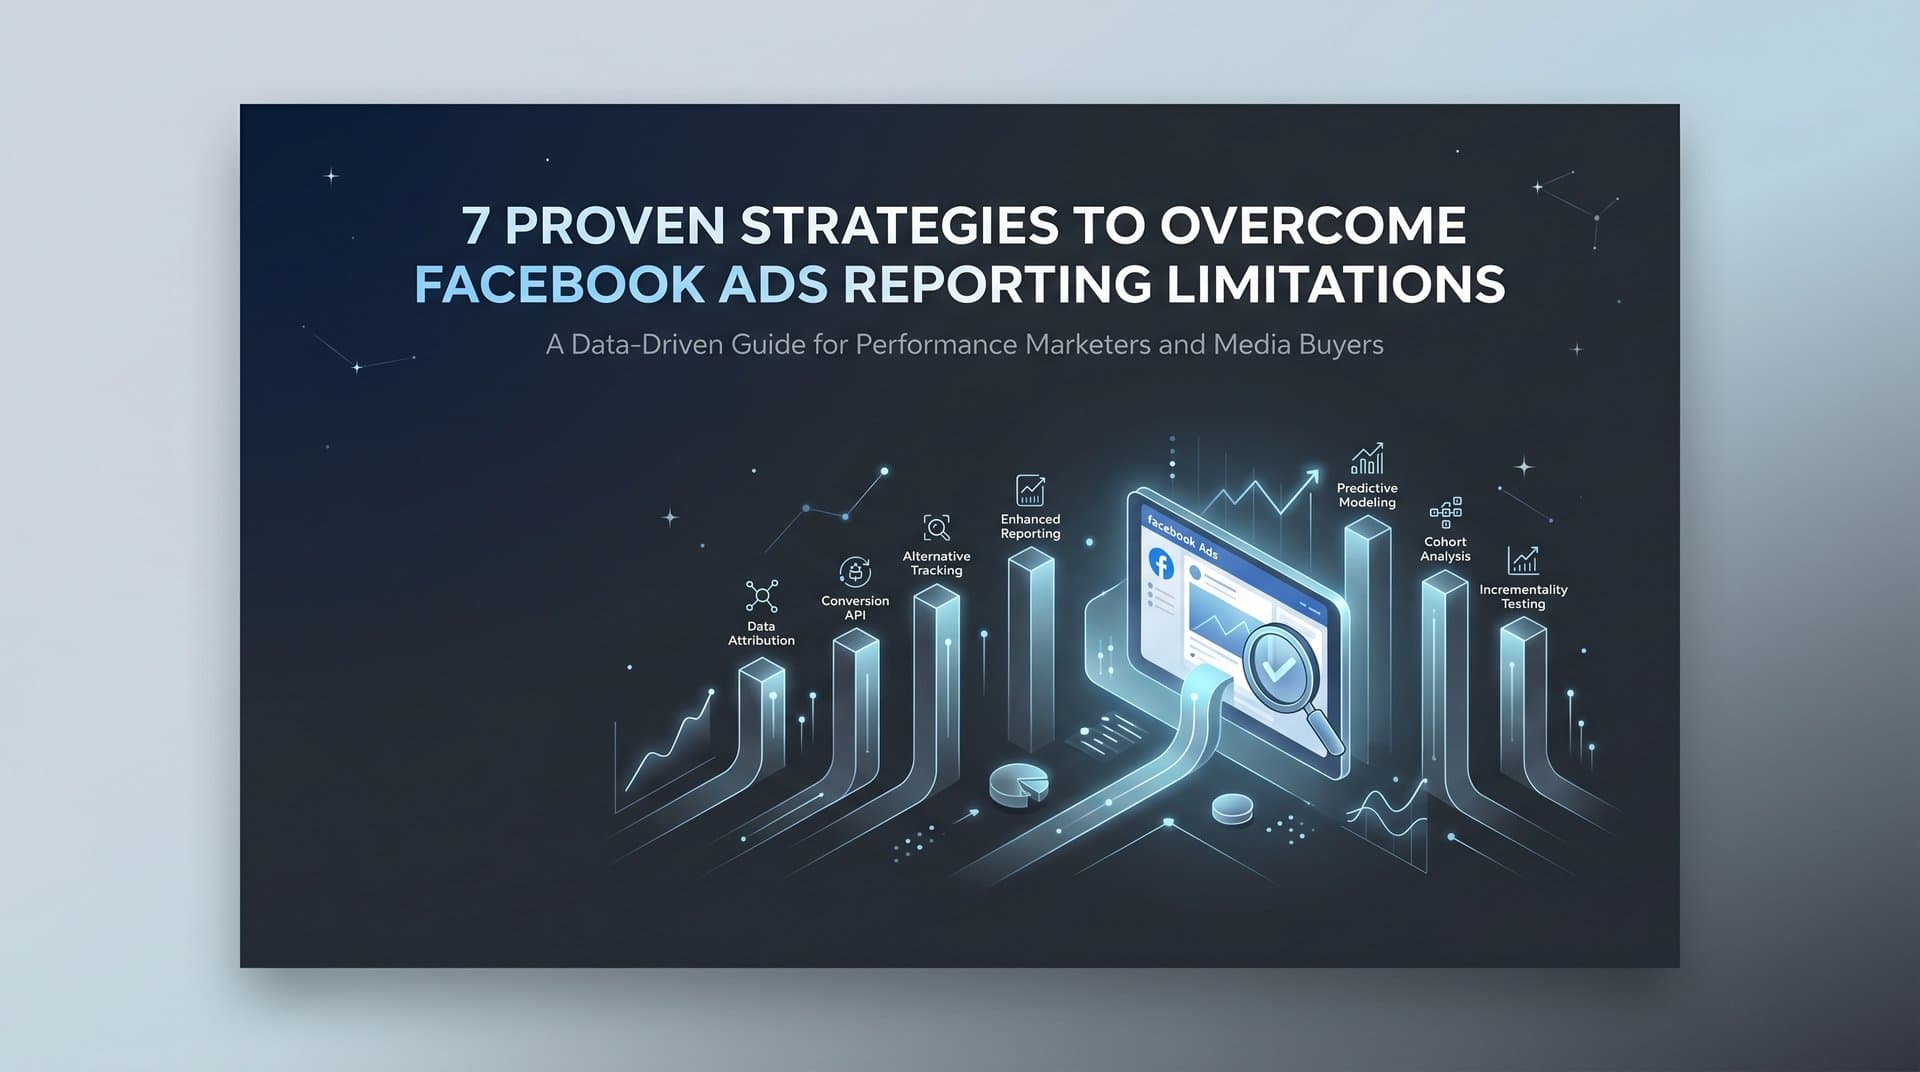
Most Meta advertisers have a metrics problem. Not a shortage of them, but an overabundance of the wrong ones. Impressions, reach, link clicks, cost per click: these numbers fill dashboards and look reassuring in weekly reports. But none of them answer the question that actually matters: which specific ad is putting revenue back into your business?
This is the gap between conversion tracking and revenue tracking. Conversion tracking tells you someone clicked a button. Revenue tracking tells you that click turned into a sale, a subscription, or a booked deal worth a specific dollar amount. Many advertisers have the first without the second, which means their budget decisions are driven by activity rather than profit.
The consequences are predictable. Money continues flowing to ads that generate clicks but not customers. Genuinely profitable creatives get paused because their click-through rate looks average. Scaling decisions get made on gut feel rather than data. And every new campaign starts from scratch instead of building on what has already proven to work.
Building a proper system for tracking which ads drive revenue is not complicated, but it does require getting several pieces right in the correct order. You need clearly defined revenue events, reliable tracking infrastructure, clean campaign structure, accurate attribution, and a way to analyze performance at the element level, not just the campaign level.
This guide walks through each of those pieces as a practical, sequential process. Whether you are setting up tracking for the first time or auditing an existing system that is giving you questionable data, these six steps will help you connect every dollar of Meta ad spend to measurable revenue outcomes. Let's get into it.
Step 1: Define Your Revenue Events and Assign Dollar Values
Before you touch a single pixel setting or campaign structure, you need to get clear on what revenue actually looks like in your business. This sounds obvious, but it is where most tracking setups go wrong from the start.
Not all conversion events are revenue events. A page view is not revenue. An add-to-cart is not revenue. Even a lead form submission is not revenue unless that lead reliably converts to a paying customer. Revenue events are the specific actions that directly generate money: a completed purchase, a subscription activation, a booked sales call with a documented close rate.
Start by listing every conversion event you are currently tracking in Meta Events Manager. Then ask a simple question about each one: does this event put money in my account, or does it just indicate interest? Separate your list into revenue events and engagement events. Going forward, your optimization and budget decisions should be driven primarily by the revenue events.
Once you have identified your revenue events, assign accurate monetary values to each one inside Meta Events Manager. For e-commerce, this is typically your average order value or the actual transaction value passed dynamically through your pixel. For subscription businesses, consider using customer lifetime value rather than the initial payment, since that more accurately reflects what each conversion is worth to your business. For service businesses tracking booked calls, calculate the value based on your average deal size multiplied by your close rate.
Why does this matter beyond just having cleaner data? When you assign values to events, you unlock value-based optimization in Meta's algorithm. Instead of optimizing for the most conversions regardless of size, Meta can start finding the people most likely to generate your highest-value outcomes. This is a fundamentally different, and more profitable, optimization signal. Understanding Meta ads performance metrics at this level is what separates profitable advertisers from those flying blind.
Common pitfall to avoid: Many advertisers track purchases but pass a flat placeholder value rather than the actual transaction amount. This means Meta sees all purchases as equal, even if one customer spent three times more than another. If your platform supports dynamic value passing, set it up. The data quality improvement is significant.
How to know this step is done: Every revenue event in Events Manager has a value assigned, your team has agreed on which events represent actual revenue, and you have documented the logic behind each value so future decisions are consistent.
Step 2: Install and Verify Your Conversion Tracking Infrastructure
With your revenue events defined, the next step is making sure your tracking infrastructure can actually capture them reliably. In the current privacy landscape, this requires more than just a Meta Pixel on your website.
Since Apple's App Tracking Transparency rollout in 2021, browser-based pixel tracking has become significantly less accurate. Safari and Firefox block third-party cookies by default, and an increasing number of users have opted out of cross-app tracking on iOS. The result is that pixel-only setups regularly miss a meaningful portion of conversion events, leading to underreported data and misaligned optimization signals. These are among the most common performance tracking difficulties Meta advertisers face today.
The solution Meta recommends is using both the Meta Pixel and the Conversions API (CAPI) together in what they call a redundant event setup. The Pixel captures browser-side events when cookies are available. CAPI captures server-side events directly from your server, bypassing browser restrictions entirely. Together, they provide much better coverage than either one alone.
Setting up CAPI typically requires either a direct server integration, a partner integration through your e-commerce platform (Shopify, WooCommerce, and most major platforms have native CAPI support), or a tag management solution. If you are using a platform with native CAPI support, enable it and configure event deduplication to prevent the same conversion from being counted twice by both the pixel and the server.
Once both are installed, use Meta's Test Events panel inside Events Manager to verify that your revenue events are firing correctly. Trigger a real test purchase or conversion and confirm that the event appears with the correct event name, the correct value parameter, and the correct currency. A purchase event that fires without a value parameter is essentially useless for revenue tracking purposes.
Configure UTM parameters at the ad level. Every ad you run should have UTM tags on the destination URL that identify the campaign, ad set, and ad. This allows you to cross-reference Meta's reported data against your own analytics platform or CRM. When Meta says an ad generated ten purchases, your UTM data should be able to confirm or challenge that number. Discrepancies between the two are normal, but large discrepancies signal a tracking problem worth investigating.
Common issues to troubleshoot:
Duplicate events: If you see the same purchase event firing twice in the Test Events panel, your deduplication is not configured correctly. Both Pixel and CAPI events need to share a unique event ID so Meta can recognize and deduplicate them.
Missing value parameters: If purchase events fire but show no value, check whether your platform is passing the transaction amount dynamically. A static placeholder value is better than nothing but still limits your optimization potential.
Delayed event reporting: CAPI events sometimes appear in reporting with a delay. This is normal, but if delays are significant, it can affect your ability to make timely optimization decisions. Check your CAPI setup for any server-side processing delays.
How to know this step is done: Test events show your revenue events firing with correct values, deduplication is confirmed, and UTM parameters are live on all active ads.
Step 3: Structure Campaigns for Clear Revenue Attribution
Perfect tracking infrastructure can still produce useless data if your campaigns are structured in a way that makes it impossible to isolate what is actually driving revenue. Campaign structure is the often-overlooked bridge between data collection and data interpretation.
Start with a consistent naming convention across all campaigns, ad sets, and ads. Your naming convention should encode the variables that matter for revenue attribution: the creative type, the audience segment, the offer or angle being tested, and the date. A name like "Purchase | Lookalike 1% | Video UGC | Free Trial Offer | May2026" tells you immediately what you are looking at and makes filtering and comparison much faster when you are analyzing results.
The principle that matters most for attribution is limiting the number of variables you change within a single ad set. If one ad set contains five different creatives targeting three different audiences, and it generates strong ROAS, you cannot tell whether the result came from creative A, creative C, audience two, or some combination. You have revenue data but no attribution clarity. Following proven campaign structure best practices is essential for making your revenue data actionable.
This does not mean you need to run only one creative per ad set forever. It means being intentional about what you are testing and what you are scaling. When you are in a testing phase, isolate variables. When you are in a scaling phase, you can consolidate winning combinations.
Meta also recommends ensuring each ad set receives enough conversion volume to exit the learning phase, roughly 50 conversion events per ad set per week. If your budget is spread too thin across too many ad sets, none of them will accumulate enough data for the algorithm to optimize effectively, and your revenue attribution data will be noisy and unreliable.
This is where a tool like AdStellar's Bulk Ad Launch feature becomes genuinely useful. Rather than manually building out hundreds of ad variations one by one, you can mix multiple creatives, headlines, audiences, and copy combinations and have AdStellar generate and launch every variation in minutes. The key advantage for revenue tracking is that each variation maintains a clean, organized structure, so when the data comes back, you can immediately see which specific element drove which revenue outcome.
Practical tip: Create a campaign structure document before you launch anything. Map out which campaigns test which variables, and keep it updated as you add new ad sets. This takes fifteen minutes upfront and saves hours of confusion when you are trying to attribute revenue three weeks later.
How to know this step is done: Every active campaign, ad set, and ad follows a consistent naming convention, variables are isolated enough to draw attribution conclusions, and your ad sets have sufficient budget to reach the learning phase threshold.
Step 4: Connect an Attribution Tool for Cross-Channel Accuracy
Here is something many Meta advertisers learn the hard way: the revenue numbers Meta reports are not the same as the revenue numbers in your payment processor. Often, Meta's numbers are higher, sometimes significantly so. Understanding why this happens, and what to do about it, is essential for making accurate budget decisions.
Meta's default attribution window is 7-day click and 1-day view. This means Meta will claim credit for any purchase that happens within seven days of someone clicking your ad, or within one day of someone simply viewing it. If a customer clicked your ad on Monday, browsed your site, left, came back through a Google search on Thursday, and purchased on Friday, Meta still counts that as a conversion attributed to your ad. So might Google, if you are running ads there too. The same sale gets counted multiple times across platforms.
Additionally, Meta uses statistical modeling to estimate conversions that its pixel cannot directly observe, particularly on iOS devices where tracking is limited. These modeled conversions appear in your reporting but may not correspond to actual transactions in your payment system. Investing in dedicated Meta ads attribution software helps you cut through this noise and see what is actually happening.
The practical solution is connecting a third-party attribution platform that gives you an independent view of which ads actually drove revenue. AdStellar integrates with Cometly for this purpose, allowing you to see attribution data that is separate from Meta's self-reported numbers. This matters because you are making budget decisions based on ROAS figures, and if those figures are inflated, you may be scaling campaigns that are far less profitable than they appear.
Get into the habit of triangulating three data sources: Meta's reported revenue, your attribution platform's reported revenue, and your actual payment processor or CRM data. The payment processor number is your ground truth. The gap between that and what Meta reports tells you how much inflation exists in your Meta data. The attribution platform helps you understand where the actual revenue is coming from across channels. This kind of rigorous Facebook ad attribution tracking is what separates advertisers who scale profitably from those who scale blindly.
Choosing an attribution model: Last-click attribution gives full credit to the final touchpoint before purchase, which tends to favor direct response channels. First-click attribution gives credit to the first touchpoint, which tends to favor awareness channels. Data-driven attribution distributes credit across multiple touchpoints based on their actual contribution to the conversion path. For most Meta advertisers focused on direct response, last-click or data-driven models give the most actionable picture, but the right choice depends on your sales cycle length and channel mix.
How to know this step is done: You have an attribution platform connected and running, you have compared its data against Meta's reported data and your payment processor, and you understand the typical discrepancy range for your account so you can interpret future data accurately.
Step 5: Analyze Performance by Creative, Audience, and Copy
Campaign-level ROAS is a starting point, not a destination. An ad set might show a 3x ROAS overall, but within it, one creative could be generating a 6x ROAS while another drags the average down with a 1.2x. If you are only looking at the top level, you are making budget decisions based on averages that mask the real story.
Effective revenue tracking requires drilling down to the individual element level: which specific creative, which headline, which audience segment, which copy variation is generating the most revenue. This granularity is what allows you to make confident decisions about what to scale, what to kill, and what to test next. A robust performance analytics approach is the foundation of this entire process.
Inside Meta Ads Manager, you can break down results by ad to see performance at the creative level. But this still requires manual analysis, and if you are running many variations, the volume of data becomes difficult to process quickly. This is where AdStellar's AI Insights and leaderboard rankings add real value. The platform automatically ranks every ad element, creatives, headlines, copy, audiences, and landing pages, by real revenue metrics including ROAS, CPA, and CTR, measured against the target goals you set.
Instead of manually building pivot tables and cross-referencing spreadsheets, you get a ranked view of what is working and what is not, updated continuously as new data comes in. You can set goal-based scoring benchmarks so every new ad element is automatically evaluated against your revenue targets, not against the platform average or an arbitrary benchmark someone set up six months ago. Too many advertisers fall into data analysis paralysis at this stage, drowning in metrics instead of focusing on the revenue signals that matter.
As you analyze your top revenue drivers, look for patterns rather than isolated wins. Ask questions like: do video ads consistently outperform static image ads for purchase events, or only for certain audiences? Does a specific messaging angle, such as social proof versus problem-solution, generate higher average order values? Which audience segments have the best ROAS but also the highest CPA, and is the math still favorable at scale?
These patterns are what turn individual data points into a repeatable creative strategy. Instead of starting each new campaign from scratch, you are building a growing body of evidence about what drives revenue in your specific market.
Practical tip: Set a regular weekly review cadence where you look at element-level revenue data and update your understanding of what is working. Thirty minutes per week of structured analysis compounds significantly over time.
How to know this step is done: You can name the top two or three specific creatives, headlines, and audiences currently driving the most revenue in your account, and you can explain why they are outperforming based on observable patterns rather than guesswork.
Step 6: Scale Winners and Cut Losers Using Real Revenue Data
All of the previous steps exist to make this step possible: making confident, data-driven decisions about where to put your money and where to pull it back. With a solid revenue tracking system in place, scaling becomes a disciplined process rather than an anxious gamble.
The basic principle is straightforward. Increase budget on ad sets and creatives that show proven ROAS above your target threshold. Pause or reduce budget on ads that generate clicks, impressions, and engagement but cannot demonstrate revenue at an acceptable cost. The challenge is executing this without making common mistakes that undermine the results.
The most frequent scaling mistake is increasing budgets too aggressively, too fast. When you significantly increase an ad set's budget in a short period, Meta resets the learning phase for that ad set. The algorithm essentially starts over, which can cause performance to temporarily drop and your revenue data to become unreliable during the transition. A more effective approach is incremental budget increases, typically no more than 20 to 30 percent at a time, with a few days between each increase to allow the algorithm to stabilize. Many advertisers find that scaling Facebook ads manually becomes increasingly difficult as account complexity grows.
Another common error is duplicating a winning campaign without maintaining tracking continuity. If you duplicate an ad set but do not carry over the UTM parameters, naming conventions, or attribution setup, you lose the ability to compare the duplicate's performance against the original. You end up with two campaigns generating revenue but no clear picture of which one is more efficient.
AdStellar's Winners Hub addresses the scaling workflow directly. Your best-performing creatives, headlines, audiences, and other elements are saved in one place with their actual performance data attached. When you are ready to build a new campaign, you can pull directly from proven winners rather than starting from scratch. This is not just a convenience feature; it is a systematic way to carry forward what you have learned about revenue drivers into every future campaign.
The other half of scaling is continuous creative testing. Even your best ads will experience creative fatigue over time, a well-documented reality in performance marketing where audiences become desensitized to seeing the same creative repeatedly, causing ROAS to decline. The solution is building a testing loop alongside your scaling activity: clone winning ad elements, introduce new variations against them, and let your AI insights surface the next generation of winners before fatigue sets in on the current ones. Leveraging AI marketing automation for Meta ads can streamline this entire testing and iteration cycle significantly.
AdStellar's AI Creative Hub supports this loop by generating new image ads, video ads, and UGC-style creatives from a product URL or by cloning competitor ads from the Meta Ad Library. The AI Campaign Builder then analyzes your historical performance data to build new campaigns around your proven winners, with full transparency into why each element was selected. The system gets smarter with each campaign, continuously refining its understanding of what drives revenue in your account.
How to know this step is done: You have a documented process for scaling decisions based on revenue thresholds, your Winners Hub contains your top-performing elements with performance data, and you have a testing cadence that ensures new creatives are always in rotation before current ones fatigue.
Your Revenue Tracking Checklist: From Setup to Scale
Here is a quick-reference summary of the six steps you can bookmark and return to as you build or audit your tracking system.
Step 1: Define Revenue Events Identify which conversion events represent actual revenue. Assign accurate monetary values, including dynamic transaction values or lifetime value where applicable. Separate revenue events from engagement events in your optimization strategy.
Step 2: Build Reliable Tracking Infrastructure Install both Meta Pixel and Conversions API together. Verify revenue events fire with correct values using the Test Events panel. Configure UTM parameters on all active ads for cross-platform verification.
Step 3: Structure Campaigns for Attribution Clarity Implement a consistent naming convention across all campaigns, ad sets, and ads. Limit variables per ad set to isolate what drives revenue. Ensure ad sets have sufficient budget to exit Meta's learning phase.
Step 4: Connect Independent Attribution Integrate a third-party attribution platform to get an accurate view of actual revenue. Triangulate Meta's reported data, your attribution tool, and your payment processor. Understand and account for Meta's attribution window inflation.
Step 5: Analyze at the Element Level Break down performance by individual creative, headline, audience, and copy. Use AI-powered leaderboards to rank every element by real revenue metrics. Identify patterns in your top performers to build a repeatable creative strategy.
Step 6: Scale Winners Systematically Increase budgets incrementally to avoid resetting the learning phase. Use proven winners as the foundation for new campaigns. Maintain a continuous testing loop to stay ahead of creative fatigue.
Tracking which ads drive revenue is not a one-time setup task. It is an ongoing discipline that requires regular review, clean data hygiene, and a willingness to act on what the numbers actually say rather than what you hope they mean. The good news is that once the system is in place, it compounds. Each campaign teaches you more about what works, and each round of scaling builds on proven foundations rather than starting from zero.
Platforms like AdStellar are built to automate much of this heavy lifting. From generating creatives and launching structured campaigns with bulk ad variations, to surfacing winners through AI-powered insights and keeping your best performers organized in a Winners Hub, the entire workflow from creative to conversion lives in one place. The AI gets smarter with every campaign, continuously improving its ability to identify and build on what drives revenue in your specific account.
If you are ready to stop making budget decisions based on vanity metrics and start connecting every ad dollar to measurable revenue, Start Free Trial With AdStellar and experience what it looks like to launch and scale winning campaigns with an intelligent platform that builds and tests ads based on real performance data. Seven days, no guesswork.