Let's be direct about something: the barrier to video ads for ecommerce brands has never been the budget. It has been the time. Getting a product video from idea to live Meta campaign traditionally means coordinating a videographer, writing a script, scheduling a shoot, waiting on edits, and then hoping the final product actually converts. By the time it all comes together, you have one video, one angle, and no idea if it is the right one.
AI changes that equation entirely. You can now generate scroll-stopping product video ads in minutes, without a camera, a studio, or a single back-and-forth with a creative team. The entire workflow from your first video to a live, optimized Meta campaign can happen in one session.
This guide walks you through exactly how to do it. Whether you sell physical products, run an ecommerce store, or manage paid ads for clients, you will come away with a repeatable process for producing video ads at scale. We will cover how to brief the AI effectively, generate multiple video variations, refine them with chat-based editing, and launch them directly to Meta so the best performers surface automatically.
No guesswork, no bottlenecks, no creative team required. Let's get into it.
Step 1: Gather Your Product Assets and Define Your Ad Goal
Before you open any tool, spend five minutes getting clear on what you actually want this video to accomplish. This single step separates video ads that convert from video ads that just look nice.
Start by collecting your core inputs. You will need your product URL, any key product images you already have, and basic brand assets like your logo or brand colors. The good news is that AI tools like AdStellar can pull a significant amount of this information directly from your product URL, so you do not need a perfectly organized asset library to get started.
Next, define one clear objective for the video. Pick one:
Drive purchases: This is your bottom-of-funnel goal. The video needs to overcome the final objection and push someone to buy now.
Generate add-to-carts: Slightly higher in the funnel. The video needs to create enough desire that someone takes the first committed step.
Build awareness: Top-of-funnel. The video needs to introduce the product and make it memorable, not necessarily close the sale immediately.
Once you have your objective, identify your target audience and the single problem your product solves for them. Not three problems. One. The sharper your focus, the more the video will resonate with the right person.
Finally, choose your primary hook angle. The most effective ecommerce video hooks typically fall into four categories: price or value ("Get this for under $30"), transformation ("Before vs. after"), social proof ("10,000 customers can't be wrong"), or a specific product feature that competitors don't offer. Pick the angle most likely to stop your target customer mid-scroll.
Why does this pre-work matter so much? AI tools generate dramatically better output when given a clear brief. A vague prompt produces a generic video that checks visual boxes but fails to connect with anyone specifically. A focused brief produces a video built around a real hook, a real audience, and a real goal.
The most common pitfall at this stage is skipping it entirely and jumping straight into the tool. You end up with a video that looks polished but does not convert, and you have no idea why. Five minutes of clarity here saves hours of iteration later.
Step 2: Choose the Right AI Video Ad Format
Not all video ad formats serve the same purpose. Choosing the right one for your goal and funnel stage is the difference between an ad that blends in and one that actually performs.
With AI-powered platforms like AdStellar, you have access to three main formats, all generated from a single product URL with no extra assets required.
Product showcase videos: These are best for demonstrating features, showing an unboxing experience, or presenting before-and-after results. If your product has a clear visual payoff, a transformation, or a feature that needs to be seen to be understood, this is your format. Use it for mid-funnel retargeting where your audience already knows the product exists and needs a reason to convert.
UGC-style avatar videos: These mimic the look and feel of organic content that real customers might post. They blend naturally into social feeds, which reduces the "this is an ad" signal that causes people to scroll past. UGC-style formats are particularly effective at the top of the funnel, where you are introducing your product to a cold audience that has no prior relationship with your brand. The conversational tone builds trust in a way that polished studio productions often cannot.
Animated image ads: These are your fastest, lowest-effort option. Take an existing static creative and add motion, transitions, or animated text overlays to turn it into a video format. This is ideal when you need video variants quickly, want to test whether a static concept works in motion, or are running a campaign where speed matters more than production depth.
Here is a simple way to match format to funnel stage. If someone has never heard of your product, start with UGC-style to build familiarity and trust. If they have visited your site or engaged with your brand, use a product showcase to demonstrate value and push toward a decision. If you need to move fast or test a new angle with minimal effort, animated image ads get you there without rebuilding from scratch.
The right format is not about which one looks the most impressive. It is about which one is most likely to connect with your specific audience at their specific point in the buying journey.
Step 3: Generate Your First AI Video Ad
This is where the actual creation happens, and it is faster than most marketers expect the first time they try it.
Start by pasting your product URL into AdStellar. The AI pulls product details, images, and copy automatically from the page, so you are not manually uploading assets or writing descriptions from scratch. This is one of the most significant time-savers in the workflow: the briefing work you did in Step 1 combines with what the AI extracts from your URL to give it a complete picture of what you are selling and who you are selling it to.
Select your video format based on the decision you made in Step 2. Then choose a creative angle that matches your goal. If you defined your hook as a transformation angle in Step 1, tell the AI to lead with that. The more specific your direction, the more aligned the output will be with what you actually need.
The AI then builds the video creative, including visuals, motion, on-screen text, and voiceover or captions depending on the format. You do not need to direct any of this manually. The system handles the production layer entirely.
When the first version comes back, review it with these three checkpoints:
1. Does the hook appear in the first two to three seconds? If the product or the key message is not visible immediately, the ad will lose people before it has a chance to work. This is non-negotiable on Meta, where attention is captured or lost in seconds.
2. Is the product clearly visible throughout? Ecommerce ads need to show the product prominently. If the visuals are too abstract or the product gets buried, the viewer will not know what they are being asked to buy.
3. Is the CTA prominent and clear? The viewer needs to know exactly what to do next. "Shop Now," "Get Yours Today," or "Learn More" should be visible and aligned with your campaign objective.
If any of these elements need adjustment, use AdStellar's chat-based editing to refine without starting over. You can change the headline, swap a visual, adjust the pacing, update the CTA, or shift the tone, all through a conversational interface. No design software, no re-upload, no waiting on a revision from an external editor.
By the end of this step, you should have at least one complete video ad ready for testing, created in the same session you started. That is the benchmark. If you are still working on the first version after multiple sessions, something in the briefing or format selection needs to be tightened up.
Step 4: Build Multiple Variations to Test Different Angles
One video is a starting point, not a strategy. Meta's algorithm rewards accounts that test creative variations, and performance marketers who consistently outperform the competition do so because they test more angles, not because they get lucky on the first try.
Here is the practical reality: you do not know which hook angle will resonate most with your audience until you test it. Your instinct about what will perform is useful, but it is not a substitute for real data. The goal of this step is to generate enough variation that the data can tell you something meaningful.
Use AdStellar's Bulk Ad Launch to create multiple video variations by mixing different hooks, headlines, and CTAs. The AI generates every combination automatically, so you are not rebuilding each version manually or spending hours in a creative tool swapping out elements one by one.
Aim to test at least three distinct angles:
Benefit-led: Lead with the outcome the customer gets. Focus on what life looks like after they have the product.
Problem-led: Open by naming the frustration your audience already feels. This creates immediate recognition and positions your product as the solution.
Social proof or transformation-led: Lead with evidence. Customer results, before-and-after visuals, or a number that establishes credibility before the product is even introduced.
Beyond the hook angle, vary your on-screen text and captions across versions to test messaging, not just visuals. Two videos with the same visuals but different headlines can perform very differently, and knowing which headline wins gives you information you can carry into every future campaign.
One important guardrail: avoid testing too many variables at once. If you change the hook, the headline, the CTA, and the visual format all in the same test, you will not be able to identify what actually drove the performance difference. Keep your variation structure clean so your learning is actionable. For a deeper look at building a winning ad elements database, that resource covers how to systematically track what works across campaigns.
Step 5: Build and Launch Your Meta Campaign with AI
You have your video variations ready. Now it is time to turn them into a live Meta campaign, and this is where most teams lose significant time to manual work that AI can handle automatically.
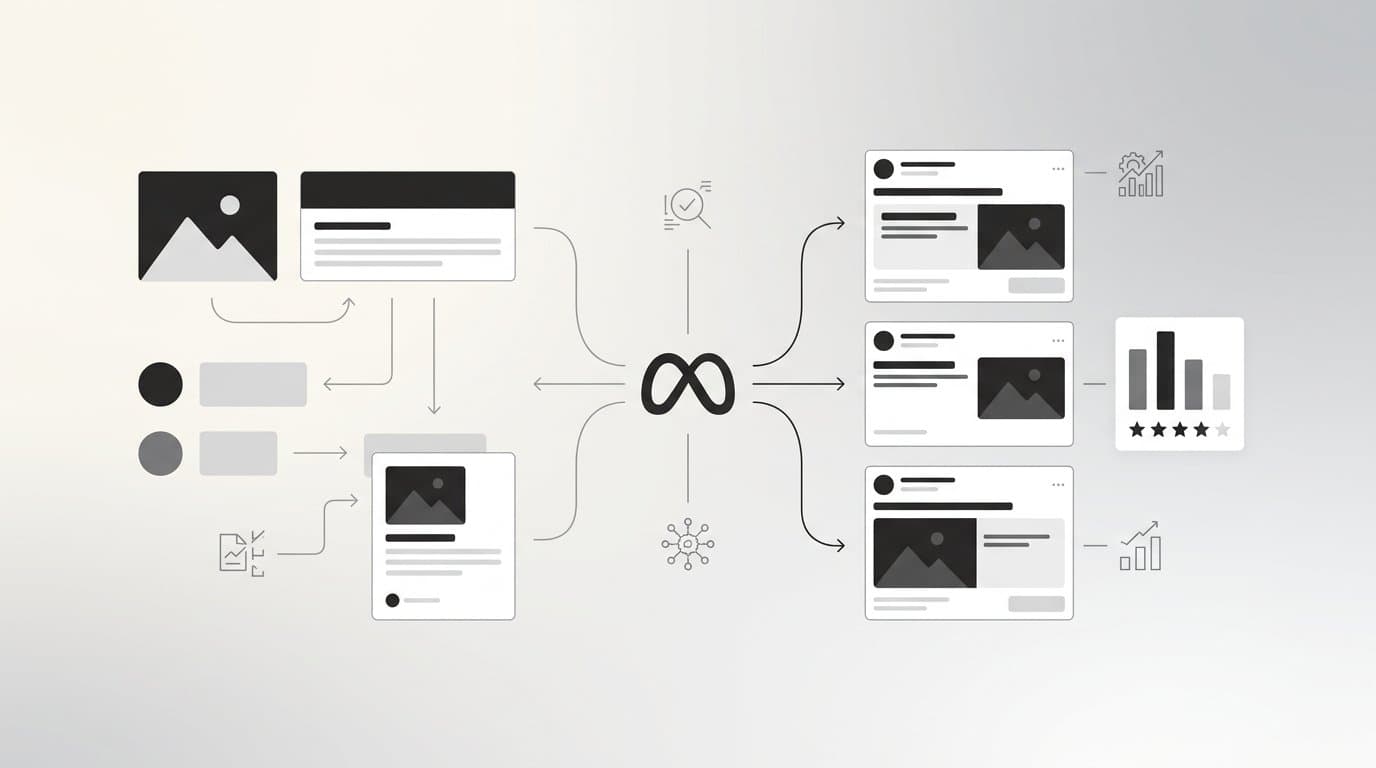
AdStellar's AI Campaign Builder takes your video creatives and builds a complete Meta campaign around them. The AI analyzes your past campaign data, recommends audiences based on historical performance, writes ad copy, and selects headlines ranked by what has actually worked in your account before. Every recommendation comes with an explanation, so you understand the strategy behind each decision rather than just accepting output you cannot evaluate.
This transparency matters. A campaign builder that hands you a finished structure without explaining its reasoning leaves you unable to learn from it or improve on it. When the AI tells you why it is recommending a specific audience or why it ranked one headline above another, you are building knowledge about your account, not just executing tasks.
Before you launch, review the campaign structure with these checkpoints:
1. Confirm your ad sets are organized in a way that will give each video variation enough spend to generate meaningful data. Spreading budget too thin across too many ad sets produces inconclusive results.
2. Check your placements. For most ecommerce campaigns on Meta, Advantage+ placements work well as a starting point, but confirm this aligns with your specific product and audience.
3. Review your budget allocation and make sure it matches your objective. A purchase-focused campaign needs enough daily budget to exit the learning phase within a reasonable window.
Once you are satisfied with the structure, launch directly to Meta from within AdStellar. No switching tabs, no manually copying assets into Ads Manager, no risk of mismatched creative or broken links. The entire launch workflow happens in one place. For a detailed walkthrough of the ad launching process, that resource covers the technical steps in depth.
The AI Campaign Builder also improves over time. With each campaign you run, it builds a clearer picture of what works in your specific account, which means recommendations get sharper the more you use it.
Step 6: Track Performance and Scale What Works
Launching the campaign is not the finish line. It is the starting point for the data that will make your next campaign better and your current campaign more profitable.
Once your videos are live, use AdStellar's AI Insights leaderboards to rank your creatives by the metrics that actually matter: ROAS, CPA, and CTR. Set your target benchmarks before you start reviewing, so you are evaluating performance against a defined standard rather than comparing creatives to each other in isolation. A video that is "winning" against a weak field might still be underperforming against your actual business goals.
Within the first few days of meaningful spend, you will typically start to see patterns. One hook angle will pull ahead. One headline will generate more clicks. One creative format will drive lower CPAs. This is the signal you are looking for, and it is based on real performance data rather than gut feel.
When a winner emerges, move it into AdStellar's Winners Hub. This is your centralized library of top-performing creatives, hooks, headlines, and audiences, all stored with their actual performance data attached. When you are ready to build the next campaign, you can pull directly from Winners Hub rather than starting from a blank brief. This compresses the time between "I need a new campaign" and "I have a live campaign built on proven elements." For more on building a systematic approach to storing winning elements, that resource goes deeper on the process.
Scaling winners is straightforward: select a top-performing video from Winners Hub, add it to a new campaign or ad set with increased budget, and let it run. You are not recreating it, re-uploading it, or rebuilding the campaign structure from scratch. The asset is already there with its performance history intact.
Know when to refresh. If CTR starts dropping or frequency climbs, that is a signal that your audience has seen the creative enough times that it is losing its impact. This is normal, and it is not a reason to panic. It is a reason to generate new variations using the same winning angle. Keep the hook that worked, but give it a new visual treatment or a fresh headline. For a detailed guide on when to change ad creative, that resource covers the specific signals to watch for and how to respond.
The AI gets smarter with each campaign you run. As your account history grows, recommendations for audiences, headlines, and creative angles become increasingly tailored to what actually works for your specific product and customer base. This is the compounding advantage of a system that learns over time rather than starting from zero with every new campaign.
Your Complete Checklist Before You Launch
Creating product videos for ecommerce ads no longer requires a production team, a studio, or weeks of back-and-forth. With AI, the entire workflow from generating your first video to launching and scaling winners can happen in a single session.
Before you go live, run through this checklist to make sure every step is covered:
Product assets and goal defined: You have your product URL, a clear campaign objective, a defined target audience, and a primary hook angle chosen.
Video format selected: You have matched your format (product showcase, UGC-style, or animated image) to your funnel stage and audience.
First video generated and refined: The hook appears in the first two to three seconds, the product is clearly visible, and the CTA is prominent. Chat-based editing has been used to tighten anything that needed adjustment.
Multiple variations created: You have at least three angles live, benefit-led, problem-led, and social proof or transformation-led, with varied headlines and CTAs across versions.
Campaign built and launched: AI has recommended audiences, copy, and headlines based on your account history. You have reviewed the structure and launched directly to Meta.
Performance tracking active: AI Insights leaderboards are set up against your target benchmarks. Winners Hub is ready to receive top performers.
The brands winning on Meta right now are not the ones with the biggest production budgets. They are the ones testing more creative faster and doubling down on what works. That is a process problem, and AI solves it.
Start Free Trial With AdStellar and be among the first to launch and scale your ad campaigns faster with an intelligent platform that automatically builds and tests winning video ads based on real performance data.