UGC-style video ads have a unique advantage on Meta platforms: they look like content, not advertising. Audiences have developed sharp instincts for skipping anything that feels produced, branded, or polished. But a video that feels like a real person sharing a real experience? That gets watched.
The challenge has always been production. Real UGC means recruiting creators, writing briefs, waiting on deliverables, managing revisions, and paying per video. For most marketers and business owners, that process is too slow and too expensive to run at the scale needed for proper testing.
Free AI tools have fundamentally changed what's possible here. You can now produce UGC-style avatar videos, realistic voiceovers, and short-form ad content without a camera, a creator, or a production budget. The quality has reached a point where these videos perform like authentic UGC in Meta feeds because they follow the same visual and structural patterns that make UGC work.
This guide walks you through the complete workflow: writing a script that converts, choosing the right free AI tool, generating and editing your video, formatting it for Meta, creating multiple test variations, and launching your campaign. Whether you're a solo marketer, a media buyer managing multiple accounts, or a business owner running your own ads, you'll have a repeatable production process by the end of this guide.
No designers. No video editors. No creators on retainer. Just a workflow you can run today and repeat every time you need fresh creative.
Step 1: Write a UGC-Style Script That Actually Converts
The biggest mistake marketers make when producing AI-generated UGC is treating the script like ad copy. UGC scripts are not ad copy. They're conversations. If your script sounds like it was written for a brand brochure, no avatar or voiceover tool will save it.
UGC scripts work because they mimic how real people talk about products they genuinely like. That means first-person perspective, conversational language, imperfect sentence structure, and a problem-first opening that signals to the viewer: "this person gets what I'm dealing with."
The core structure that consistently performs in Meta feed placements follows this sequence:
Hook (0-3 seconds): Lead with a bold statement, a relatable frustration, or a surprising result. This is the only job of your first line. Stop the scroll. Nothing else matters until you've done that.
Problem: Briefly name the pain point your audience knows well. Keep it specific enough to feel personal, but broad enough to apply to your target segment.
Personal story or discovery: Introduce the product as something the "creator" found, tried, or stumbled upon. This is where the narrative builds trust. It should feel like a recommendation, not a pitch.
Product solution: Explain what the product does in plain language. No feature lists. Focus on the outcome the viewer cares about.
Social proof or result: Add a brief, believable result. Keep it grounded. Vague superlatives sound fake. Specific, modest outcomes sound real.
Call to action: One clear next step. Link in bio, swipe up, check the link below. Simple and direct.
For Meta feed placements, your script should run under 45 seconds. Aim for 30 seconds if you're targeting Reels or Stories. That typically translates to roughly 75-100 words of spoken script.
To generate a solid first draft, open ChatGPT or Google Gemini (both have free tiers) and use a structured prompt like this: "Write a 30-second UGC-style video script for [product] targeting [audience] who struggle with [pain point]. Use a conversational, first-person tone. Structure it as: hook, problem, personal discovery, solution, result, CTA."
The draft you get back will need editing. Read it out loud. If anything sounds like it was written rather than spoken, rewrite it. Cut formal transitions. Replace passive constructions with direct statements. If you wouldn't say it to a friend, your avatar shouldn't say it either.
Step 2: Choose a Free AI Avatar or Voiceover Tool
Once your script is ready, you need to decide how you're going to bring it to life. There are two main formats for AI-generated UGC-style video, and the right choice depends on the type of ad you're making.
Avatar-led video works best for testimonial-style ads where a "person" speaks directly to camera. This format mirrors the talking-head UGC that performs well in Meta feeds because it creates the impression of a real creator sharing their experience. Tools worth exploring on free tiers include HeyGen, Synthesia, and D-ID, all of which offer limited free credits for avatar video generation as of 2026. Verify current free tier availability directly on each platform, as credit limits and features change regularly.
Voiceover over footage works better for product demos, how-to style ads, or content where you want to show the product in action rather than a talking head. For this approach, ElevenLabs offers a free tier for AI voiceover generation with monthly character limits, and Murf has a free plan with basic voice options. You pair the generated audio with free stock footage from Pexels or Pixabay, then edit the two together.
When choosing between these formats, think about what your audience expects to see. A testimonial about a skincare product lands better as a talking-head avatar. A walkthrough of a software tool lands better as screen recording with voiceover.
If you go the avatar route, pay close attention to which avatar you select. The avatar's age, appearance, and presentation style should match your target audience. A 45-year-old audience buying a health supplement is not going to connect with a 22-year-old avatar in a trendy outfit. Authenticity is the entire point of UGC, and avatar selection is where that authenticity either holds or falls apart.
Free tier limitations are real and worth planning around. Most free plans include watermarks on exported video, resolution caps, and limited monthly credits. For testing purposes, watermarked video is not suitable for live ad campaigns. You may need to use free credits strategically: generate your best variation first, verify it works conceptually, then invest in a paid export or a short-term paid plan for the final version you actually launch.
The single biggest mistake at this stage is choosing an avatar that looks too polished or corporate. If your avatar looks like a stock photo model in a professional headshot, the UGC aesthetic is gone before the script even starts. Look for options that feel natural and approachable, not broadcast-ready.
Step 3: Generate Your AI Avatar Video or Voiceover
With your script written and your tool selected, it's time to produce the actual video. The process differs slightly depending on whether you're creating an avatar-led video or a voiceover-over-footage format.
For avatar-led video, the general workflow across most platforms follows these steps:
1. Paste your script into the text field. Most platforms will auto-calculate the estimated video length. If it runs over 45 seconds, trim the script before proceeding.
2. Select your avatar. Apply the guidance from Step 2 here. Choose someone who matches your audience profile and looks like a real person, not a corporate spokesperson.
3. Adjust pacing and emphasis. Most avatar tools let you add pauses, change speech speed, or emphasize specific words. Use this. Add a brief pause after your hook to let it land. Slow down slightly before your CTA so it doesn't feel rushed.
4. Preview before exporting. Watch the full preview at least twice. Check lip sync, pacing, and whether the delivery feels natural. If the avatar rushes through the hook, the entire ad loses its stopping power.
5. Export in the highest resolution available on your current plan.
For the voiceover route, generate your audio file first, then build the video around it. Source B-roll footage from Pexels or Pixabay that matches each segment of your script. A line about struggling with a problem might pair with footage showing that frustration. A line about the solution might show the product or the outcome. Cut the footage to match the audio, not the other way around.
Free editing tools that handle this assembly well include CapCut's free plan, DaVinci Resolve (a free desktop download with professional-grade features), and Canva's free video editor for simpler cuts.
Captions are not optional for Meta feed ads. A large portion of users watch video with sound off, and Meta's own creative guidance recommends open captions for this reason. CapCut's free plan includes auto-caption generation that works reasonably well. Clideo also offers free auto-captioning. Review the generated captions manually and correct any errors before exporting. Incorrect captions undermine credibility fast.
The most common production mistake at this stage is robotic pacing. AI voices and avatars default to an even, measured delivery that sounds nothing like how people actually talk. Fix this by breaking long sentences into shorter ones in your script, adding punctuation that forces natural pauses, and using the platform's emphasis controls to vary delivery speed across the video.
Step 4: Edit for the Meta Feed Format
A great video in the wrong format is a wasted video. Meta's different placements have different aspect ratio requirements, and getting this wrong means your ad gets cropped in ways that cut off faces, text, or your CTA.
The specs you need to know: Reels and Stories use 9:16 vertical format. Feed placements perform well at 1:1 square or 4:5 portrait. If you're only going to produce one version, 9:16 covers the highest-volume placements and Meta will adapt it for Feed with reasonable results. If you have the capacity, produce both.
Most free editing tools including CapCut and Canva make it straightforward to crop and reframe footage into vertical format. If your avatar video was generated in a horizontal or square format, you can reframe it by zooming in slightly and repositioning the frame so the face remains centered. Avoid cropping so tightly that background context disappears entirely, since that can make the video feel claustrophobic.
UGC visual elements are what separate a polished ad from a native-looking one. Consider adding raw-feeling text overlays in simple fonts, on-screen callouts that emphasize key words from the script, or subtle emoji reactions that mirror how organic creators style their content. These elements should feel like they were added quickly by a real person, not designed in a brand style guide.
Thumbnail selection matters more than most advertisers realize. Choose a frame that shows a human face with a visible, expressive reaction. Surprised, excited, or genuinely engaged expressions consistently outperform neutral or composed ones as static thumbnails because they create curiosity before the video even plays.
Keep your file size within Meta's upload limits and avoid over-compressing the video to the point where quality degrades visibly. Most free export options are sufficient for Meta's requirements.
The most important editing principle for UGC ads: resist the urge to over-produce. Heavy transitions, animated lower-thirds, and polished motion graphics all signal "this is an ad" to a viewer's subconscious. The rawer it looks, the more native it feels. Simple cuts, clean captions, and minimal text overlays will almost always outperform the version with more production effort behind it.
Step 5: Create Multiple Variations to Test
One UGC video is a starting point, not a strategy. The value of AI-generated UGC is that you can produce multiple variations quickly and let the data tell you what's actually working. Different hooks, different avatars, and different CTAs can produce dramatically different results with the same audience and budget.
The most efficient way to create test variations is to change one element at a time. This is called single-variable testing, and it's a foundational principle in paid media because it gives you clean data. If you change the hook, the avatar, and the CTA all at once and one variation wins, you have no idea which change drove the result.
A practical starting framework for your first round of UGC testing:
Hook swap: Keep everything else identical and test two or three different opening lines. The hook is the highest-leverage variable in a UGC video because it determines whether anyone watches past the first three seconds.
Avatar swap: Use the same script with two different avatars that represent different audience segments. Age, presentation style, and relatability all affect how different audiences respond.
CTA swap: Test a direct CTA ("Click the link below to get started") against a softer one ("Check it out if you're dealing with this too") to see which drives better action from your specific audience.
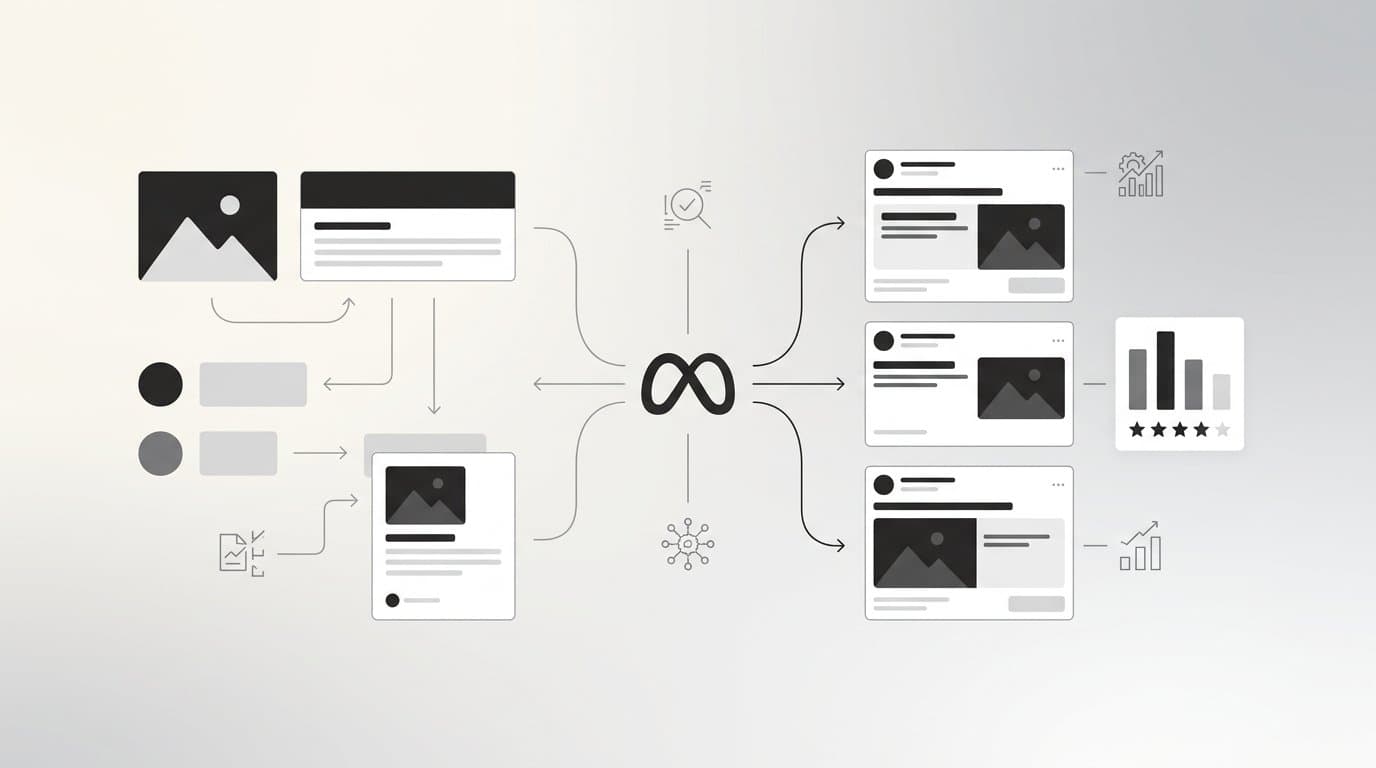
Producing three to five variations manually is manageable. Producing dozens of combinations across creatives, headlines, and audiences is where manual workflows break down. This is where a platform like AdStellar changes the equation. AdStellar's Bulk Ad Launch feature lets you create hundreds of ad variations in minutes by mixing multiple creatives, headlines, audiences, and copy at both the ad set and ad level. Every combination gets generated and launched to Meta in clicks rather than hours.
AdStellar's AI Campaign Builder goes further: it analyzes your past campaign performance, ranks every creative and audience by results, and builds complete Meta campaigns around your top performers. The Winners Hub then surfaces which UGC variations are driving real ROAS and CPA results, so you can identify your winning hooks and formats and feed those learnings directly back into your next round of scripts.
Whether you're testing manually or using a platform to scale, the discipline of single-variable testing applies. More variables in a single test means slower, noisier learning.
Step 6: Launch Your UGC Ads on Meta
Your videos are ready. Your variations are built. Now it's time to put them in front of an audience and start collecting real performance data.
Campaign objective selection matters here. For ecommerce businesses, Advantage+ Shopping Campaigns are worth starting with because Meta's algorithm handles a significant amount of the targeting and optimization work automatically. For service businesses or lead generation, the Lead Generation objective gives you more control over the conversion event you're optimizing toward.
On audience targeting: UGC content is one of the formats where broad targeting tends to work well. Because the creative itself does a lot of the filtering work (a person who isn't your target customer will self-select out quickly), you often don't need to layer on heavy interest or demographic restrictions at the start. Let Meta's algorithm find the people who respond, then narrow based on what you learn.
For starting budgets, give each ad set enough spend to generate meaningful signal before making decisions. Meta's algorithm needs time and data to optimize delivery. Cutting a campaign after 24 hours because early ROAS looks low is one of the most common and costly mistakes in Meta advertising. Plan to let new UGC ads run for at least several days before drawing conclusions, and use leading indicators like thumb-stop rate, three-second video view rate, and hook rate as early signals while ROAS data is still maturing.
If you're building campaigns manually, AdStellar's AI Campaign Builder can take your finished UGC creatives and construct a complete Meta campaign with optimized audiences, headlines, and copy in minutes. Every decision the AI makes is explained transparently, so you understand the strategy behind the campaign structure, not just the output. The system gets smarter with each campaign it builds because it learns from your historical performance data.
Once your campaigns are live, AdStellar's AI Insights leaderboards give you a ranked view of how every creative, audience, and landing page is performing against your own benchmarks for ROAS, CPA, and CTR. Instead of digging through Ads Manager to compare performance across variations, you get a clear signal on what's winning and what's wasting budget.
Your UGC Ad Workflow at a Glance
Here's the complete six-step process condensed into a quick-reference checklist you can return to every time you produce a new batch of UGC ads:
Script written: Conversational, first-person, under 45 seconds, hook-problem-solution-CTA structure, read aloud and edited for natural delivery.
Tool selected: Avatar tool or voiceover tool chosen based on ad format, free tier limitations understood and planned around.
Video generated: Pacing adjusted, captions added, preview reviewed before export.
Edited for Meta specs: Correct aspect ratio, UGC-style visual elements added, thumbnail selected, production kept intentionally raw.
Variations created: Three to five variations built by swapping one element at a time, hook swaps prioritized as the highest-leverage test.
Campaign launched: Objective selected, audience set, budget allocated, leading performance indicators monitored before drawing conclusions.
The most important thing to know about this workflow is that it gets faster every time you run it. The first UGC video takes the longest because you're learning the tools and the structure. By the third or fourth round, you'll have a repeatable system that produces new creative in a fraction of the time.
As you identify winning hooks and formats through performance data, feed those learnings back into new scripts. The creative that wins this week tells you exactly what to write next week.
For teams who want to compress this entire workflow, AdStellar handles creative generation, campaign building, bulk launching, and performance tracking inside one platform. You go from product URL to live Meta campaign without switching between tools, hiring designers, or manually assembling variations. Start Free Trial With AdStellar and see how much faster the creative-to-launch pipeline moves when AI is doing the heavy lifting.