GIFs are one of the fastest ways to grab attention on Instagram. A well-placed looping animation can stop a thumb mid-scroll, add personality to a Story, or make an ad creative feel more dynamic than anything a static image can achieve.
The challenge is that Instagram handles GIFs differently depending on where you want to use them. Stories and Reels have native GIPHY integration built right into the app. Feed posts and ad creatives require a quick format conversion before you upload. Skip that step and you end up with a frozen first frame instead of the looping animation you intended.
This guide walks you through every placement where GIFs work on Instagram, from organic Stories and Reels to Feed posts and paid campaigns in Meta Ads Manager. You will learn exactly which tools to use at each step, the format rules that prevent common mistakes, and how performance marketers are using AI-powered creative tools to take animated content even further without the manual work.
Whether you are a solo creator trying to add some motion to your Stories or a media buyer managing Meta ad campaigns at scale, this is the complete playbook for adding GIFs to Instagram the right way.
Step 1: Understand Where GIFs Actually Work on Instagram
Before you tap a single button, it helps to understand the three main placements and what each one actually supports. This saves you from the most common frustration: uploading a .gif file somewhere it does not animate.
Stories: This is the most GIF-friendly placement on Instagram. The app has a native GIPHY integration built into the sticker panel, so you can search and apply animated GIF stickers directly inside the Story editor without leaving the app or converting any files. It just works.
Reels: Similar to Stories, Reels gives you access to the GIPHY sticker library through the editing interface. You can search for animated stickers, place them over your footage, and even pin them to a specific moment in the timeline. The experience is smooth and intuitive once you know where to look.
Feed Posts: Here is where things get tricky. Instagram does not natively animate .gif files uploaded to the Feed. If you drag a .gif into the post upload flow, the platform typically renders only the first frame, giving you a static image rather than a looping animation. The workaround is straightforward: convert your GIF to an MP4 video file before uploading. A short looping MP4 looks identical to a GIF in the Feed and plays automatically for most viewers.
Ad Creatives in Meta Ads Manager: The same rule applies here. Meta Ads Manager does not reliably animate raw .gif uploads. The standard approach among media buyers is to convert GIFs to looping MP4 or MOV files before uploading them as video creatives. This gives you full control over quality, file size, and playback behavior.
The key takeaway before moving forward: Stories and Reels use GIPHY stickers natively inside Instagram. Feed posts and ads require a GIF-to-MP4 conversion first. Keep that distinction in mind and the rest of the steps will make immediate sense.
Step 2: Add a GIF Sticker to an Instagram Story
Adding a GIF sticker to a Story is the lowest-friction entry point for animated content on Instagram. The whole process takes under a minute once you know where the controls live.
Start by opening Instagram and tapping the + icon at the top of your screen, then select Story from the options. From here, either capture a new photo or video using the camera, or swipe up to upload existing content from your camera roll as your Story background.
Once your background is set, look for the sticker icon at the top of the editing screen. It looks like a smiley face with a folded corner. Tap it to open the sticker tray.
Inside the sticker tray, you will see a GIF option near the top of the panel. Tap it and the GIPHY search bar opens directly inside Instagram. You can browse trending GIFs or type in a search term to find something specific.
Here is a practical tip for marketers: search action-oriented terms rather than generic ones. Terms like "shop now," "new arrival," "limited time," "swipe up," or "sale" surface GIF stickers designed for marketing contexts. Emotion words like "excited" or "celebrate" also return relevant results that fit promotional content well.
Once you find a GIF you like, tap it and it drops onto your Story canvas. From there you can:
1. Resize it by pinching with two fingers to scale it up or down.
2. Reposition it by dragging it anywhere on the canvas.
3. Layer multiple GIF stickers by repeating the process and adding more from the sticker panel.
A word of caution on layering: adding too many animated elements to a single Story frame creates visual noise and pulls focus away from your main message. One or two well-placed GIF stickers typically outperform a Story cluttered with five or six competing animations. Restraint is a design choice, not a limitation.
When your Story looks right, tap Your Story to publish it, or use the arrow icon to send it to specific followers or Close Friends. Your GIF stickers will loop automatically when viewers watch the Story.
Bonus for brands: If your business has a verified brand channel on GIPHY, your branded GIF stickers become searchable directly inside Instagram's sticker panel. This is a legitimate organic reach tactic because every time another user searches a relevant term and applies your branded sticker, it creates additional impressions for your brand at no cost.
Step 3: Use Animated Stickers and GIFs in Reels
Reels editing gives you the same GIPHY access as Stories, with one additional capability that makes GIF stickers significantly more useful for video content: the ability to pin a sticker to a specific moment in your timeline.
Start by recording your Reel footage inside Instagram or uploading a video clip from your camera roll using the + icon and selecting Reel. Once your footage is in the editor and you have made any basic cuts or adjustments, look for the sticker icon in the top toolbar of the editing screen.
Tap the sticker icon to open the sticker panel, then select GIF to open the GIPHY search bar. Search for the animation you want and tap it to place it on your Reel canvas.
Here is where Reels goes a step further than Stories. After placing a GIF sticker, tap and hold the sticker on the canvas. This activates the pin feature, which lets you attach the sticker to a specific frame in your video timeline. Once pinned, the sticker appears at exactly the right second rather than looping over the entire clip from start to finish. This is useful for timing a reaction GIF to a specific moment, highlighting a product feature at a precise point, or adding a visual cue that syncs with your audio.
You can also combine GIF stickers with Instagram's built-in text animations for layered motion. Add your text element first, choose an animated text style, then layer a GIF sticker alongside it for a more dynamic composition.
A practical approach for marketers using Reels: consider using subtle, looping GIF stickers as background accents rather than the main visual focus. A small animated element in the corner of the frame adds energy without competing with your primary message or product shot. This keeps the creative feeling polished rather than chaotic.
Before you publish, always tap through the full preview of your Reel to confirm the GIF sticker plays smoothly at the right moment. If the timing feels off, go back into the editor, tap and hold the sticker again, and adjust the pin point on the timeline. When the preview looks exactly right, you are ready to publish.
Step 4: Post a GIF-Style Video to Your Instagram Feed
The Feed requires one extra step that Stories and Reels do not: converting your GIF to an MP4 before you upload. Once that conversion is done, the process is identical to posting any other video.
The conversion itself is fast. Several free tools handle it well:
GIPHY: If you found your GIF on GIPHY, you can download it directly as an MP4 from the GIPHY website. Look for the download options on any GIF's detail page and select the MP4 format.
Ezgif.com: A straightforward browser-based tool. Upload your .gif file, select "GIF to MP4" from the menu, and download the converted file. No account required.
Canva: If you are creating a custom animated graphic rather than using an existing GIF, Canva lets you build animated designs and export them directly as MP4 files at the right resolution for Instagram.
When exporting, keep these format guidelines in mind. For a square Feed post, export at 1080x1080 pixels. For a portrait Feed post, use 1080x1350 pixels. Uploading at lower resolutions results in a pixelated loop that looks unprofessional, especially on modern high-resolution phone screens.
Keep the video short. A GIF-style post works best when it loops seamlessly, and that works best when the clip is between 3 and 6 seconds. Longer clips can work, but the looping effect becomes less noticeable and the content starts to feel more like a standard video than an animated GIF.
To upload, tap the + icon, select Post, and choose your converted MP4 from your camera roll. Instagram will treat it as a video post. Set your cover frame, write a caption that complements the motion visual rather than just describing it, and publish.
One thing to keep in mind: Instagram video posts autoplay without sound for most users scrolling through the Feed. Design your GIF-style video to communicate its message visually, without relying on audio. The motion itself should do the storytelling.
Step 5: Add GIF-Style Motion to Instagram Ad Creatives
Running animated creatives in Meta ads follows the same core format logic as Feed posts: short looping MP4 or MOV files, not raw .gif uploads. The difference is that ad creatives have specific placement requirements that affect how you size and trim your files.
For Stories ads, Meta recommends a 9:16 aspect ratio and video length up to 15 seconds. For GIF-style loops, shorter is better. A 3 to 6 second loop that repeats within the 15-second window tends to perform well because the motion reinforces the message with each pass.
For Feed video ads, use a 1:1 or 4:5 aspect ratio. Meta allows up to 60 seconds for Feed video ads, but for looping animated creatives, keeping it under 15 seconds is generally more effective. Viewers in a scrolling Feed make attention decisions quickly, and a tight loop respects that behavior.
In Meta Ads Manager, uploading a looping MP4 creative works the same way as uploading a static image. Navigate to your campaign, go to the ad level, and select your video file under the creative section. Meta will process the file and show you a preview before the ad goes live. Check the preview carefully to confirm the loop plays as expected and no frames are cut off at the beginning or end of the clip.
Animated creatives often capture attention faster in a scrolling feed compared to static images, simply because motion is a stronger visual signal. That said, the best way to know whether animated or static works better for your specific audience is to test both formats directly against each other.
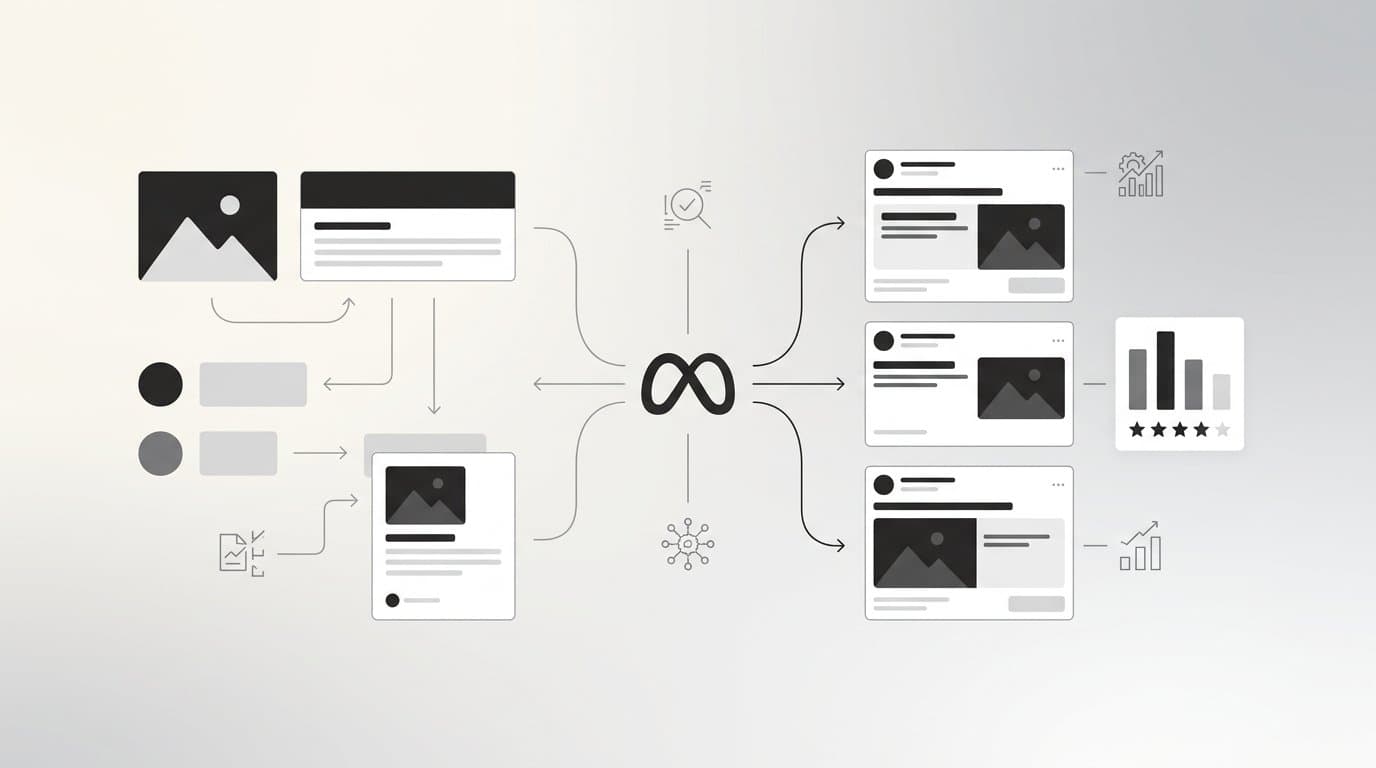
This is where tools like AdStellar become genuinely useful for performance marketers. AdStellar's AI Ad Creative feature generates image ads, video ads, and UGC-style content from a product URL, removing the need for designers, video editors, or manual GIF conversion workflows. The Bulk Ad Launch feature lets you create hundreds of ad variations across multiple creatives, headlines, and audiences and launch them to Meta in minutes rather than hours. Instead of manually converting GIFs, building individual ad sets, and guessing which format will win, you let the system generate and test variations at scale while you focus on strategy.
If you are running Meta campaigns regularly, building animated creative testing into your workflow is worth the effort. The data you collect on animated versus static performance becomes a strategic asset over time.
Step 6: Test and Measure How Your GIF Content Performs
Creating GIF content is only half the job. Knowing whether it is actually working determines whether you keep using it, refine it, or try a different approach. The metrics you look at depend on the placement.
For organic Stories: Open Instagram Insights and navigate to your Story's performance data. The key metrics for evaluating whether a GIF held attention are taps forward, taps back, and exits. A high number of taps back suggests viewers wanted to see the Story again, which is a positive signal for engaging content. A spike in exits on a specific Story frame might indicate the GIF felt distracting or the content did not connect. Use this data to refine your GIF placement and timing in future Stories.
For Feed video posts: Watch average watch time and loop plays as your primary engagement signals. A high loop play count tells you viewers are watching the clip more than once, which is exactly the behavior a well-designed GIF-style loop should produce. If average watch time is low, the loop may not be compelling enough to hold attention past the first second or two.
For ads: Focus on CTR, CPA, and ROAS when comparing animated creatives against static ones. These are the metrics that tell you whether the motion is actually driving business outcomes, not just impressions. Run your animated and static versions as separate ad variations within the same campaign so the comparison is clean and the audience targeting is consistent.
When an animated creative outperforms its static counterpart, do not just note it and move on. Add it to a winners repository so you can reference the format, the motion style, and the messaging in future campaigns. Reusing elements from proven winners is one of the most efficient creative strategies available to performance marketers.
AdStellar's AI Insights feature makes this process systematic. The leaderboard ranks your creatives, headlines, copy, audiences, and landing pages by real metrics like ROAS, CPA, and CTR. Set your target goals and the AI scores every creative against your benchmarks, so you can instantly identify which animated formats are driving results and which ones are not pulling their weight. The Winners Hub collects your top performers in one place, making it easy to pull a winning animated creative into your next campaign without digging through old ad sets.
Your GIF Strategy on Instagram: A Quick Checklist
Here is a summary of the six steps so you can move through the process confidently from start to finish.
Know your placement first: Stories and Reels support GIPHY stickers natively inside the app. Feed posts and ads require a GIF-to-MP4 conversion before uploading.
Stories GIF stickers: Tap the sticker icon, select GIF, search GIPHY, place and resize. Use action-oriented search terms for marketing-relevant results. Keep it to one or two stickers per frame.
Reels GIF stickers: Same sticker panel access as Stories. Use the pin feature to attach your GIF sticker to a specific moment in the timeline for precise timing.
Feed posts: Convert your GIF to MP4 using GIPHY, Ezgif, or Canva. Export at 1080x1080 or 1080x1350. Keep the loop between 3 and 6 seconds. Upload as a standard video post.
Ad creatives: Use looping MP4 files, not raw .gif uploads. Follow Meta's aspect ratio specs: 9:16 for Stories, 1:1 or 4:5 for Feed. Keep loops short and test animated against static versions.
Measure performance: Track taps forward and exits for Stories, loop plays for Feed video, and CTR plus ROAS for ads. Build a winners repository from your best-performing animated creatives.
If you are running paid campaigns on Meta and want to skip the manual creative production and testing workflow, Start Free Trial With AdStellar and be among the first to launch and scale your ad campaigns faster with an intelligent platform that automatically builds and tests winning ads based on real performance data. AdStellar generates image ads, video ads, and animated creatives from a product URL, launches them to Meta, and surfaces the winners so your budget goes to what is actually working.