Your FB Pixel ID is the unique string of numbers that connects your website to your Meta advertising account. It’s the digital handshake that lets Meta know what’s happening on your site, from who’s visiting to what they’re buying.
What Your FB Pixel ID Actually Does for Your Ads
Ever feel like you're just throwing ad money at a wall and hoping something sticks? That's what advertising without the Meta Pixel feels like. Your FB Pixel ID is the key to a small, but mighty, piece of code on your website that tracks all the important user actions.
At its heart, the pixel is what makes detailed conversion tracking possible. It's the difference between guessing what works and knowing what works.
This little snippet of code is the bridge between your website's traffic and Meta's massive advertising brain, feeding it the data it needs to make your campaigns smarter.
Think of it this way: a user clicks your ad, browses your products, and makes a purchase. The pixel sees all of it and reports back to your Ads Manager, connecting that sale directly to the ad that brought them in.
Powering Modern Ad Campaigns
The pixel isn't some niche tool for analytics nerds; it's a cornerstone of modern digital advertising. The data speaks for itself—it’s been installed on over 16.2 million websites globally, with 2.52 million live sites in the U.S. alone depending on it. That massive adoption rate tells you everything you need to know about its importance.
Your FB Pixel ID is the engine that drives three critical areas of your advertising:
- Performance Measurement: It lets you see which ads are leading to actual results, like purchases, form submissions, or sign-ups. No more vanity metrics.
- Audience Building: This is where the magic happens. The pixel allows you to create powerful Custom Audiences for retargeting. Think: showing a special offer to everyone who added an item to their cart but didn’t buy.
- Campaign Optimization: Meta's algorithm is smart, but it needs data. The pixel provides that data, helping the algorithm find more people who are likely to take the actions you care about, which directly improves your return on ad spend (ROAS).
A quick look at how the FB Pixel ID directly impacts your ad campaign success and data quality.
Core Functions of Your FB Pixel ID in 2026
| Core Function | Impact on Your Ad Campaigns |
|---|---|
| Conversion Tracking | Directly attributes sales, leads, and other actions to specific ads and campaigns. |
| Custom Audiences | Enables retargeting of website visitors, cart abandoners, and other high-intent groups. |
| Lookalike Audiences | Finds new customers who share characteristics with your best existing customers. |
| Ad Optimization | Feeds Meta’s algorithm the data it needs to automatically show your ads to people most likely to convert. |
| ROAS Measurement | Calculates your Return on Ad Spend by connecting ad costs to the revenue generated. |
Ultimately, a properly functioning FB Pixel ID is what turns good campaigns into great ones.
Your FB Pixel ID isn't just some technical setup task to check off a list. It's the fundamental building block for data-driven advertising. It turns anonymous website clicks into actionable intelligence that fuels everything from basic retargeting to sophisticated campaign automation.
Getting your pixel ID installed and firing correctly is the first real step toward making every dollar you spend on ads work harder and smarter. If you want to get back to basics, you can find out more in our complete guide on https://www.adstellar.ai/blog/what-is-facebook-pixel.
How to Quickly Find Your FB Pixel ID
Trying to find your Facebook Pixel ID can feel like digging through a maze of menus, especially with Meta’s constantly shifting interface. But once you know the right path, you can grab it in less than a minute.
First things first, head over to your Meta Business Suite dashboard. From the main menu, you’ll want to click on Events Manager. This is your command center for all data sources, from pixels to the Conversions API.
Once you’re in the Events Manager, look for the “Data Sources” icon on the left-hand side. This will pull up a list of all the datasets (what Meta now calls pixels) tied to your business account. Just find and click on the one you’re looking to install.
Locating the ID Number
After you select your pixel, you'll land on its main overview page. Your FB Pixel ID—which you'll now see labeled as a "Dataset ID"—is sitting right there below the pixel’s name. It's just a long string of numbers you can click to copy instantly.
The screenshot above pinpoints the exact spot, so you can’t miss it. This number is the only thing you’ll need for the vast majority of integrations.
Key Takeaway: Don't let the new terminology throw you off. When a plugin, CMS, or tool like Google Tag Manager asks for your "FB Pixel ID," you're going to use this "Dataset ID" number. Functionally, they're the exact same thing.
Why Is This Number So Important?
That unique string of numbers is what tells third-party tools and your website where to send all that valuable tracking data. When you paste this ID into a Shopify app, a WordPress plugin, or a platform like AdStellar, you’re essentially giving it permission to talk directly to your Meta dataset.
Think of it as the specific mailing address for your website's event data. Without the correct fb pixel id, Meta has no idea that a customer who just hit "AddToCart" on your site belongs to your ad account. For a deeper look at the dashboards and tools involved, check out our guide on the Meta Events Manager.
With that ID copied and ready, you're all set for the next step: getting it installed on your site.
Alright, you’ve got your FB Pixel ID. That’s the first hurdle down. But the real question is how to get that little string of numbers working on your website. This isn’t just a technical checkbox to tick; it’s a strategic decision that can make or break your tracking down the line.
The method you pick now will affect how easily you can manage your tracking, how accurate your data is, and whether you can scale without massive headaches later. A small business with a simple, one-page site might be perfectly fine with a quick copy-paste. But if you're an agency juggling ten clients or an e-commerce brand with big growth plans, you need a more powerful and flexible setup from day one.
Before we get into the "how," let's make sure you've got the "what." This handy little chart shows you the quickest ways to track down your Pixel ID if you haven't already.

As you can see, jumping into the Events Manager inside Meta Business Suite is the most direct route. Once you have that ID in hand, let's figure out where to put it.
Partner Integrations for Simplicity
For most people, this is the way to go. If you're using a popular platform like Shopify, WordPress, or BigCommerce, a partner integration is by far the fastest and most reliable option. These platforms have built-in tools or plugins made specifically for the Meta Pixel.
- Who it's for: E-commerce stores, bloggers on major platforms (like WordPress), and any business without a developer on speed dial.
- Why it works: It's often as simple as pasting your FB Pixel ID into a single field. The integration handles the heavy lifting, automatically firing standard events like
ViewContent,AddToCart, andPurchasewith all the necessary product data. - Real-world scenario: If you run a store on Shopify, you should absolutely use the native Shopify integration. It's built to work perfectly with their checkout flow, ensuring your most critical e-commerce events are tracked without a single line of code.
Manual Installation for Basic Control
The old-school method. Manual installation means getting your hands dirty and pasting the Meta Pixel base code directly into the <head> section of your website's code. This gives you total control, but it also comes with the highest risk if you aren't comfortable editing HTML.
It’s a decent option for simple, static websites or landing pages where all you really need to track are page views. The trouble starts when you want to track more specific actions, like button clicks or form submissions. That requires adding more custom JavaScript, and it can get messy—fast.
Google Tag Manager for Ultimate Scale and Flexibility
For marketing agencies, large companies, or any business with complex tracking needs, Google Tag Manager (GTM) is the undisputed champion. Think of it as a master container for all your tracking scripts, not just the Meta Pixel.
Instead of bugging a developer to edit your site's code every time you want to track a new event, you do it all from the GTM interface. This keeps your website's code clean, makes deploying new tracking tags incredibly fast, and pretty much eliminates your dependency on developers for marketing tasks.
Here’s why GTM is the pro’s choice for scaling:
- Centralized Management: Control all your tracking scripts—Meta, Google Analytics, TikTok, you name it—from one dashboard.
- Reduced Errors: GTM has an official Meta Pixel template that minimizes the risk of typos or syntax errors that could break your tracking.
- Advanced Triggers: Want to track when someone watches 75% of a video or clicks a specific outbound link? With GTM, you can set that up in minutes without ever touching your site's code.
The adoption of the FB Pixel ID shows just how critical this kind of advanced tracking is in competitive fields. A 2023 analysis found pixel usage is highest in tough industries like Computers and Technology (20%) and Shopping (24.7%). These businesses depend on super-granular event data to optimize huge ad budgets—a job tailor-made for a tool like GTM. You can dive into the full published research to see the trends for yourself.
For a full step-by-step walkthrough of these methods, check out our guide on how to set up the Facebook Pixel. A smart choice here saves you from a world of data-related pain later on.
Verifying Your Pixel and Fixing Common Errors
Getting your pixel installed is a huge first step, but if it's not working correctly, it's basically just dormant code. An unverified or broken pixel is like having a disconnected phone line—it can’t report anything back, leaving your ad account blind. Confirming that your fb pixel id is firing events properly isn't just a technical check; it’s the foundation for accurate data and successful campaigns.
Luckily, Meta gives us a couple of fantastic free tools to diagnose and fix issues, and you don't need to be a developer to use them. The whole process starts with a simple browser extension that acts as your first line of defense against tracking problems. This quick check can save you hours of frustration by instantly telling you if the pixel is even active on your site.
Think of this as routine maintenance. It's a great habit to periodically check your key pages, especially after a website update or a change to your e-commerce platform. You want to make sure that data stream stays wide open and uninterrupted.
Using the Meta Pixel Helper
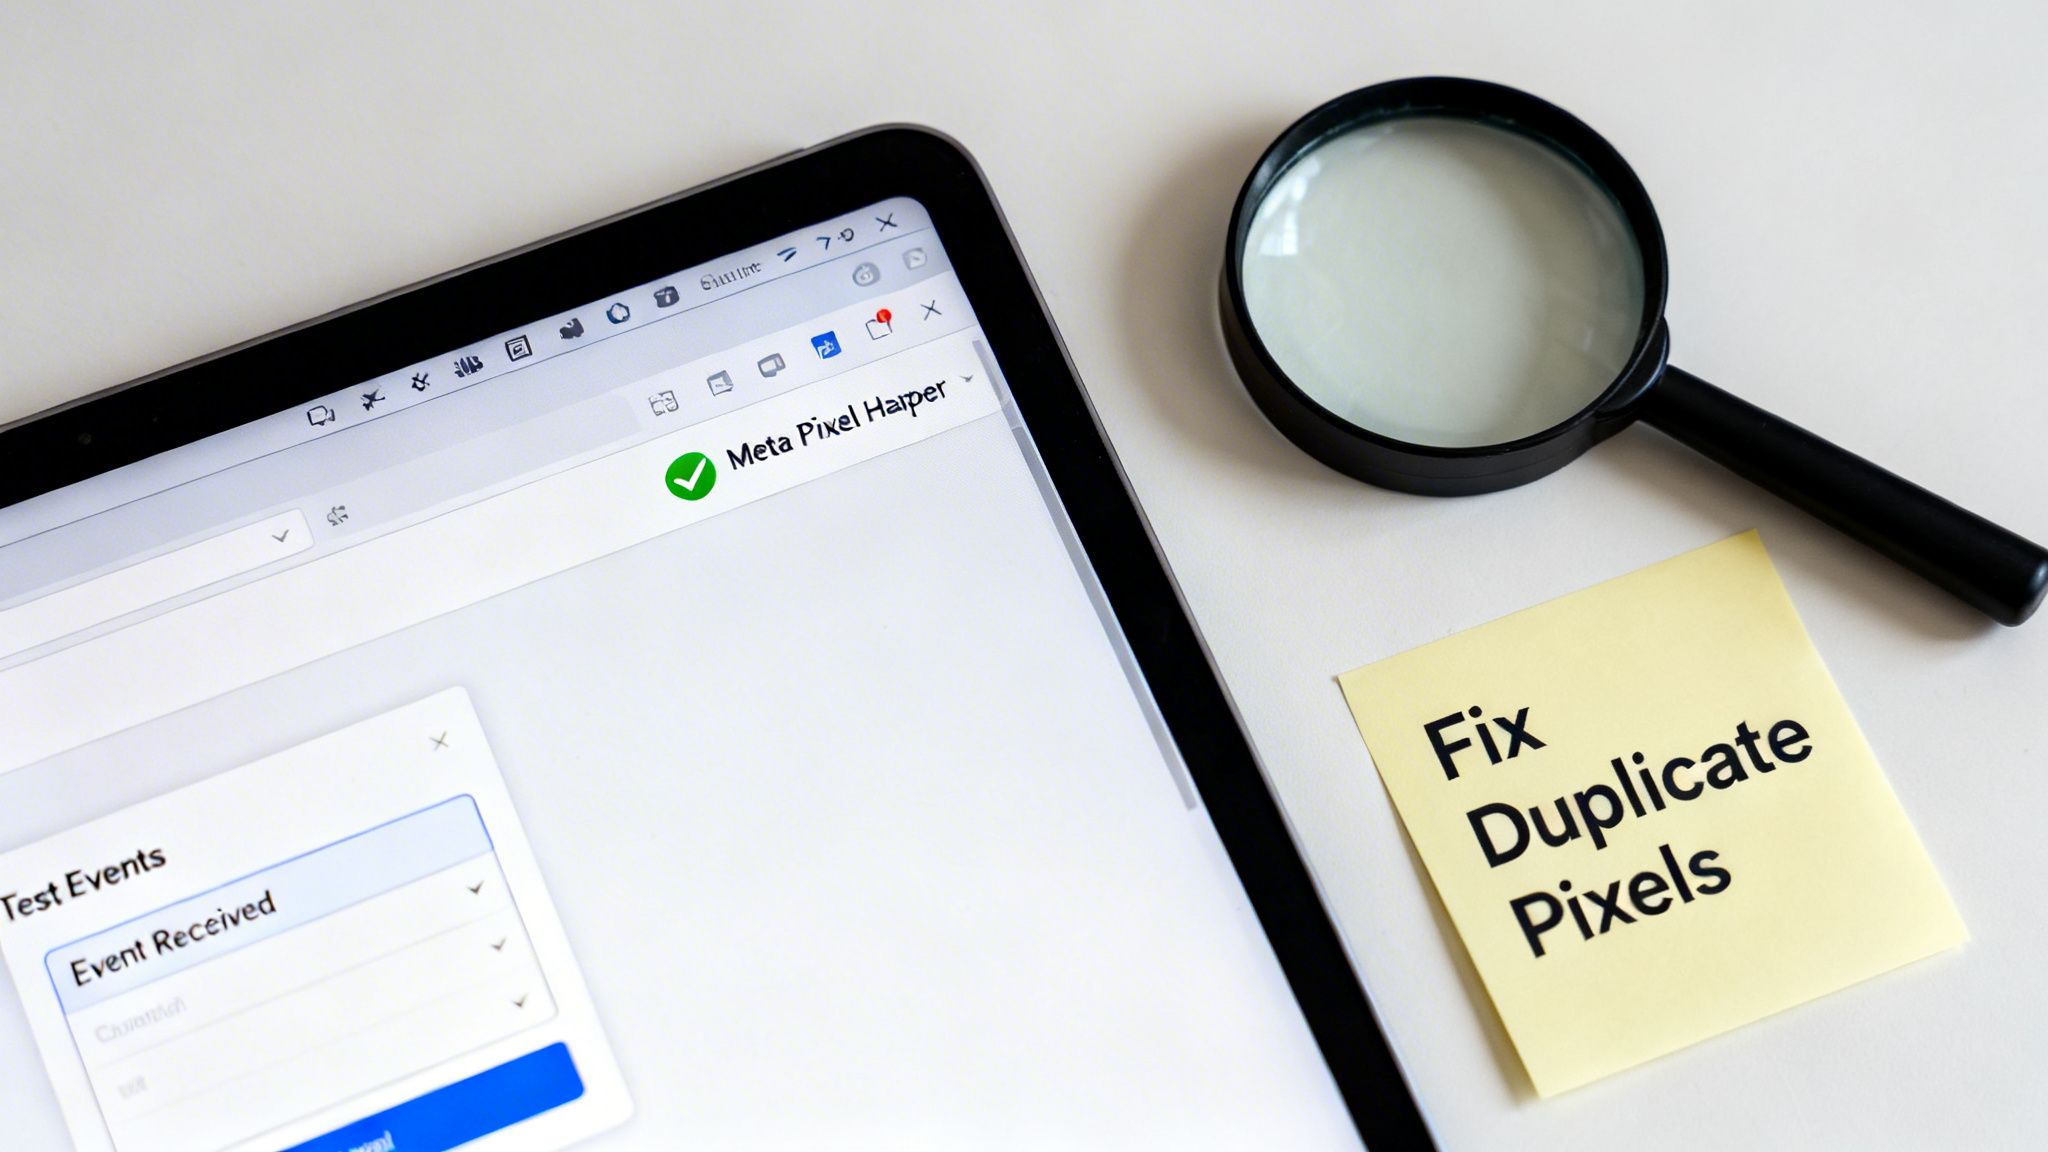
Your go-to diagnostic tool is the Meta Pixel Helper, a free Chrome extension. Once it's installed, a small icon appears in your browser's toolbar. When you navigate your website, this icon will turn blue and show a number if it finds a pixel.
Clicking that icon opens a small window showing exactly which events fired on that page (like PageView or ViewContent) and, more importantly, whether they were successful.
- Green Checkmark: All good. The event fired successfully, and no action is needed.
- Yellow Warning Icon: This signals a minor hiccup. Maybe the pixel took too long to load, or an optional parameter was missing. It's usually not critical but is definitely worth a look.
- Red Error Icon: This is a big deal. It means a serious problem is preventing the event from being tracked. The pixel is either installed wrong, or something on your site is blocking it.
This little tool is incredibly handy for spotting problems on the fly. For instance, if you land on a product page and the helper only shows a PageView but not a ViewContent event, you know immediately that something is off with your event setup.
Deep Diving with the Test Events Tool
For a much more granular look, the Test Events tool inside Meta Events Manager is your best friend. This feature shows you events in real-time as Meta's servers receive them from your website, server, or app.
To get started, head to your pixel's data source in Events Manager and click the "Test Events" tab. Just pop your website's URL in the box and click "Open Website." As you click around your site in the new window that opens, you'll see every single event fire in the Test Events interface, complete with all the parameters being sent. This is the ultimate way to confirm your AddToCart events are sending the correct product IDs and prices.
The Test Events tool is your single source of truth. If an event shows up here, Meta is receiving it. If it doesn't, there's a break somewhere between your website and Meta's servers, and no amount of ad campaign tweaking will fix it.
Troubleshooting Common Pixel Problems
Once you start digging in and testing, you're bound to run into a few common—but totally fixable—errors. Here’s a quick rundown of what to look for.
Common Pixel Errors and First Steps
| Error | Common Cause | How to Fix It |
|---|---|---|
| Pixel Not Firing | The pixel code isn't on the page, or an ad blocker is interfering. | Check your site's header code for the pixel snippet. Test in an incognito window with extensions disabled. |
| Duplicate Pixels Found | The pixel code is installed twice, often via a plugin and also manually in the theme code. | Identify the duplicate installations (e.g., in a WordPress plugin and your theme's header.php file) and remove one. |
| Event Mismatch | The event name sent doesn't match Meta's standard events (e.g., AddedToCart instead of AddToCart). |
Correct the event name in your code or Google Tag Manager tag to match Meta's required naming convention. |
For more advanced setups that layer the pixel with server-side tracking, you can also learn more about the Meta Conversions API to get event deduplication right. Taking the time to resolve these issues ensures the data tied to your fb pixel id is clean, accurate, and ready to power some high-performing ad campaigns.
Using Your Pixel ID to Power Your Ad Tech
So, you've got your Facebook Pixel installed and firing correctly. That’s a huge first step, but just having it on your site is like owning a race car and only driving it to the grocery store. The real magic happens when you connect that pixel to a larger advertising engine.
Your pixel ID is more than a tracking code; it's the key that unlocks a steady stream of valuable event data. While you can do a lot within Meta's Ads Manager, plugging that data into a third-party ad tech platform is what separates good campaigns from great ones.
This is where that simple string of numbers becomes one of your most powerful strategic assets. When you provide your pixel ID to a platform like AdStellar AI, you're creating a secure link that lets it analyze your website's event data—both historical and in real-time. This connection is what turns raw data points into the intelligence needed for serious, automated growth.
Fueling an AI-Powered Ad Engine
Once that connection is made, an advanced ad tech platform starts doing the heavy lifting that’s simply impossible to manage manually. The system begins processing every ViewContent, AddToCart, and Purchase event, quickly learning what actually drives results for your unique business.
This immediately opens up a new world of campaign optimization. For instance, the system can automatically:
- Pinpoint Your Best Audiences: By digging into conversion data, the AI identifies which audience segments consistently deliver the highest return on ad spend (ROAS).
- Score Your Creatives: The platform can rank every ad creative based on its history of driving conversions, showing you exactly which images and videos truly connect with your customers.
- Launch Campaigns Built to Win: Forget the guesswork. The system can assemble and launch new campaigns using your proven top-performing elements, optimizing them for success from day one.
Think of your fb pixel id as the fuel line connecting your website's engine (all that customer activity) to a high-performance supercharger (the AI ad platform). It supplies the one resource needed to amplify power and efficiency far beyond a standard setup.
From Manual Guesswork to Scalable Revenue
This integration completely changes your approach to ad management. You can finally step away from the endless hours spent in Ads Manager, trying to decode performance reports and manually A/B test ad combinations. The system handles all of that for you. It finds the winning patterns and scales what works, freeing you up to focus on big-picture strategy and creative development.
If you happen to be on Shopify, getting this data foundation right is critical. We've put together a guide specifically on setting up Shopify Facebook Pixels to ensure you're collecting the best possible data from the start.
Ultimately, connecting your fb pixel id to a smart ad tech platform transforms it from a simple tracking tool into the core of a scalable revenue machine. It closes the loop between your website data and your ad performance, turning your hard-earned traffic into a powerful, self-optimizing system that consistently drives better results.
Common Questions About the FB Pixel ID
Once you get your pixel up and running, a whole new set of questions tends to pop up. It happens to everyone—you've got the basics down, but then a weird error appears or you're not sure how to handle a new website.
Even seasoned pros hit these snags from time to time. Here are some quick, no-nonsense answers to the most common pixel questions we see, helping you keep your data clean and your campaigns on track.
What Is the Difference Between a Pixel ID and a Dataset ID?
Long story short: for all practical purposes, your Dataset ID is your new FB Pixel ID. This is a frequent point of confusion, but it's really just Meta changing its labels again.
When you're in the Events Manager, you’ll find your tracking number is now called a "Dataset ID." This is the exact same string of numbers that used to be called the "Pixel ID." When any tool, plugin, or integration asks for your FB Pixel ID, you can confidently copy and paste this Dataset ID.
This change is part of Meta's bigger plan to bring all data sources—your website, app, and even offline conversions—under a single "Dataset." The number you need to track everything is still the same one.
Can I Use the Same FB Pixel ID on Multiple Websites?
Technically, you can. But you absolutely shouldn't. It's a genuinely terrible idea that will wreck your data.
Using one fb pixel id across multiple websites—say, an e-commerce store and a separate B2B lead-gen site—shoves all your visitor data into one messy, chaotic bucket. Your audience segments will become completely useless. Imagine trying to retarget "Cart Abandoners" when that audience is a jumbled mix of people from two totally different businesses. It just doesn't work.
Best practice is crystal clear: Create a separate, unique pixel for each distinct business or website. This is the only way to ensure your data stays clean, your audiences are segmented correctly, and your ad optimizations are actually effective for each business.
Keeping them separate is non-negotiable for maintaining data integrity and getting a true picture of your performance.
My Pixel Helper Shows an Error. What Should I Do First?
First off, don't panic. The Meta Pixel Helper extension is your friend. Click its icon in your browser and read the specific error message it gives you. It will usually point you right to the problem.
Seeing a "Pixel Did Not Load" error? The most common culprits are ad blockers or a simple copy-paste mistake with the code. Try opening your site in an incognito window with all extensions turned off. If the pixel fires there, an extension is blocking it. If it still doesn't load, go back and double-check that the pixel code was pasted correctly into your site's header.
Getting an "Event Mismatched" error? Your next stop should be the "Test Events" tool inside your Meta Events Manager. Just enter your website's URL, then go perform the action that's supposed to trigger the event (like clicking an "Add to Cart" button). You can watch in real-time as the tool shows you exactly what data it's receiving—or what it's not receiving—so you can pinpoint and fix the mismatch.
Ready to turn your pixel data into revenue? AdStellar AI launches, tests, and scales your Meta campaigns by automatically finding your winning audiences and creatives. Stop guessing and start growing by visiting https://www.adstellar.ai.