The Meta Pixel is a snippet of code you drop onto your website, but thinking of it as just "code" is like calling a rocket ship just "metal." In reality, it’s the engine that powers nearly all successful Meta ad campaigns. It's a tiny, brilliant detective that watches what people do on your site and reports back to Meta, letting you measure ad performance, optimize for conversions, and build incredibly powerful retargeting audiences.
Running ads without it? You’re basically flying blind. It's the only way to truly connect the dots between your ad spend and actual business results.
Understanding the Meta Pixel and Its Importance
At its heart, the Meta Pixel is a bridge. It connects your website directly to Meta’s massive advertising brain. Think of it as a translator that turns anonymous website clicks into meaningful actions Meta can understand.
Every time a visitor does something important on your site—views a key product, adds an item to their cart, or completes a purchase—the Pixel "fires." This sends a signal back to Meta, logging that specific event.
This constant stream of data is the lifeblood of smart advertising. It’s what separates guessing from knowing. Suddenly, you can see which ads are driving sales versus which ones are just getting clicks, allowing you to pour your budget into what actually works. It's the tool that answers the age-old question: do ads on Facebook work for businesses like mine?. With the Pixel, you'll know for sure.
A Quick Look at the Pixel's Main Jobs
To really get it, let's break down the Pixel's three primary roles into a simple table. This is what it's doing for you 24/7 behind the scenes.
| Function | What It Does for Marketers |
|---|---|
| Measurement | Connects your ads to website actions, letting you see exactly which campaigns are driving sales, leads, and other key results. |
| Optimization | Feeds conversion data back to Meta's algorithm so it can automatically find more people who are likely to take the actions you care about. |
| Audience Building | Lets you create Custom Audiences of website visitors to retarget them, or build Lookalike Audiences to find new customers. |
Each function builds on the other, creating a powerful feedback loop that makes your campaigns smarter and more profitable over time.
The Evolution from Facebook Pixel to Meta Pixel
You’ll still hear old-school marketers call it the "Facebook Pixel," and that’s perfectly fine—they’re talking about the same thing. The name change simply reflects Meta's big rebrand, but the technology itself is the same powerhouse it's always been.
And it has quite a history. Originally launched way back in 2013 as the Facebook Conversion Pixel, it completely changed the game for digital advertisers. Early reports showed that advertisers using it achieved up to 3x better Return on Ad Spend (ROAS) compared to campaigns that were just optimizing for clicks.
The Meta Pixel is not just a tracking script; it's the engine that powers ad personalization, campaign optimization, and accurate performance measurement. It transforms raw website traffic into actionable intelligence that fuels growth.
This intelligence is exactly what allows Meta's sophisticated algorithms to do their thing. By understanding the profile of a person who buys from your site, the platform can find thousands of other users who look just like them and serve your ads directly to that group. Without the Pixel, your campaigns are stuck running on assumptions instead of cold, hard data.
How The Meta Pixel Actually Works
So, what’s going on under the hood? At its heart, the Meta Pixel isn't some black-box magic. It’s simply a small, powerful snippet of JavaScript code that you add to the header of your website.
Think of it like a friendly attendant at the door of your online store.
Every time a visitor shows up or does something meaningful—like clicking a button, viewing a product, or making a purchase—this little piece of code "fires." When it fires, it sends a tiny, anonymous signal back to Meta's servers. This signal is called an event, and it's the core language the Pixel uses to tell Meta what's happening on your site.

The Two Flavors Of Pixel Events
These events are the lifeblood of the Pixel, turning raw user behavior into structured data that Meta’s ad algorithm can actually understand and use. They come in two main flavors: Standard and Custom. Getting the difference is crucial for tracking what really matters to your business.
Standard Events: The Universal Language Of Conversion
Standard Events are a set of 17 pre-defined actions that Meta recognizes universally across every single ad account. These are the bread-and-butter interactions that almost every business wants to track.
For an e-commerce brand, the most common standard events are a no-brainer:
- ViewContent: Someone lands on a specific product page.
- AddToCart: A user adds an item to their shopping cart.
- InitiateCheckout: They’ve taken the big step of starting the checkout process.
- Purchase: The cha-ching moment when a transaction is completed.
Because these events are standardized, they create a universal language. This allows Meta’s algorithm to understand valuable actions, whether they happen on a Shopify store, a big-box retailer, or a small DTC site.
Custom Events: Tracking What Makes You Unique
But what happens when you need to track an action that’s totally unique to your business model? Standard Events are great, but they don't cover everything. That’s where Custom Events come into play.
A SaaS company, for example, might not care about AddToCart. Instead, they could create a custom event called DemoRequested that fires when a user submits their form. Or, an online publisher could track a ScrolledTo75Percent event on their articles.
These are actions that don't neatly fit into Meta's pre-defined boxes but are still critical signals for measuring user intent and campaign success. Dialing in your events is a foundational step for understanding your Meta Ads attribution and seeing what's truly driving results.
To make the distinction crystal clear, here’s a simple breakdown.
Standard Events vs Custom Events
| Attribute | Standard Events | Custom Events |
|---|---|---|
| Definition | A set of 17 pre-defined actions recognized by Meta's system. | User-defined actions created to track unique business goals. |
| Recognition | Automatically understood by Meta’s ad delivery algorithm. | Requires specific setup and naming for Meta to recognize. |
| Use Cases | Tracking common funnel stages like purchases, leads, and adds to cart. | Tracking niche interactions like demo requests or specific feature usage. |
| Examples | Purchase, Lead, AddToCart, ViewContent. |
DemoRequested, TrialStarted, ScrolledTo75Percent. |
| Optimization | Ideal for ad optimization, as Meta’s AI is built to find users likely to complete these actions. | Can be used for optimization, but may require more data to be effective. |
So which should you use?
Pro Tip: Always default to using Standard Events whenever possible. Meta's entire ad delivery system is engineered to optimize for these common actions. That means it's far more efficient at finding users who are likely to purchase, become a lead, or add to their cart.
By strategically setting up the right mix of standard and custom events, you’re essentially handing Meta a detailed map of your customer’s journey. This rich, structured data is exactly what its AI needs to optimize your ad spend, build powerful retargeting audiences, and ultimately drive much better results for your campaigns.
The Top 3 Ways Marketers Benefit from the Meta Pixel
Knowing how the Meta Pixel works is interesting, but understanding how it actually grows your business is what really matters. All that data it collects isn't just for filling up dashboards; it's the fuel for a smarter, more profitable advertising engine.
Let's break down the three game-changing benefits that have a direct impact on your bottom line.
1. Smarter Ad Targeting and Retargeting
The Pixel’s primary superpower is building hyper-specific audiences based on what people actually do on your website. No more guessing who your ideal customer is. Instead, you can directly target people who've already raised their hand and shown interest.
This data is the key to creating powerful Custom Audiences. Imagine you could group together everyone who added a product to their cart in the last 30 days but didn't finish the purchase. With the Pixel, you can. Then, you can serve them a specific ad with a little discount code to nudge them over the finish line, turning abandoned carts into sales. To go deeper on this, check out our complete guide to Facebook retargeting ads.
Once you have a solid customer base, you can build Lookalike Audiences. This is where Meta’s algorithm analyzes the common traits of your best customers (like your 'Purchase' audience) and then goes out to find millions of new people who look just like them. It's one of the fastest ways to expand your reach to prospects who are very likely to convert.
2. Intelligent Campaign Optimization
Without the Pixel, Meta’s algorithm is flying blind, optimizing for flimsy metrics like clicks or impressions. But once you install it, you can tell the system to hunt for what really drives revenue: conversions.
When you set your campaign objective to 'Conversions' and choose a specific event like 'Purchase' or 'Lead,' you're essentially handing the keys to Meta's AI. The algorithm uses your Pixel data to learn the exact profile of someone who converts. It then actively seeks out and delivers your ads to other users who are most likely to take that same valuable action.
The Meta Pixel transforms your ad campaigns from a broadcast into a guided missile. It tells the algorithm precisely who to target—not just people who might click, but people who are statistically likely to buy.
This isn't a one-and-done deal, either. The system gets smarter over time. The more conversion data your Pixel feeds it, the better it gets at finding your next customer, ultimately driving down your Cost Per Acquisition (CPA) and boosting your Return on Ad Spend (ROAS).
3. Accurate Measurement and Attribution
How do you prove your ad spend is actually paying off? The Pixel is your answer. It closes the loop between someone clicking an ad and taking a valuable action on your website, giving you clear, undeniable proof of performance.
You can see exactly which campaigns, ad sets, and individual ads are driving purchases, leads, or sign-ups. This attribution data is absolutely critical for making smart budget decisions and justifying your marketing investment.
The numbers don't lie. For e-commerce, Pixel-driven retargeting has been shown to deliver a 3.5x ROAS on average, with purchase events converting at 4.2% compared to the 1.1% industry norm. This kind of precision lets you confidently scale what’s working and kill what isn't.
Nailing your Meta Pixel implementation is essential for running a Facebook Ads campaign that converts and unlocking its full potential for tracking and optimization. In fact, platforms like AdStellar AI are built on this very principle; we use this rich Pixel data to automate the creation and scaling of winning campaigns, turning those performance insights into repeatable success.
Navigating Privacy Changes with CAPI and the Pixel
The world of digital advertising doesn't sit still for long. Massive privacy shifts have completely rewritten the rules of tracking, and if you’re a performance marketer, you've felt the tremors. With Apple's iOS 14+ App Tracking Transparency (ATT) framework, smarter ad blockers, and the slow fade-out of third-party cookies, relying solely on the Meta Pixel is a recipe for disaster.
These updates hit the Pixel right where it lives: in the user's browser (what we call "client-side"). When a browser blocks tracking scripts or a user taps "Ask App Not to Track" on their iPhone, the Pixel's signal back to Meta gets muffled or lost entirely. The result is a data black hole—leading to spotty attribution, unreliable measurement, and campaigns that just don't optimize like they used to.
This is precisely the problem the Conversions API (CAPI) was designed to fix.
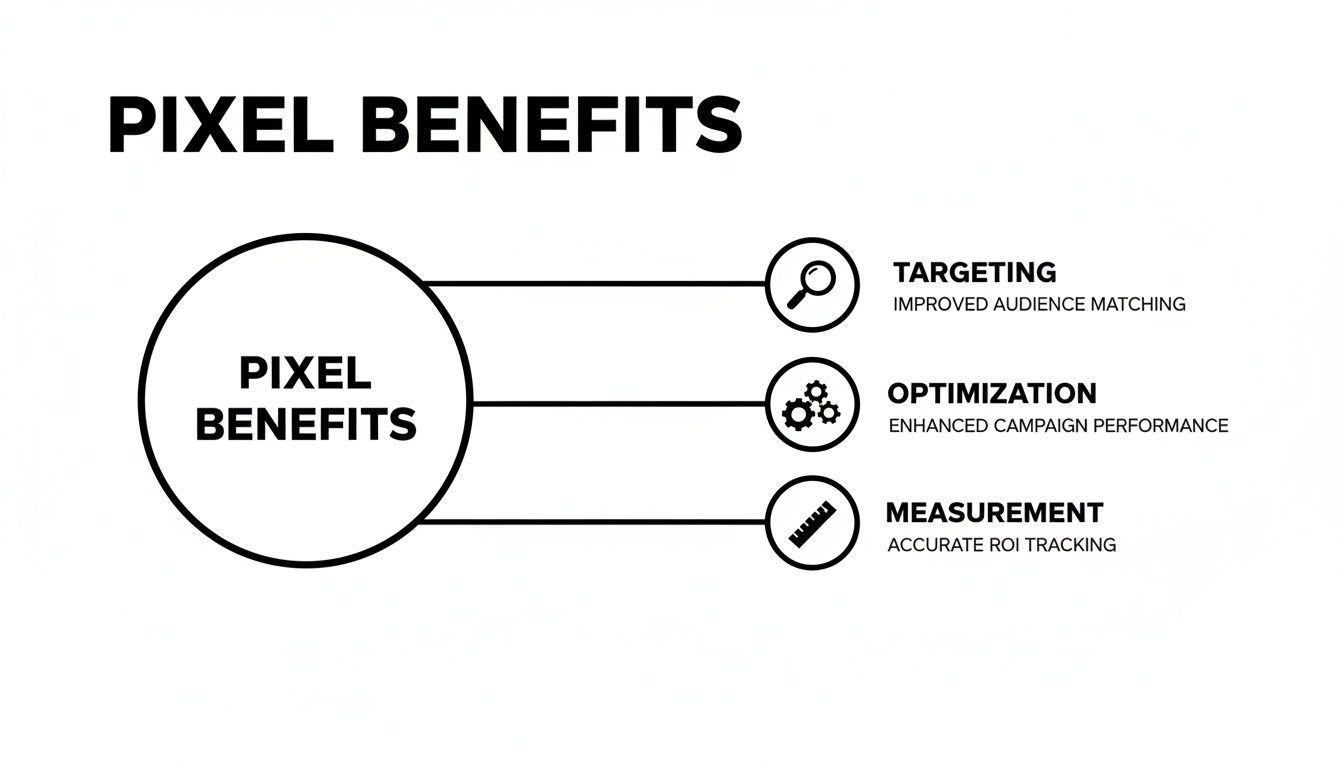
This infographic breaks down the Pixel's core value—Targeting, Optimization, and Measurement. All three pillars crumble when data goes missing. CAPI is your reinforcement, built to shore up these foundations and keep your marketing machine running smoothly.
Why CAPI Is Your Pixel’s Best Friend
Think of the Pixel as a messenger running from a visitor's browser back to Meta. Now, imagine CAPI as a direct, secure hotline from your website's server straight to Meta's servers. It completely bypasses the browser, making it invisible to ad blockers and other client-side tracking restrictions.
By sending event data straight from your server, CAPI delivers a far more reliable and complete data stream. It’s not about replacing the Pixel; it's about giving it a powerful partner.
The gold standard for data accuracy today is running both the Pixel and CAPI in tandem. This creates a redundant, more robust system where browser-side events are backed up by server-side signals, maximizing the information you feed Meta’s optimization algorithms.
This dual setup became mission-critical after the 2021 ATT update, which initially caused a 15-30% drop in iOS attributions for many advertisers. However, marketers who quickly adopted server-side tracking clawed back up to 90% of that lost visibility, proving just how essential this strategy is.
Adapting with Aggregated Event Measurement
In response to the new privacy landscape, Meta rolled out Aggregated Event Measurement (AEM). This system is designed to process web events from iOS 14.5+ users while respecting their privacy settings.
For advertisers, this means you have to verify your website domain with Meta and then configure your top 8 conversion events in order of importance. This tells Meta which actions matter most to your business, allowing its system to still report on and optimize for them even when granular, user-level data is off-limits.
Setting up AEM is not a suggestion—it's a non-negotiable step for running effective campaigns in today's world. If you skip it, you risk having your ads paused and losing the ability to track key conversions from a huge chunk of your audience. This shift away from browser tracking also underscores the rising importance of understanding the difference between first-party data vs third-party data for your overall strategy.
A Strategic Guide to Setting Up Your Meta Pixel
Getting the Meta Pixel installed might sound like a job for a developer, but the reality is that modern tools have made it incredibly straightforward. This isn't a line-by-line coding tutorial—think of it as a strategic map to help you pick the right path for a flawless setup.
Which path you take really boils down to your website's platform and how comfortable your team is with the technical side of things. There are three main ways to get your Pixel up and running, each tailored for a different kind of user.
Choosing Your Installation Method
The best approach is always the one that gets you collecting accurate data the fastest. For most marketers, that means staying as far away from manual code edits as you possibly can.
Here’s a quick rundown of the most common installation options:
Partner Integration: This is hands-down the easiest and most recommended route if you're using a popular platform like Shopify, WordPress, or WooCommerce. These platforms have slick, built-in integrations that connect your site to Meta in just a few clicks. No code, no fuss. It’s perfect for e-commerce store owners and anyone just getting started.
Google Tag Manager (GTM): For marketers and agencies who need more control and flexibility, Google Tag Manager is the industry standard. It acts as a central hub where you can manage your Meta Pixel alongside all your other tracking scripts. This method makes it so much easier to add new event tracking down the line without ever needing to bug a developer.
Manual Installation: This is the old-school way. You copy the Pixel’s base code from Meta Events Manager and paste it directly into your website's header code. This option is really only for custom-built websites where an in-house development team is already managing the site’s code.
Key Takeaway: For a detailed walkthrough of each of these methods, including step-by-step instructions, check out our complete guide on how to set up the Facebook Pixel to make sure you get it right the first time.
Finalizing and Verifying Your Setup
Once the code is on your site, you’re not quite done. There are two final steps that you absolutely can't skip.
First, install the Meta Pixel Helper, a free Chrome extension. This little tool is a lifesaver. It instantly tells you if your Pixel is active and firing correctly as you browse your own site.
Second, start setting up your most important Standard Events right away. Think ViewContent for product pages, AddToCart when someone adds an item to their cart, and Purchase on the thank you page. This ensures you start collecting valuable, actionable data from day one, laying the foundation for truly powerful campaign optimization.
Fine-Tuning Your Pixel for Peak Performance
Getting your Meta Pixel installed is just the starting line. To really pull ahead of the pack, you have to treat it like the critical business asset it is. Once you move past the basic setup, a few key practices can make a world of difference in your data accuracy, campaign performance, and ultimately, your return on ad spend.
Think of your Pixel data as high-octane fuel for Meta's optimization engine. The cleaner the fuel, the faster and more efficiently that engine is going to run for you. On the flip side, messy data hygiene is a surefire way to waste ad spend and leave money on the table.
Combine the Pixel with the Conversions API
If you do only one thing on this list, make it this: implement both the Meta Pixel and the Conversions API (CAPI). In today's world of ad blockers and increasing tracking restrictions, relying solely on the browser-side Pixel means you’re flying blind and losing huge chunks of valuable data.
CAPI is your direct, server-to-server connection to Meta. It creates a much more reliable and complete picture of what's actually happening.
- Data Redundancy: When the Pixel gets blocked by a browser or ad blocker, CAPI is your backup, ensuring the conversion still gets recorded.
- Improved Accuracy: This dual-threat setup fills in the data gaps, leading to much better attribution and smarter, more informed campaign optimization.
Always Configure Event Deduplication
Okay, so you're running both the Pixel and CAPI. Great. But now you have a new problem: you might be sending the same conversion event twice—once from the user's browser and again from your server. This double-counting wrecks your reporting, inflates your conversion numbers, and completely confuses Meta's algorithm.
This is where event deduplication comes in. It's a simple fix for a big problem. By adding a unique event ID to both your browser and server events, you're essentially telling Meta, "Hey, these two signals are for the exact same action." Meta then processes the first one it receives and ignores the second, keeping your data clean and accurate.
Proper Pixel management isn’t a set-it-and-forget-it task; it’s an ongoing process of refinement. The quality of the data you feed into Meta directly determines the quality of the results you get out.
Keep a Close Eye on Event Match Quality
Inside Meta's Events Manager, you need to become obsessed with your Event Match Quality score. This little metric, scored from 1 to 10, tells you how well Meta can connect your website's conversion events back to actual Meta user profiles. A higher score means better attribution, more accurate reporting, and way more powerful custom and lookalike audiences.
So, how do you improve it? By passing back more customer information parameters with your events, like email addresses and phone numbers (always hashed for privacy, of course). A consistently high score is the hallmark of a healthy, high-performing data setup.
This is exactly the kind of clean, high-fidelity event data that unlocks the true power of AI-driven platforms like AdStellar AI. Our system thrives on these precise Pixel and CAPI signals to spot winning patterns, automate campaign scaling, and maximize your ROAS with a level of confidence you just can't get with messy data.
Got Questions About the Meta Pixel? We've Got Answers.
Even after you get the hang of the Meta Pixel, a few questions always seem to bubble up. Think of this as your go-to FAQ section, where we tackle the most common head-scratchers marketers run into. Let's clear things up so you can get back to building killer campaigns.
Can I Use Multiple Pixels on My Website?
Technically, yes, you can. But should you? Absolutely not. Sticking multiple Meta Pixels on one website is a recipe for disaster and something we strongly discourage. It’s like having two different people trying to count the same pile of money—you’re going to end up with duplicated data, tracking errors, and a complete mess that makes ad optimization impossible.
The golden rule is one single Pixel per ad account, used across your entire website. This keeps your data clean, centralized, and reliable. If you have different teams or agencies that need access, don't just add a new Pixel. Use the Meta Business Manager to share access to the one you already have. Simple and clean.
How Long Does the Meta Pixel Store Data?
This is a great question because it touches on two different things: audiences and attribution.
For building your Custom Audiences (like retargeting lists), the Pixel can hold onto that visitor data for a maximum of 180 days. That means you can create an audience of everyone who visited your site in the last six months, which is plenty of time for most retargeting strategies.
Attribution is a different story. This is about giving credit to an ad for a conversion. Meta’s default window is usually a 7-day click and 1-day view. You can, however, tweak this inside Ads Manager to better fit your own sales cycle.
Will the Meta Pixel Slow Down My Website?
We hear this one a lot. The short answer is: no, not if it’s installed correctly.
The Meta Pixel code is asynchronous. In plain English, that means it loads in the background and doesn't hold up the rest of your page from appearing. Your visitors won't notice a thing. Its impact on your site's load speed is so tiny it’s basically negligible.
To keep things running smoothly, many marketers use a tool like Google Tag Manager. It helps manage all your tracking scripts (not just the Pixel) efficiently, ensuring nothing gets in the way of a great user experience.
Ready to turn your Pixel data into high-performing campaigns without the manual work? AdStellar AI uses your clean event data to launch, test, and scale winning ads 10x faster. Discover how AdStellar AI can automate your campaign success.